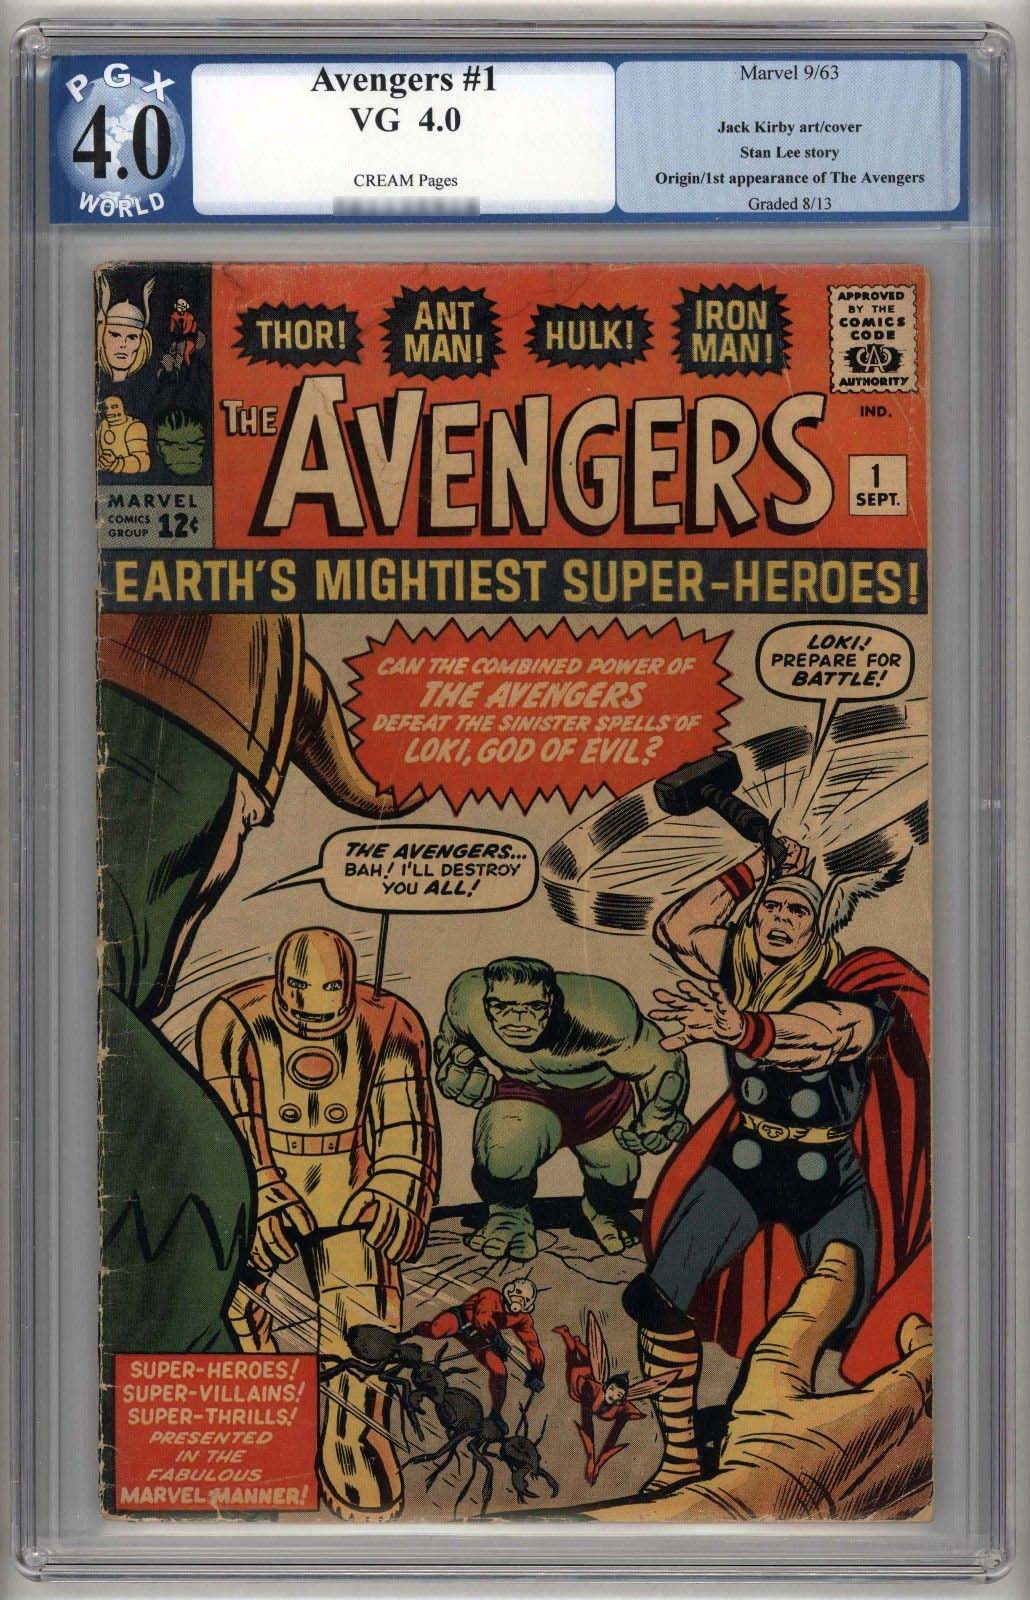
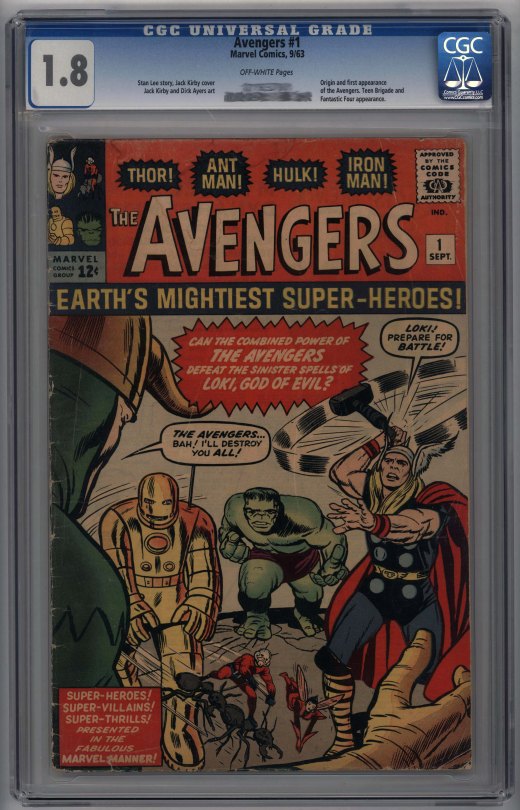
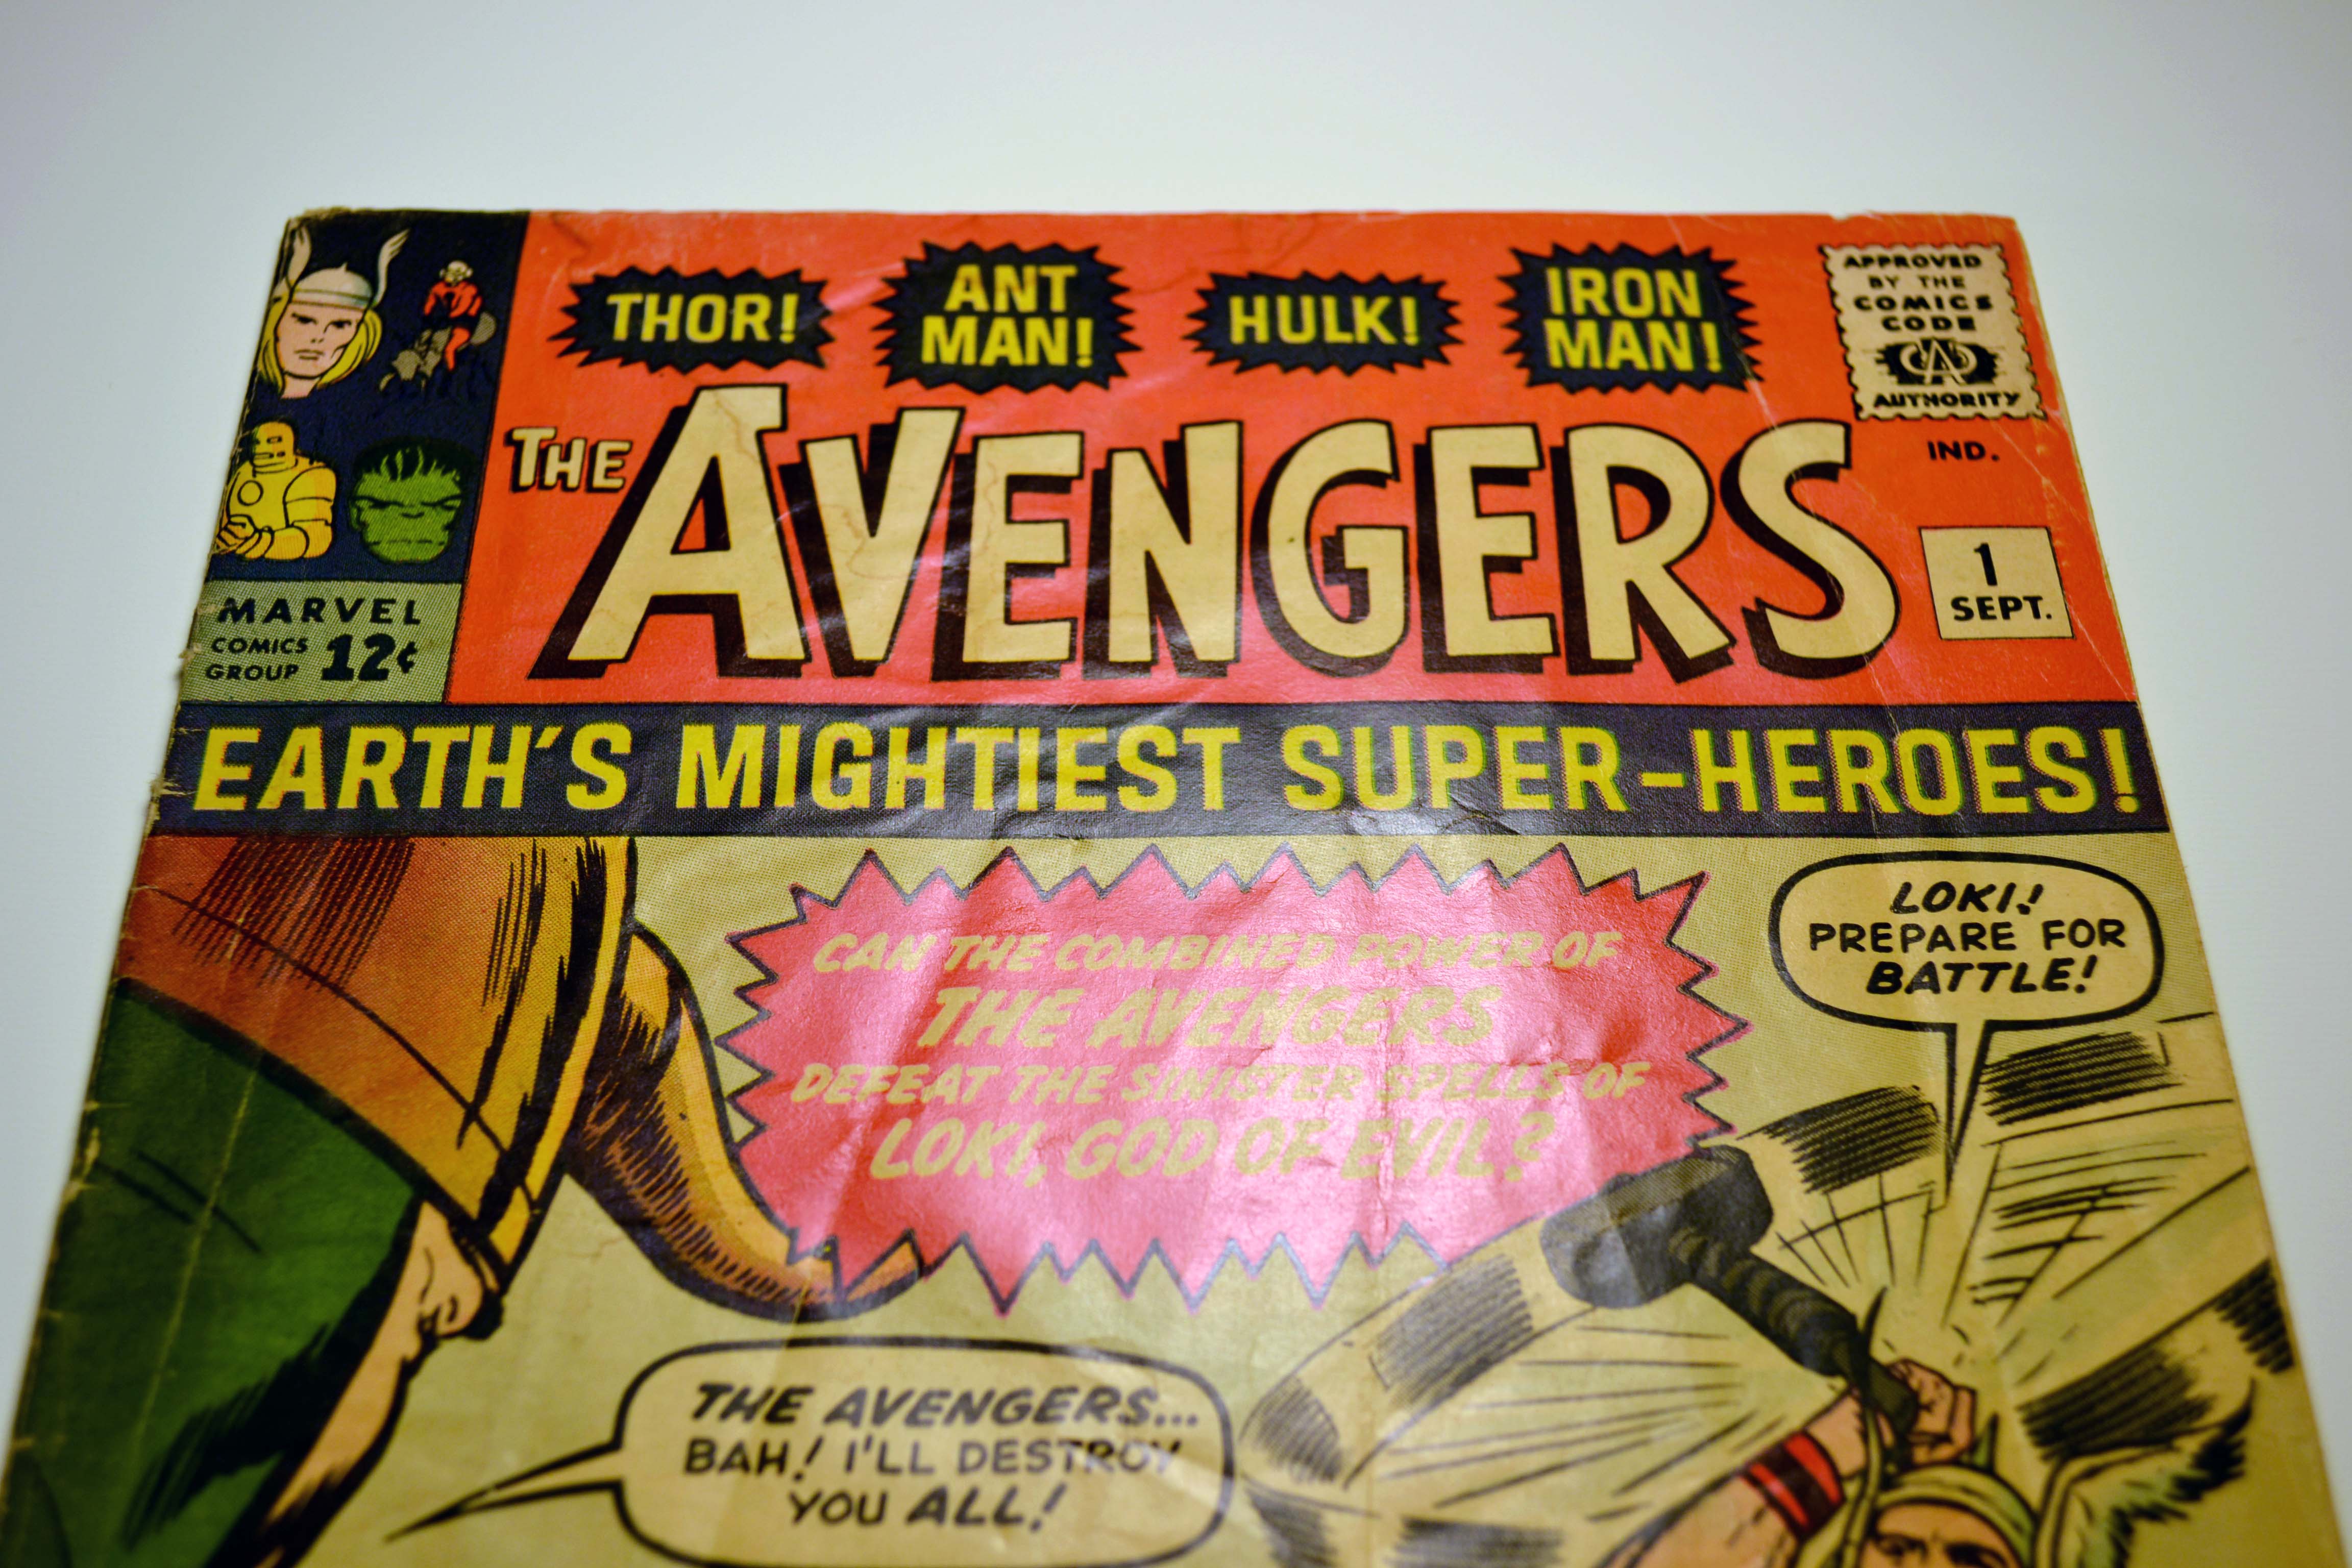
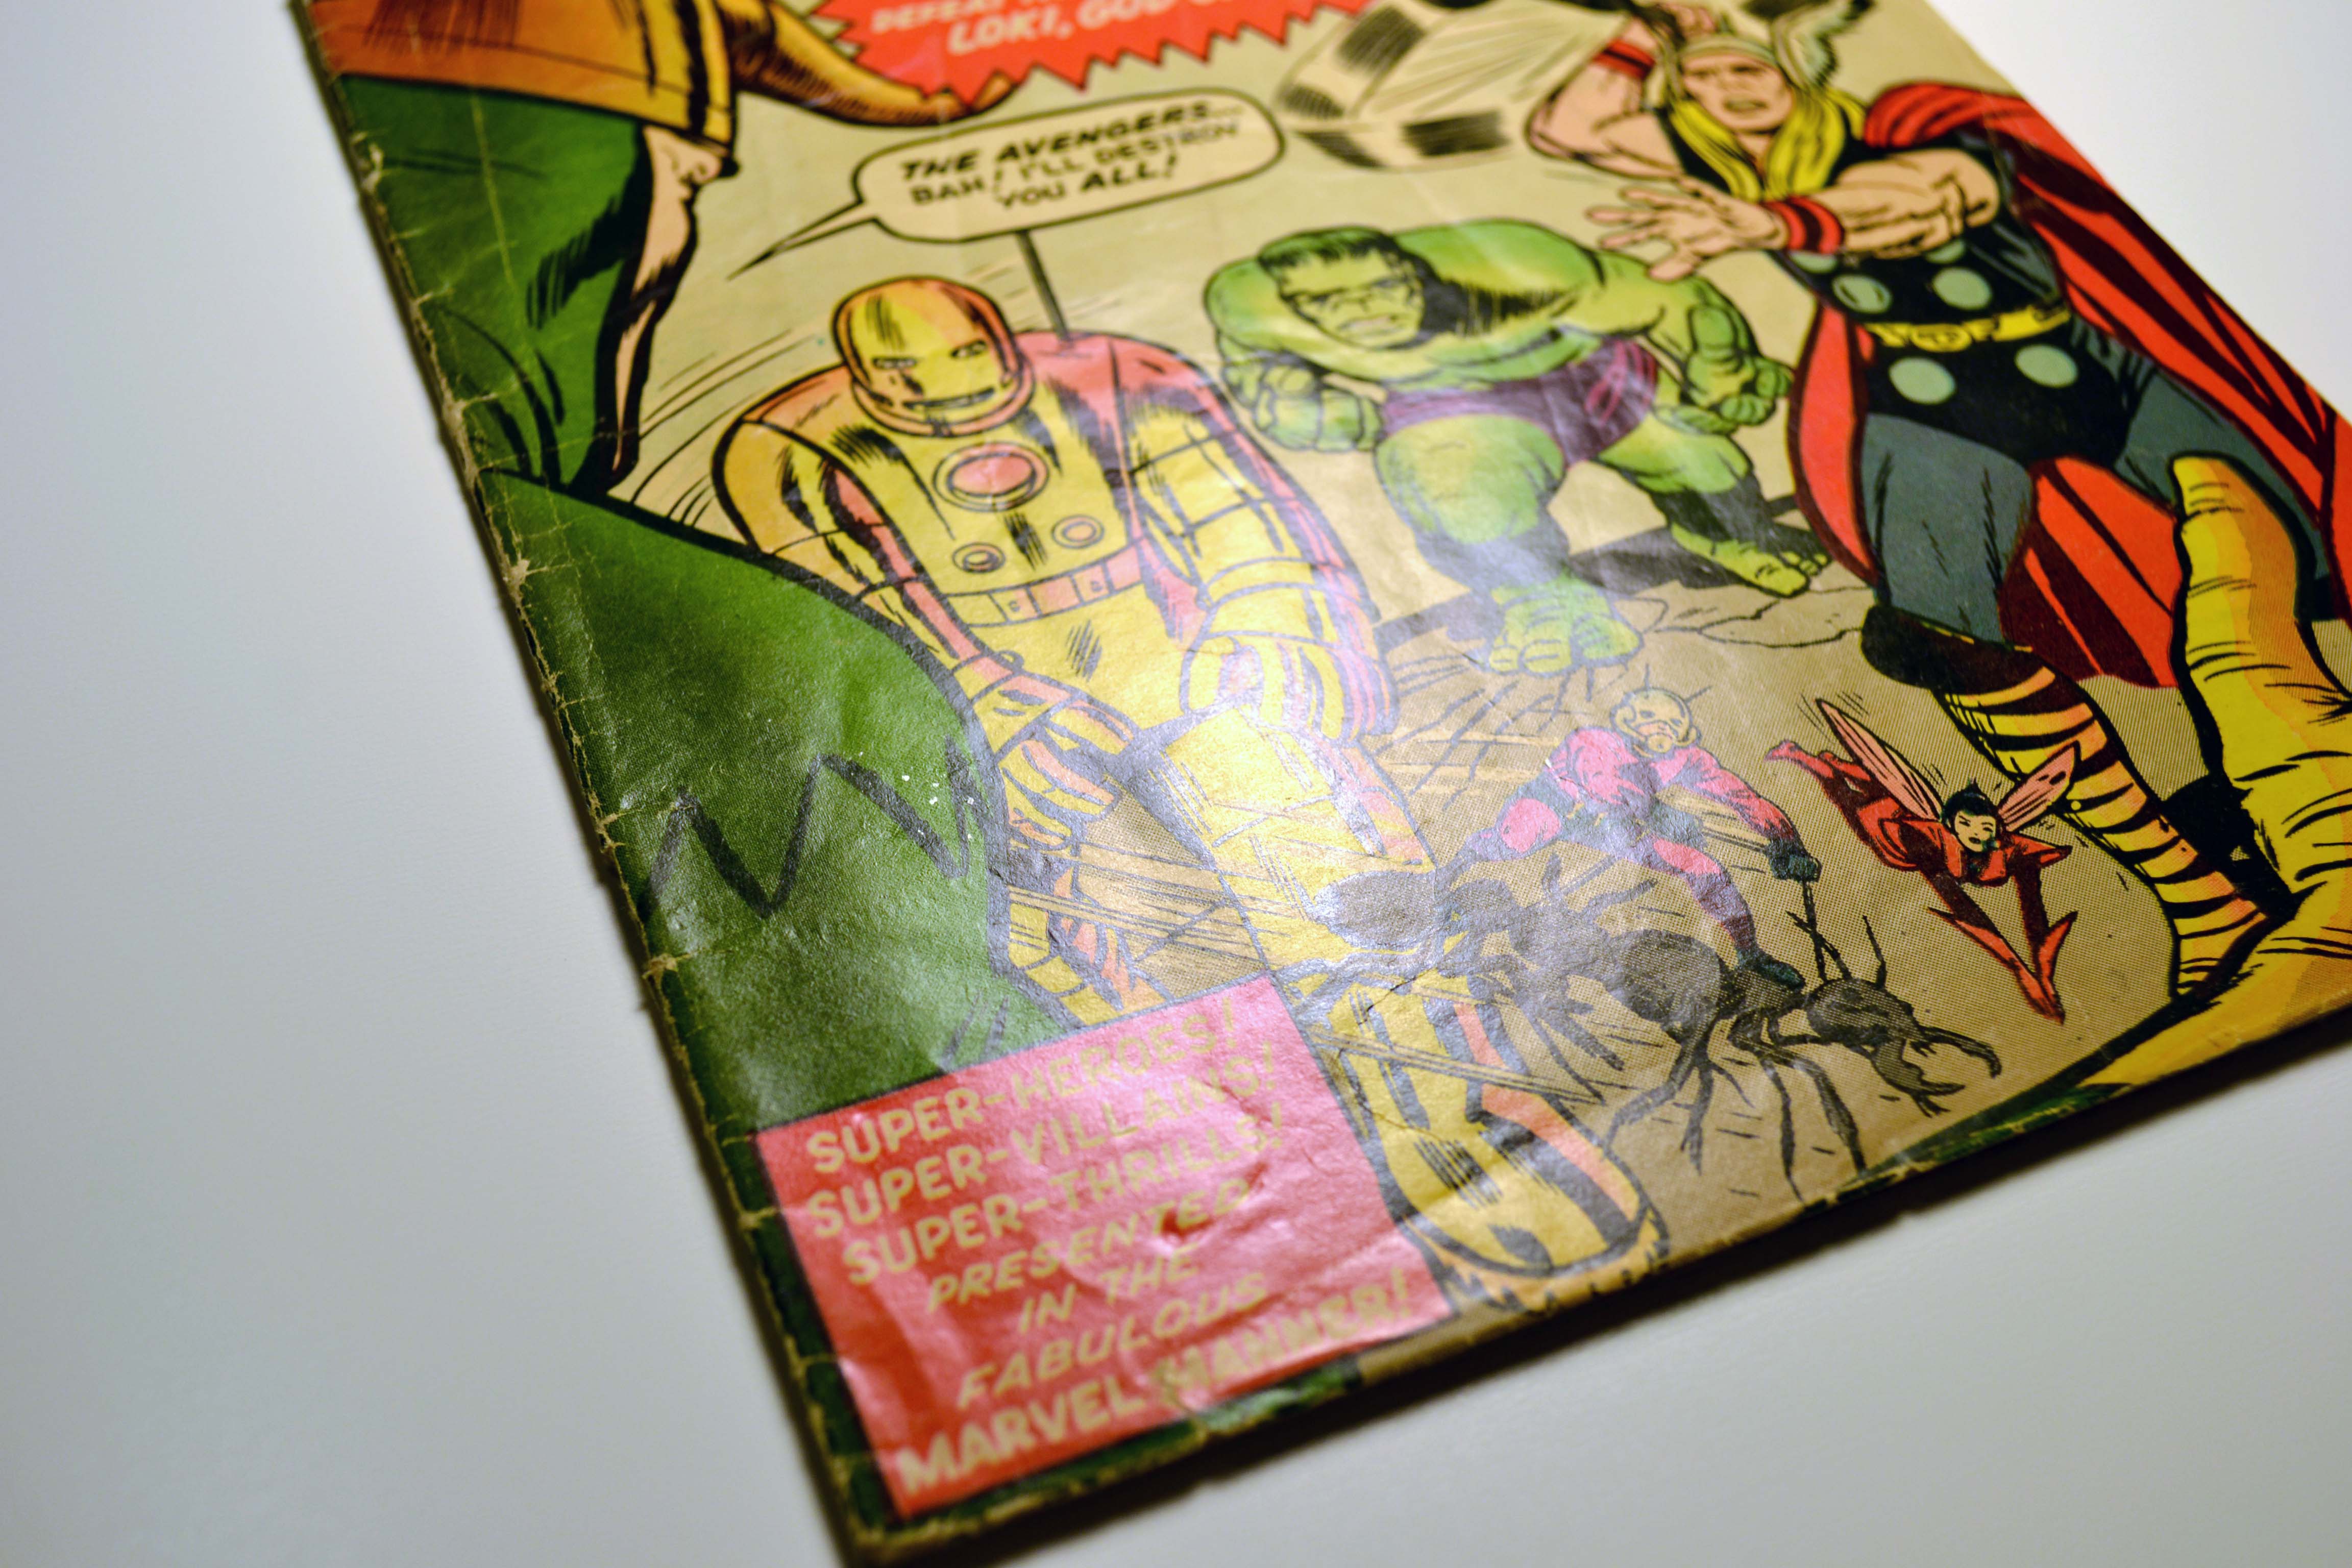
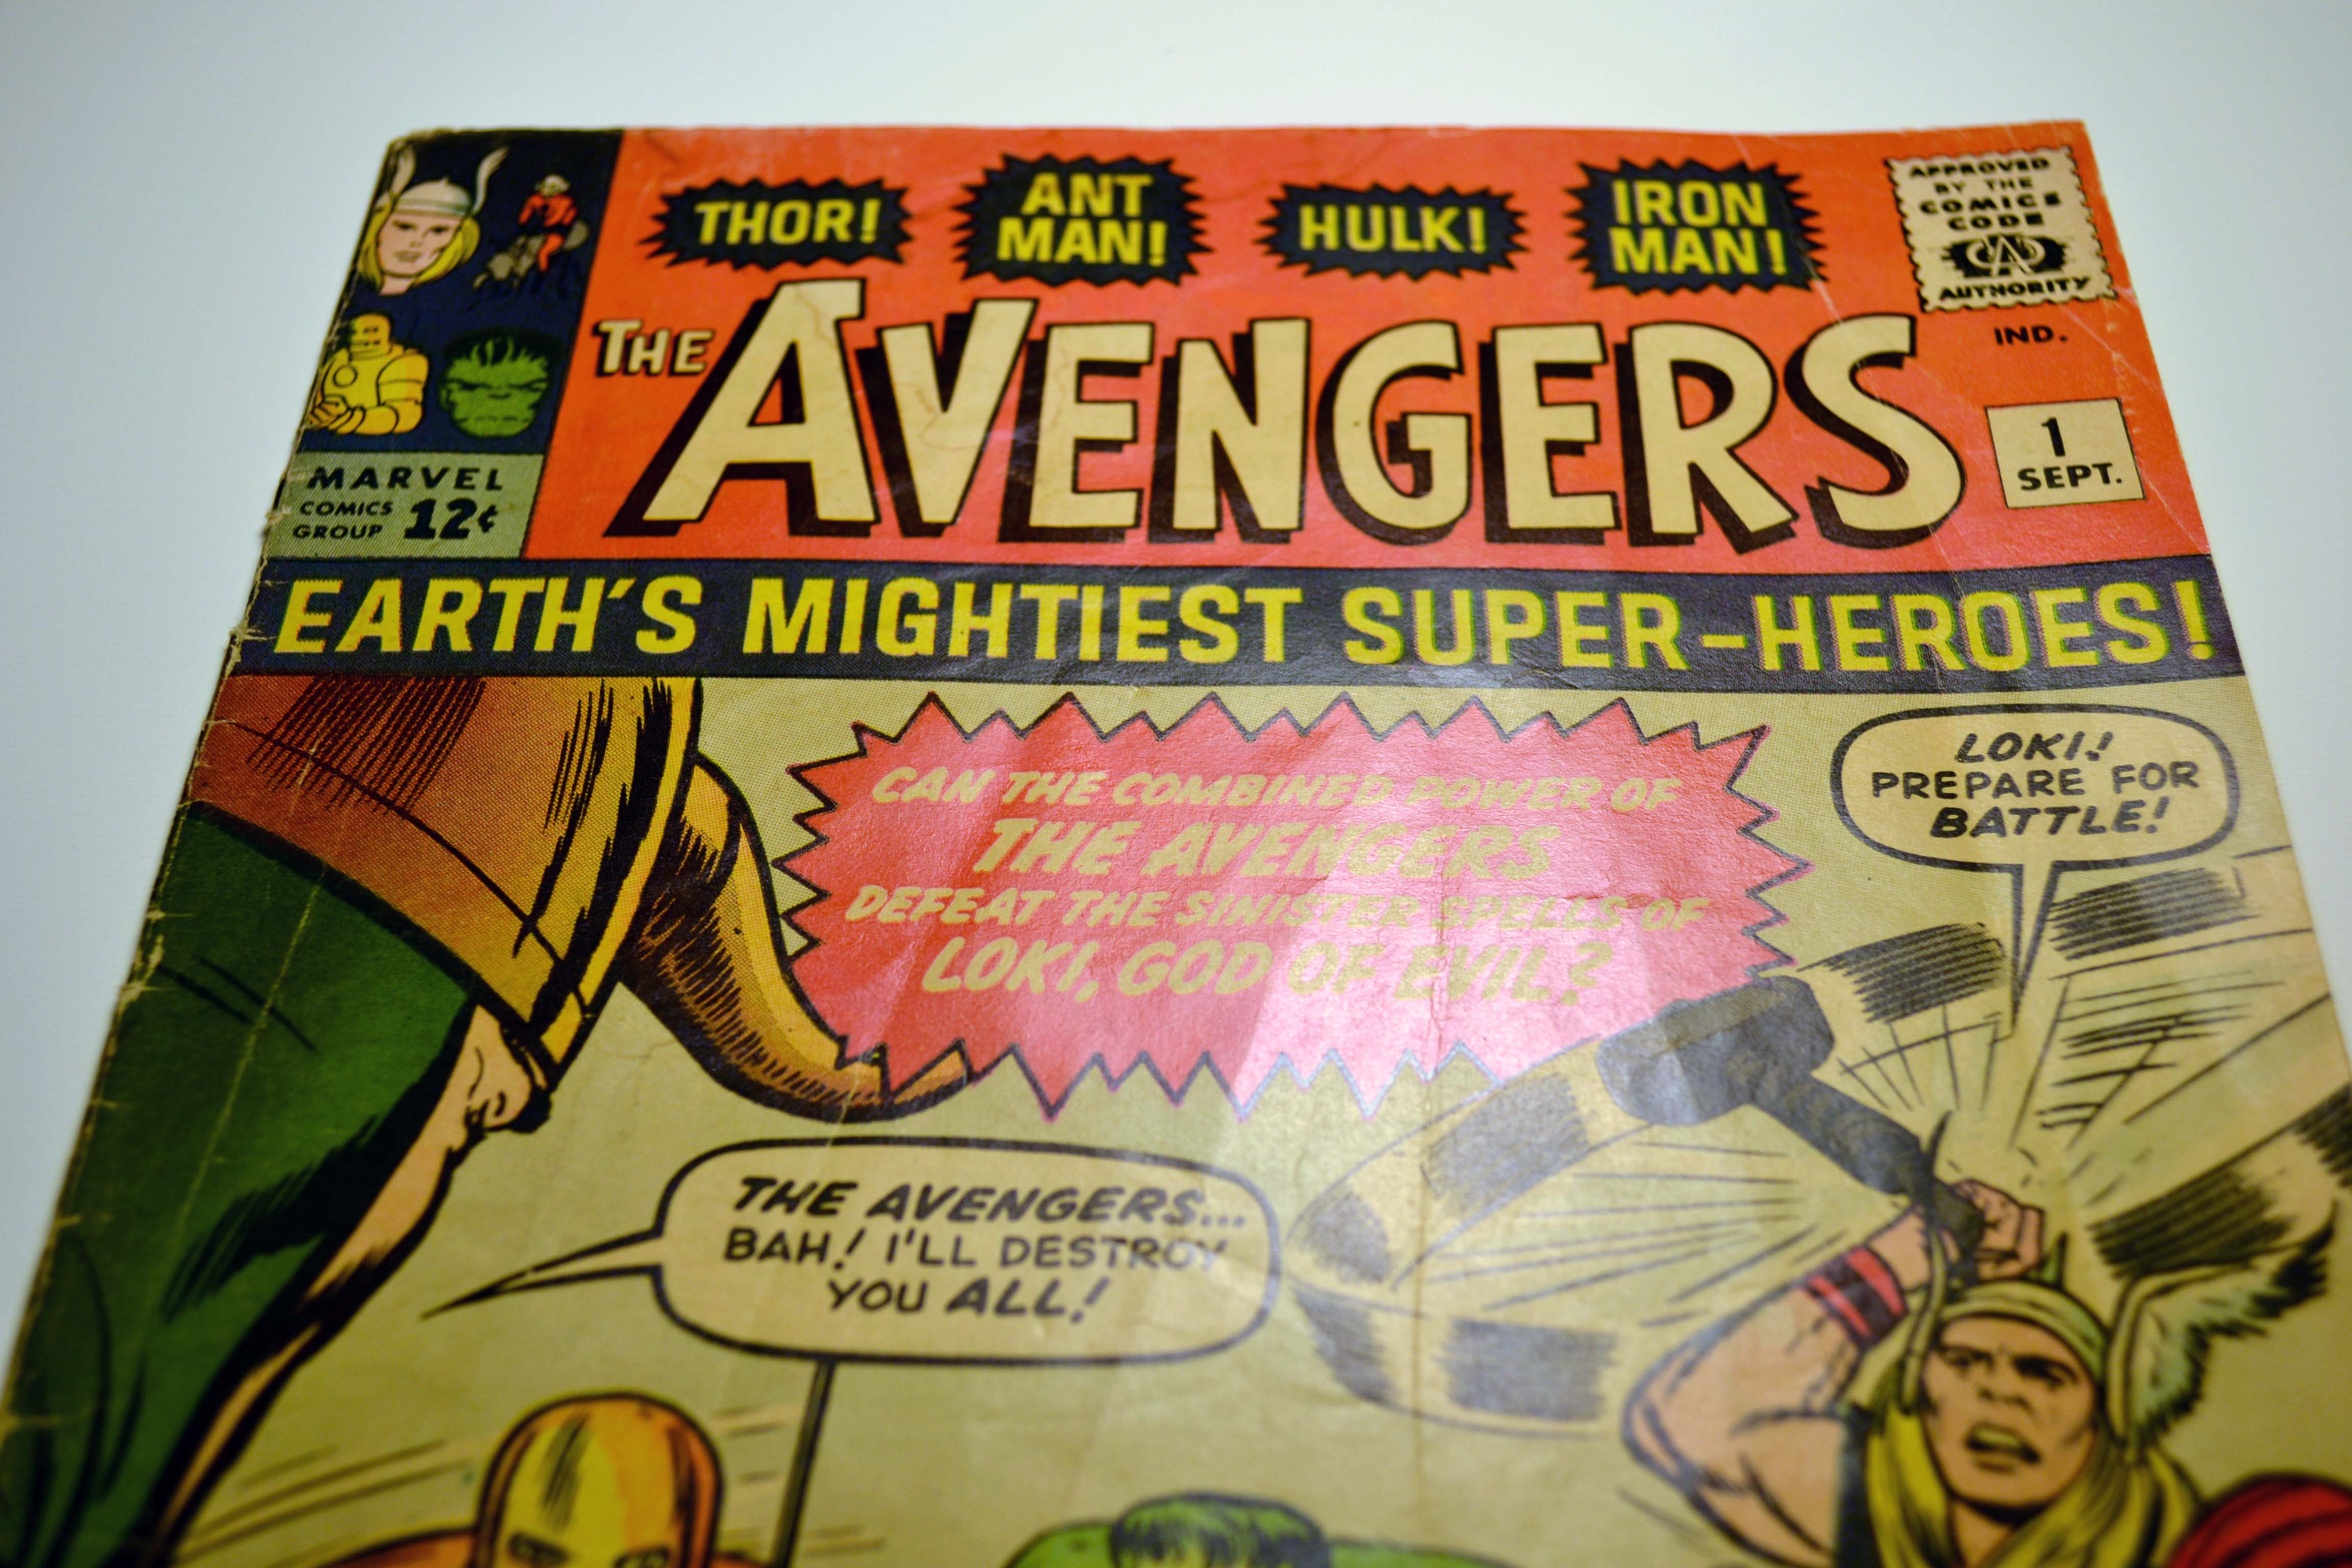
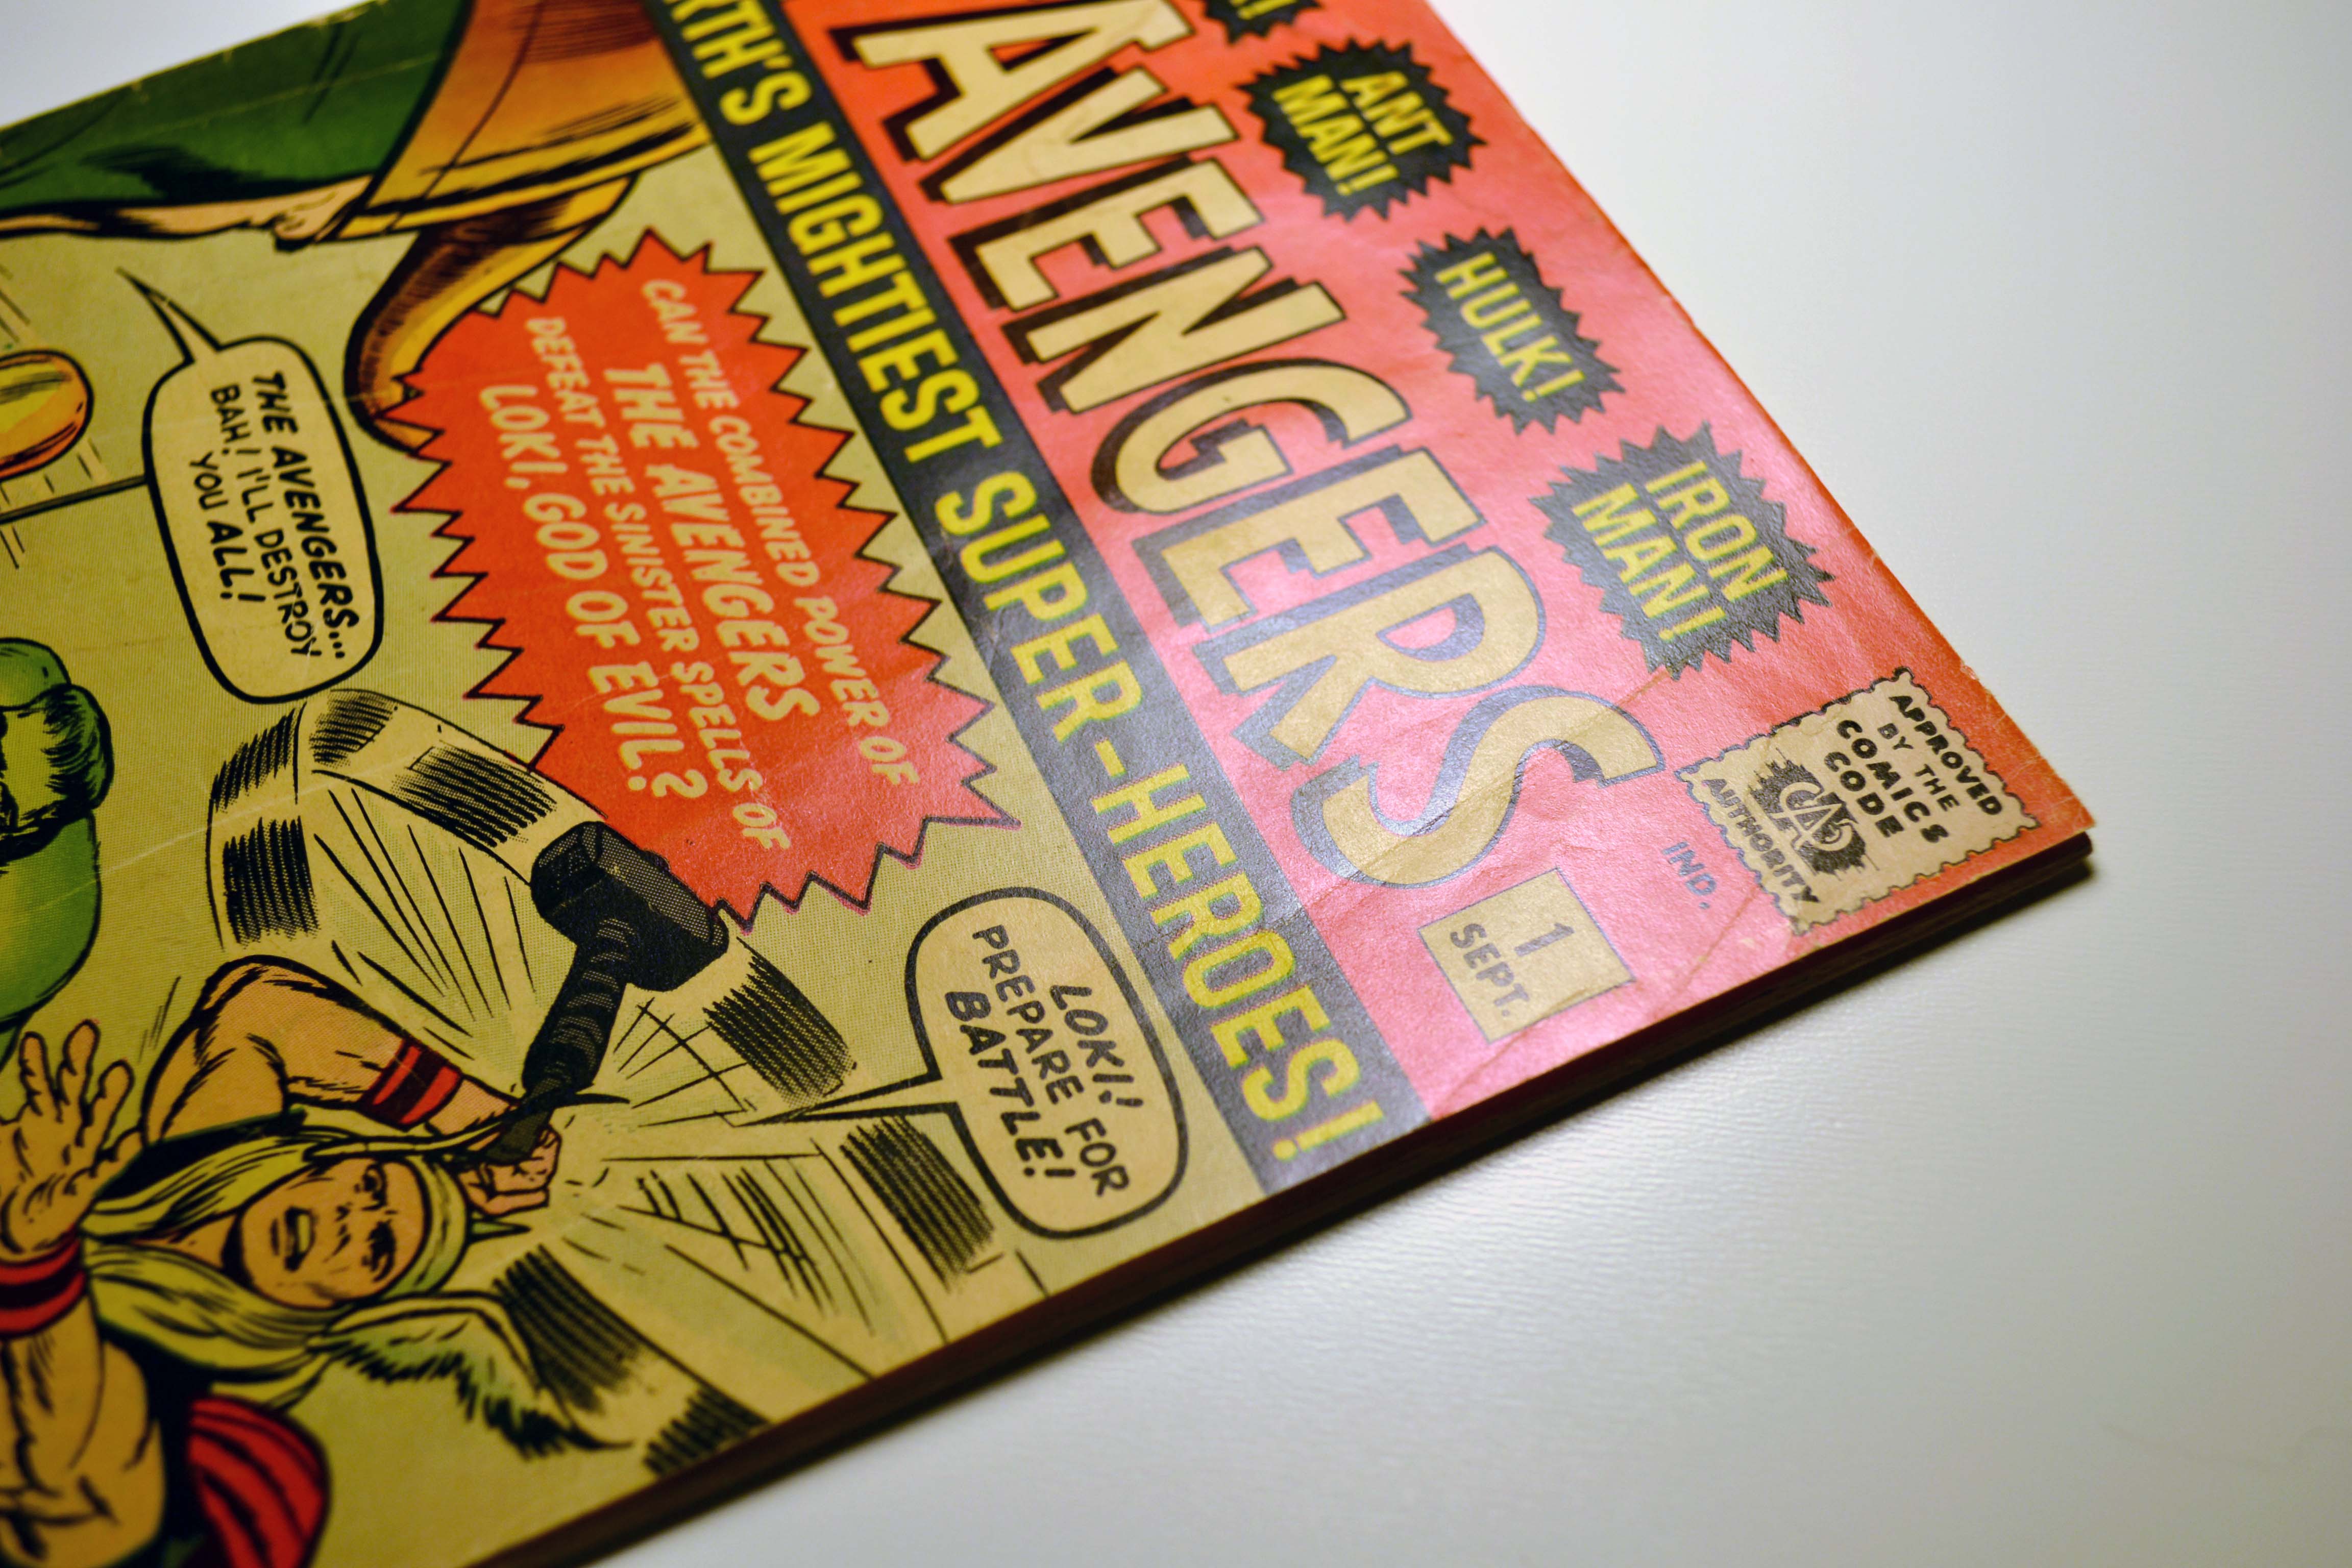
This is a tutorial on how to use non-restorative techniques to improve the appearance of comic books. Our example book is an original Avengers #1 that has been graded 1.8 / Good- by Certified Guaranty Company, LLC.
The first step was to release the book from the CGC holder. This was done by carefully inserting a flat blade screwdriver into the left and right side of the case, and twisting it near the bottom to “crack” the bottom seal. After the seal was broken the inner case, label and book were easily removed. I freed the book from the inner case by carefully cutting the plastic encasement on 3 of the 4 sides with sharp forceps. I would suggest wearing cotton gloves when handling the book to protect it from the oils in your skin.
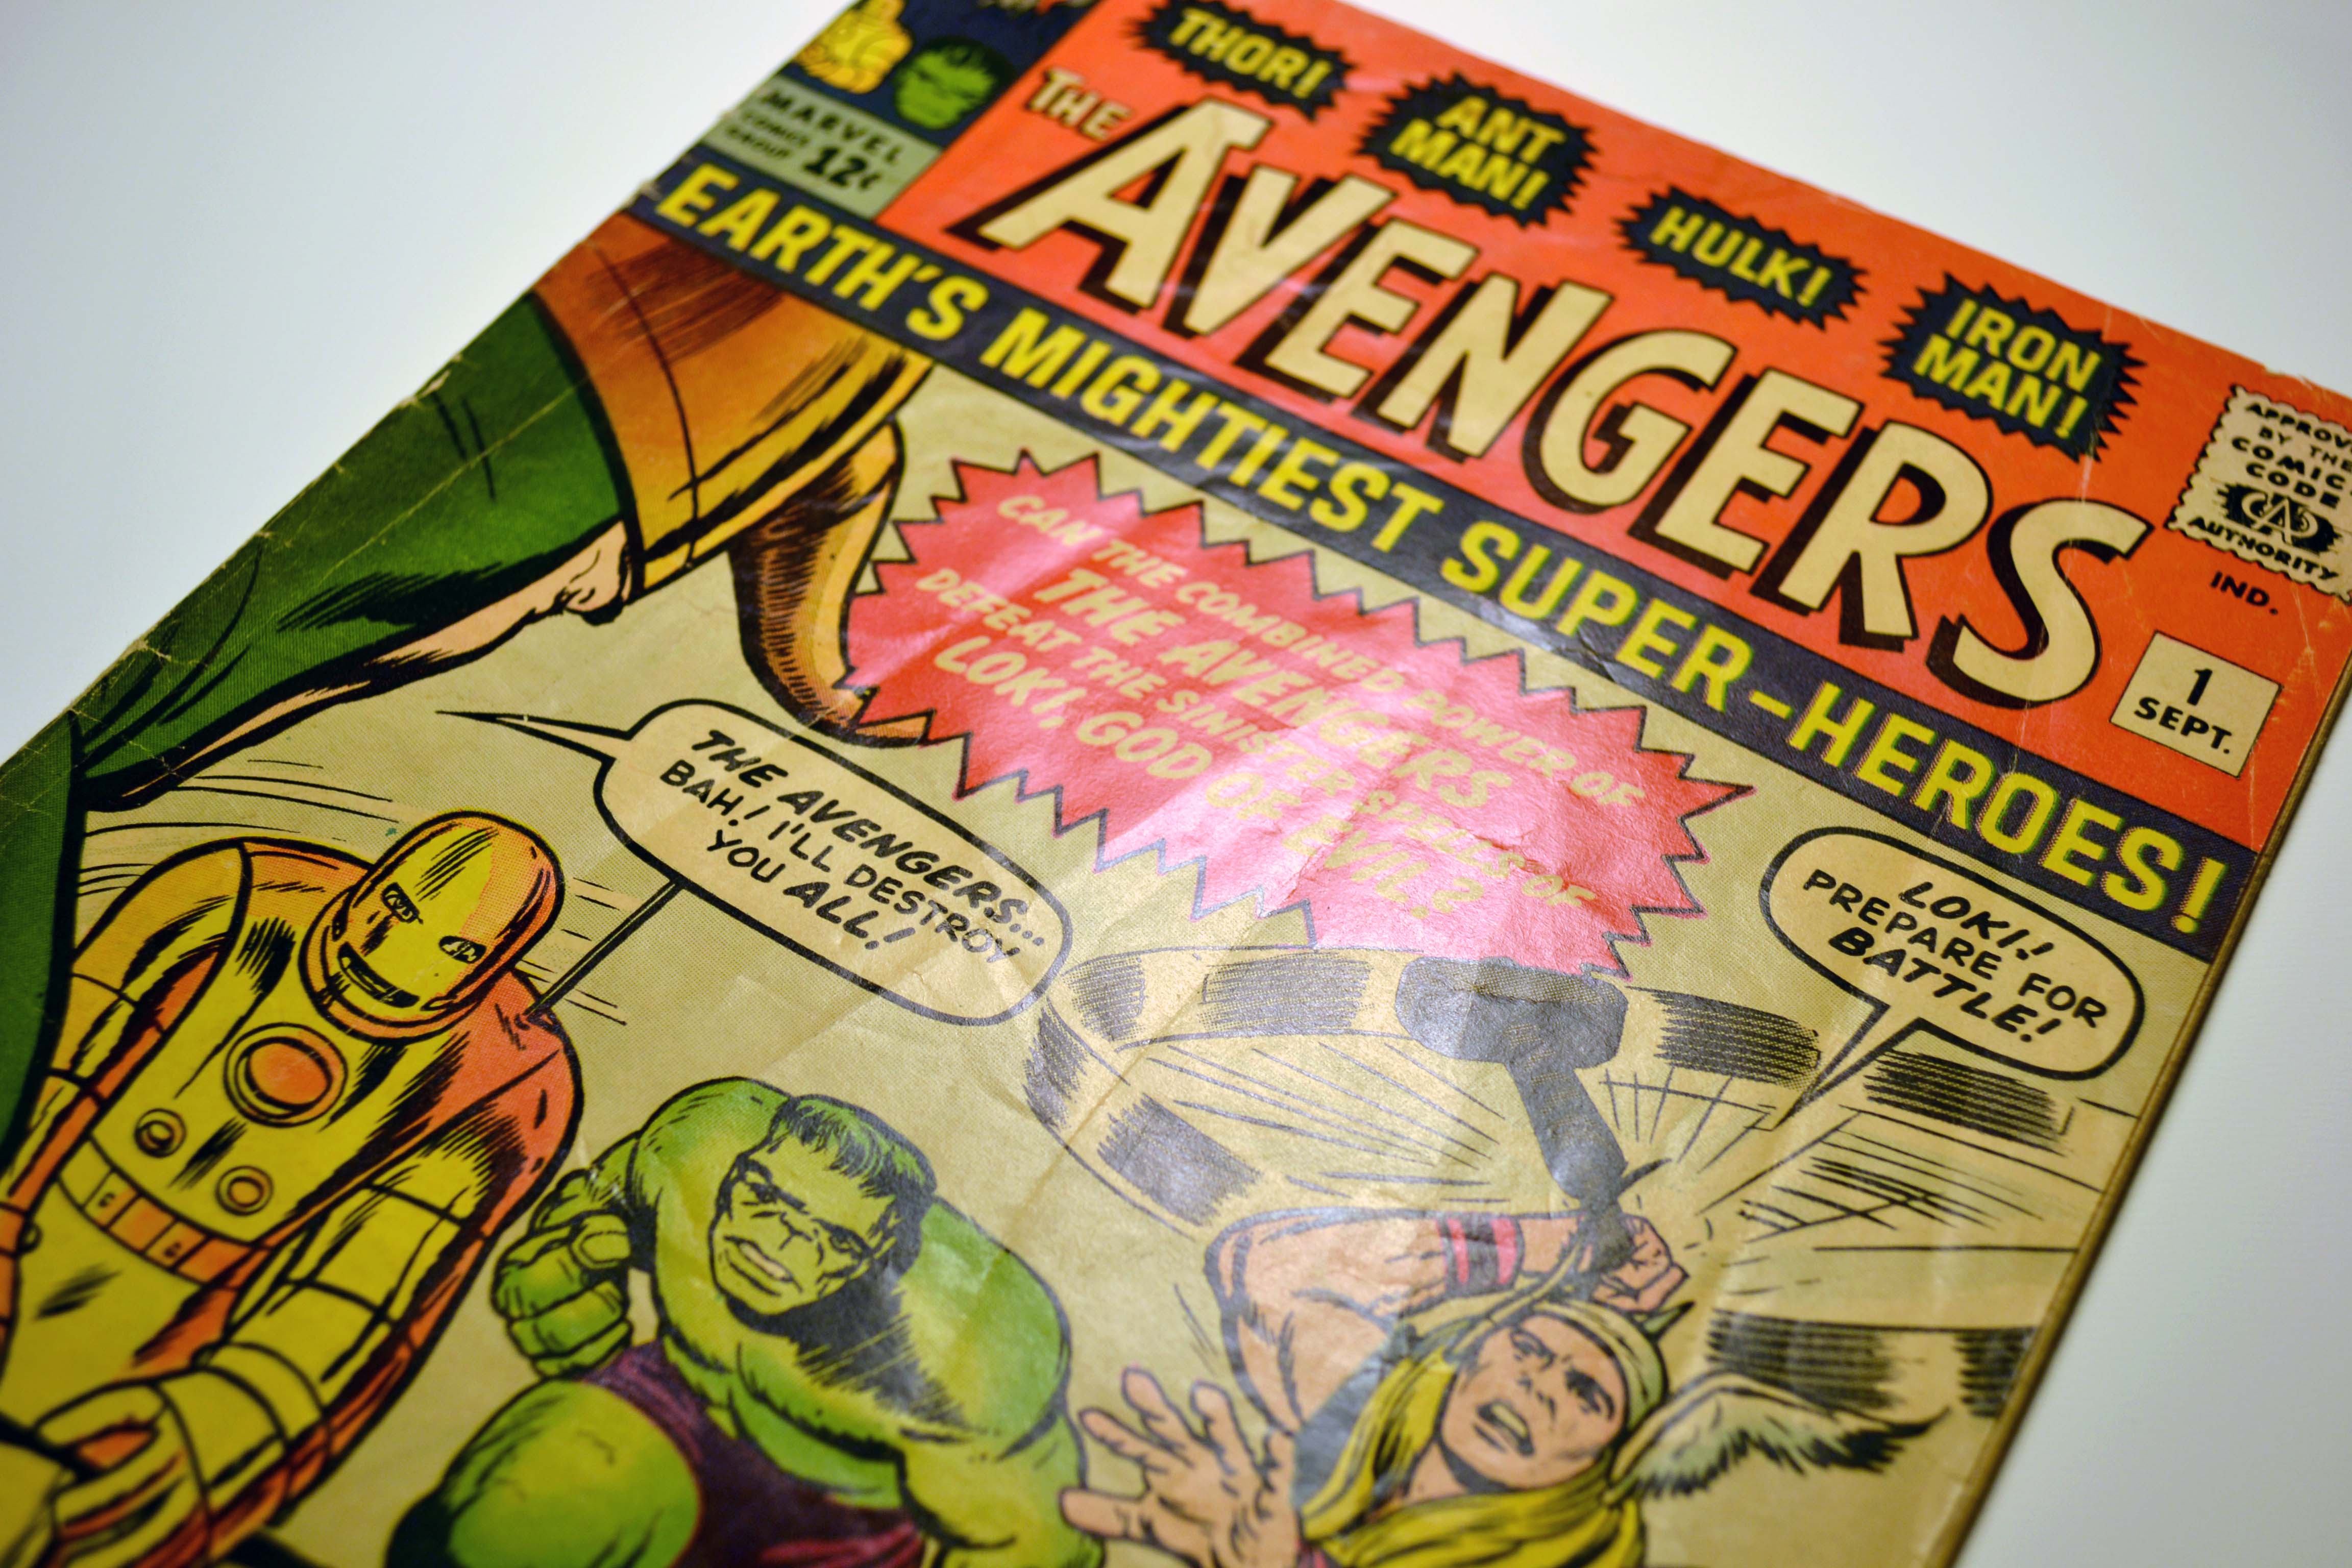
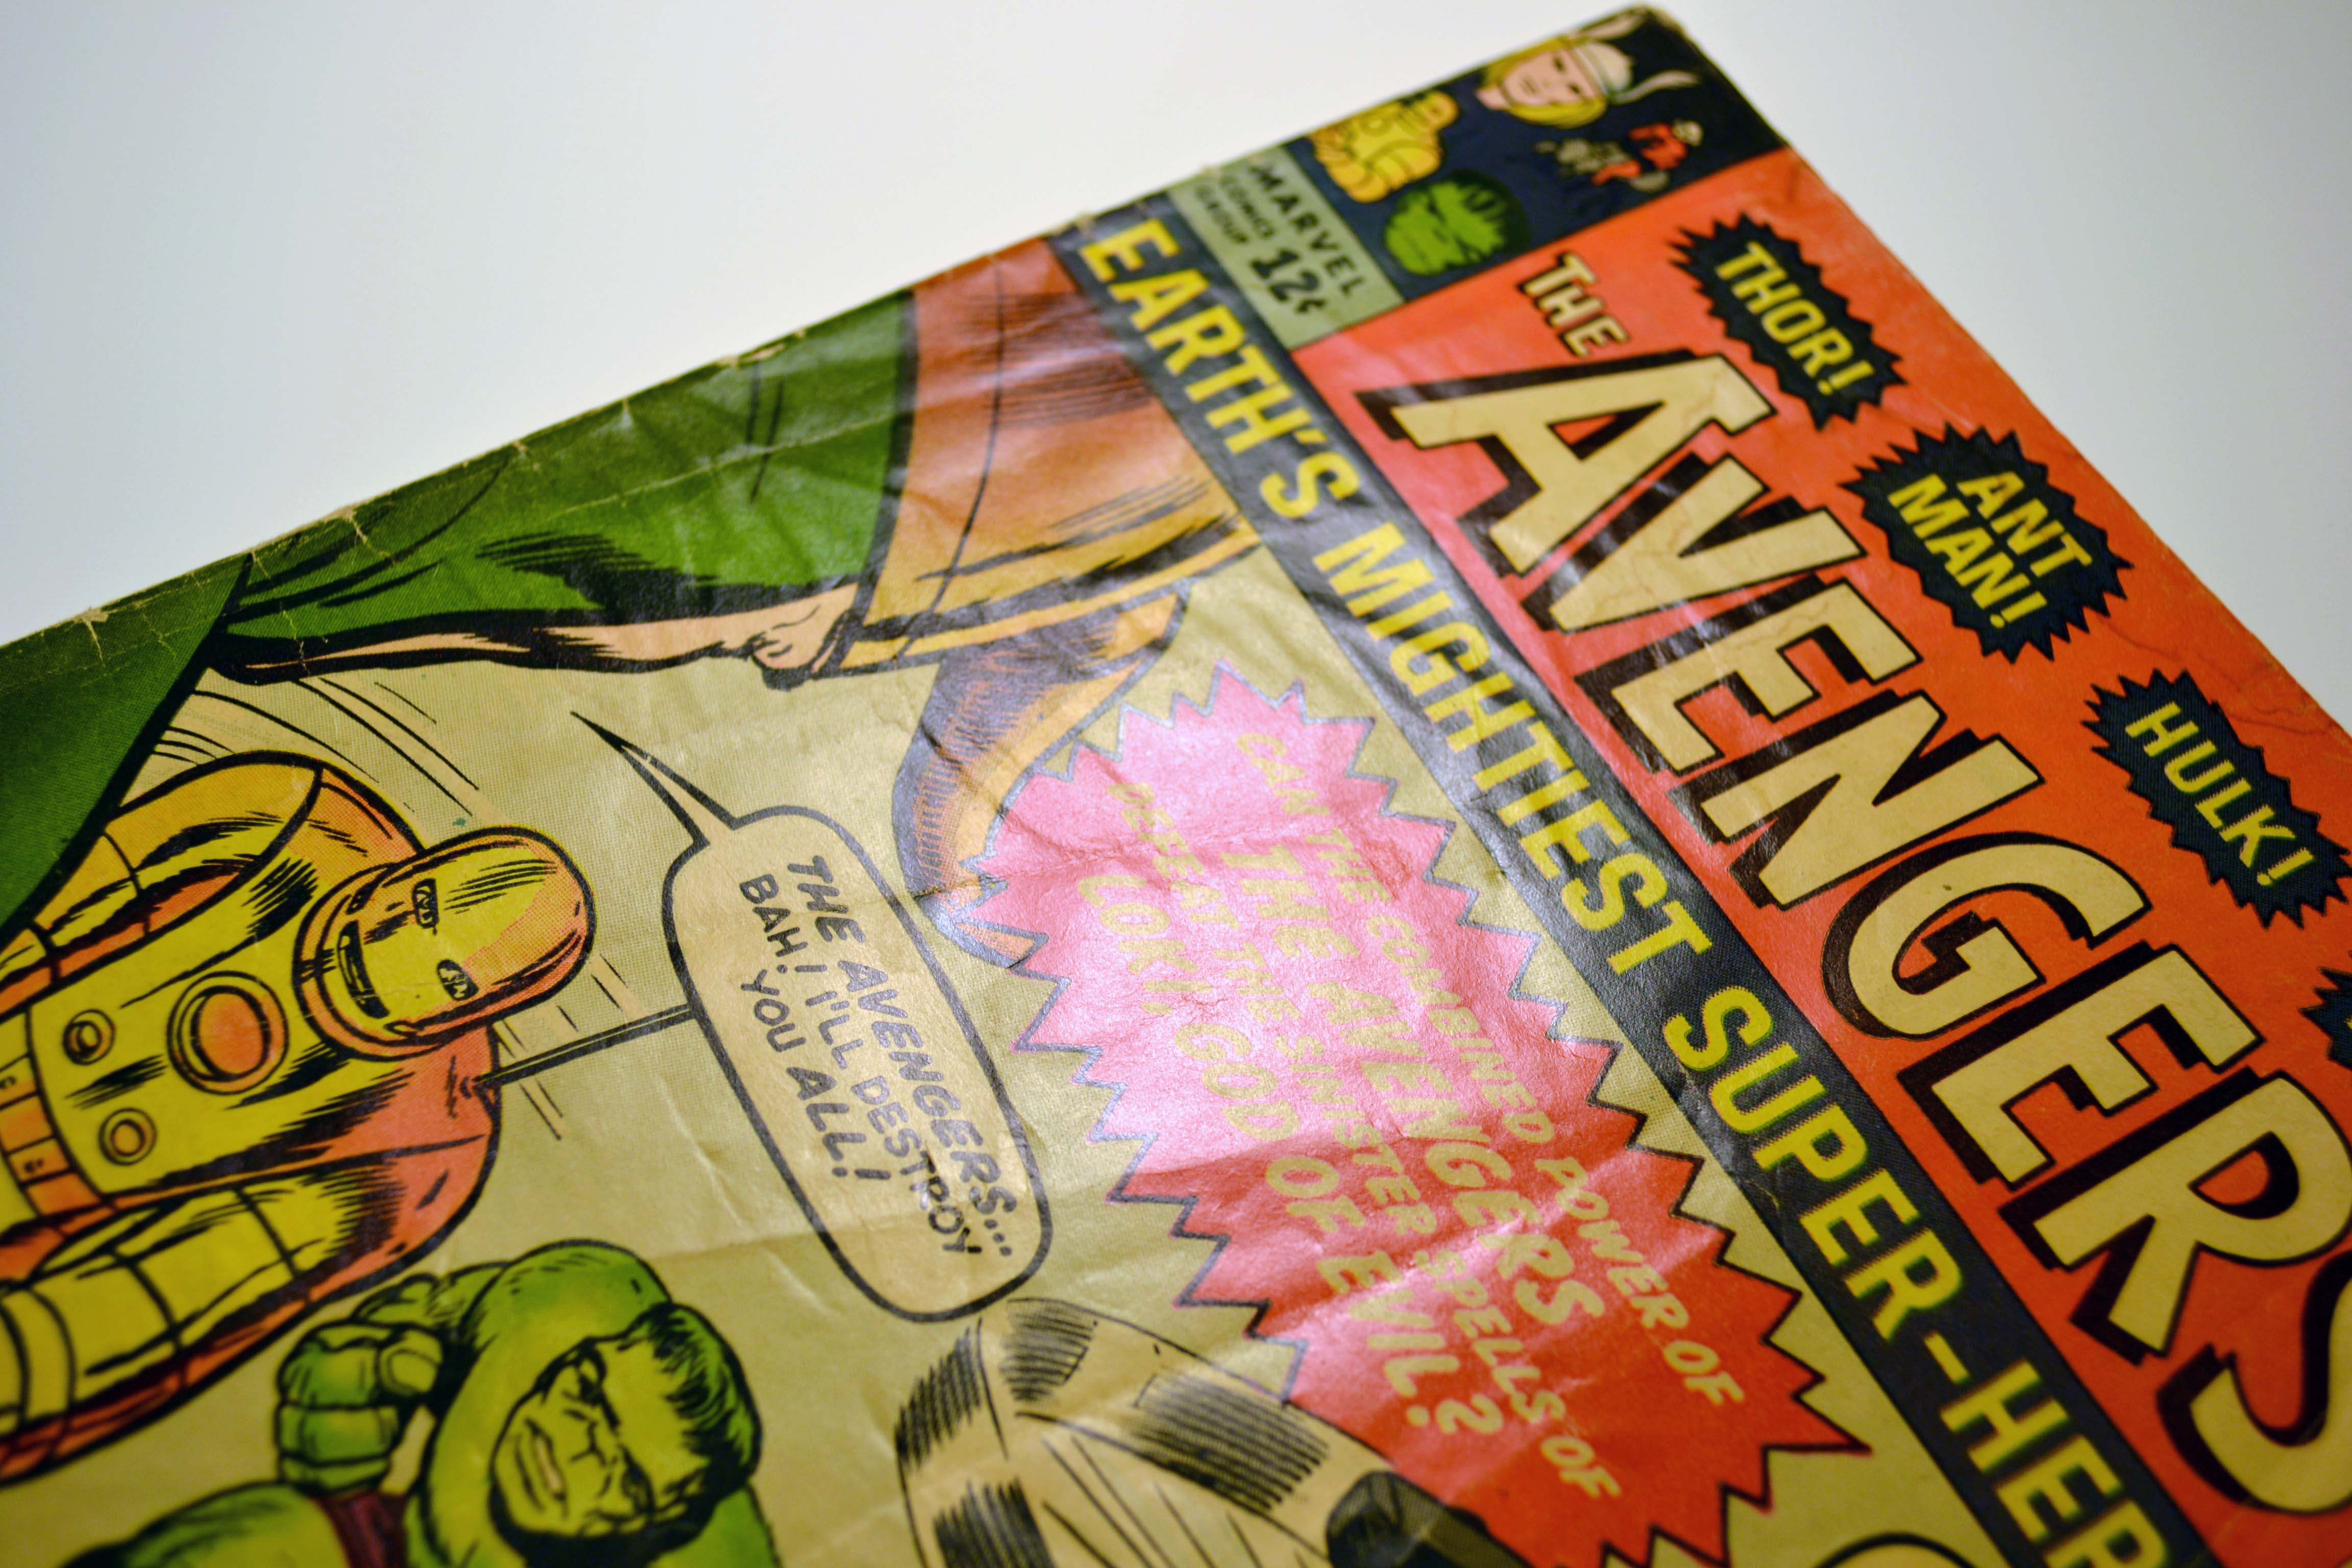
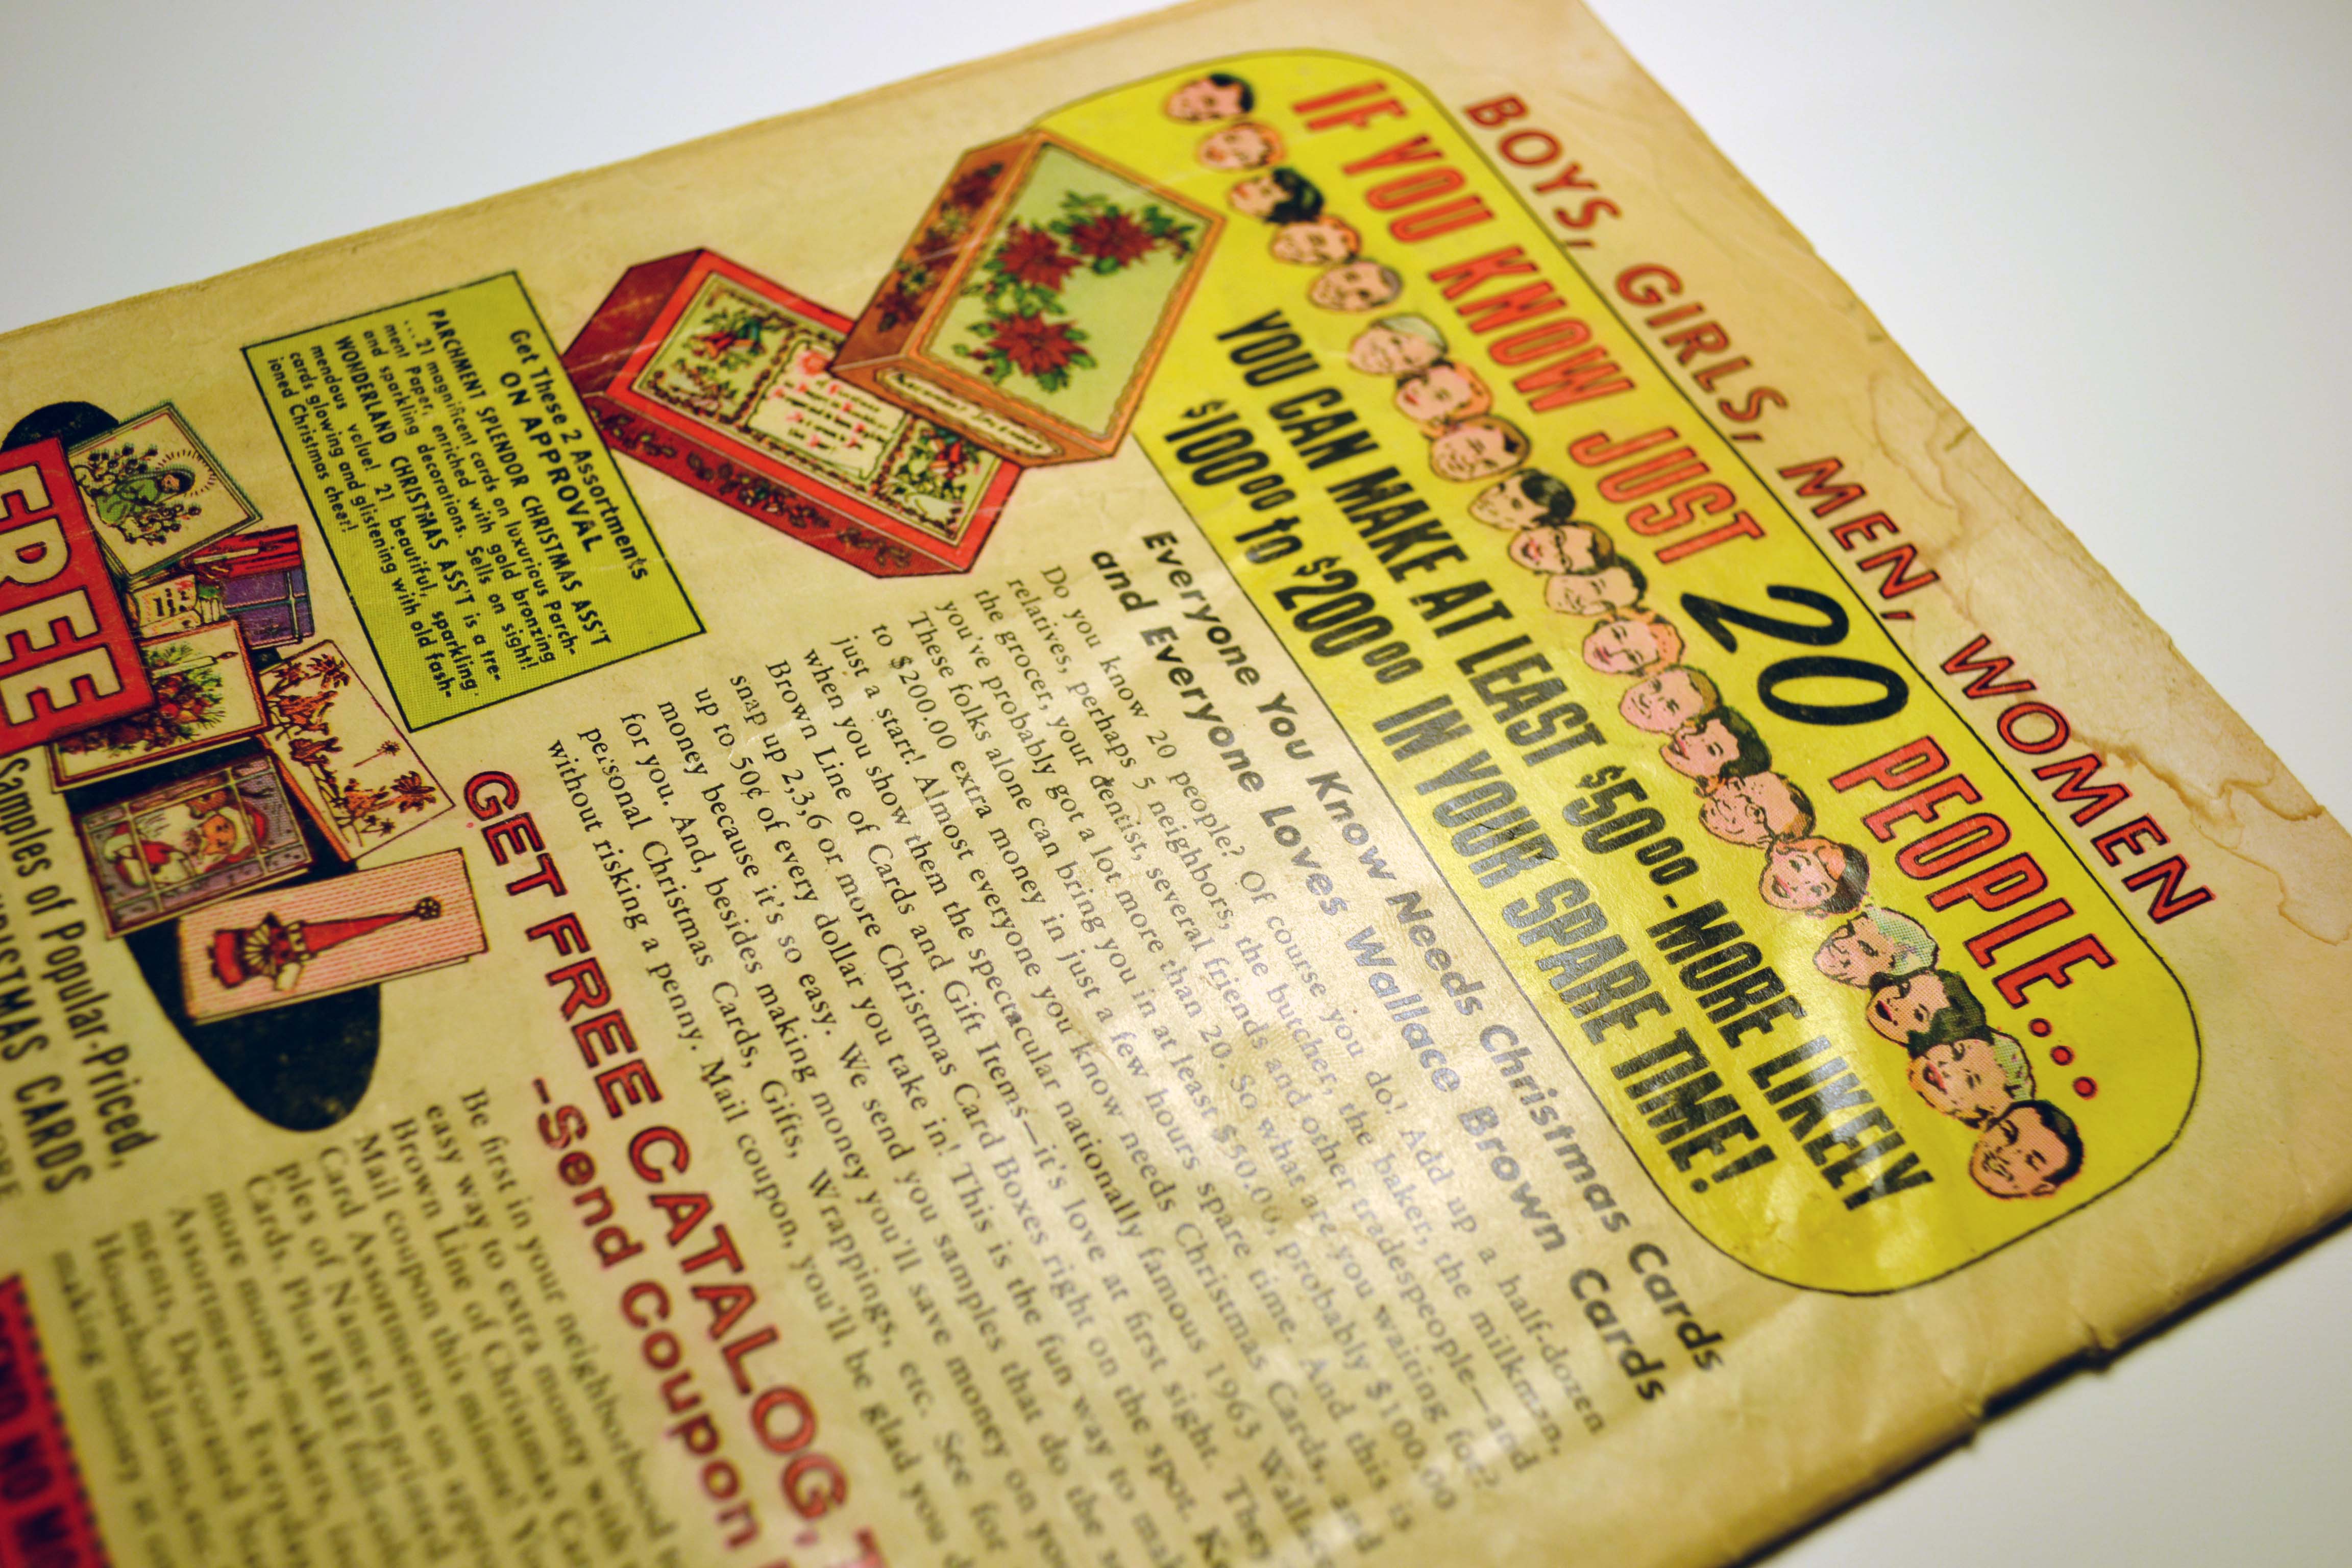
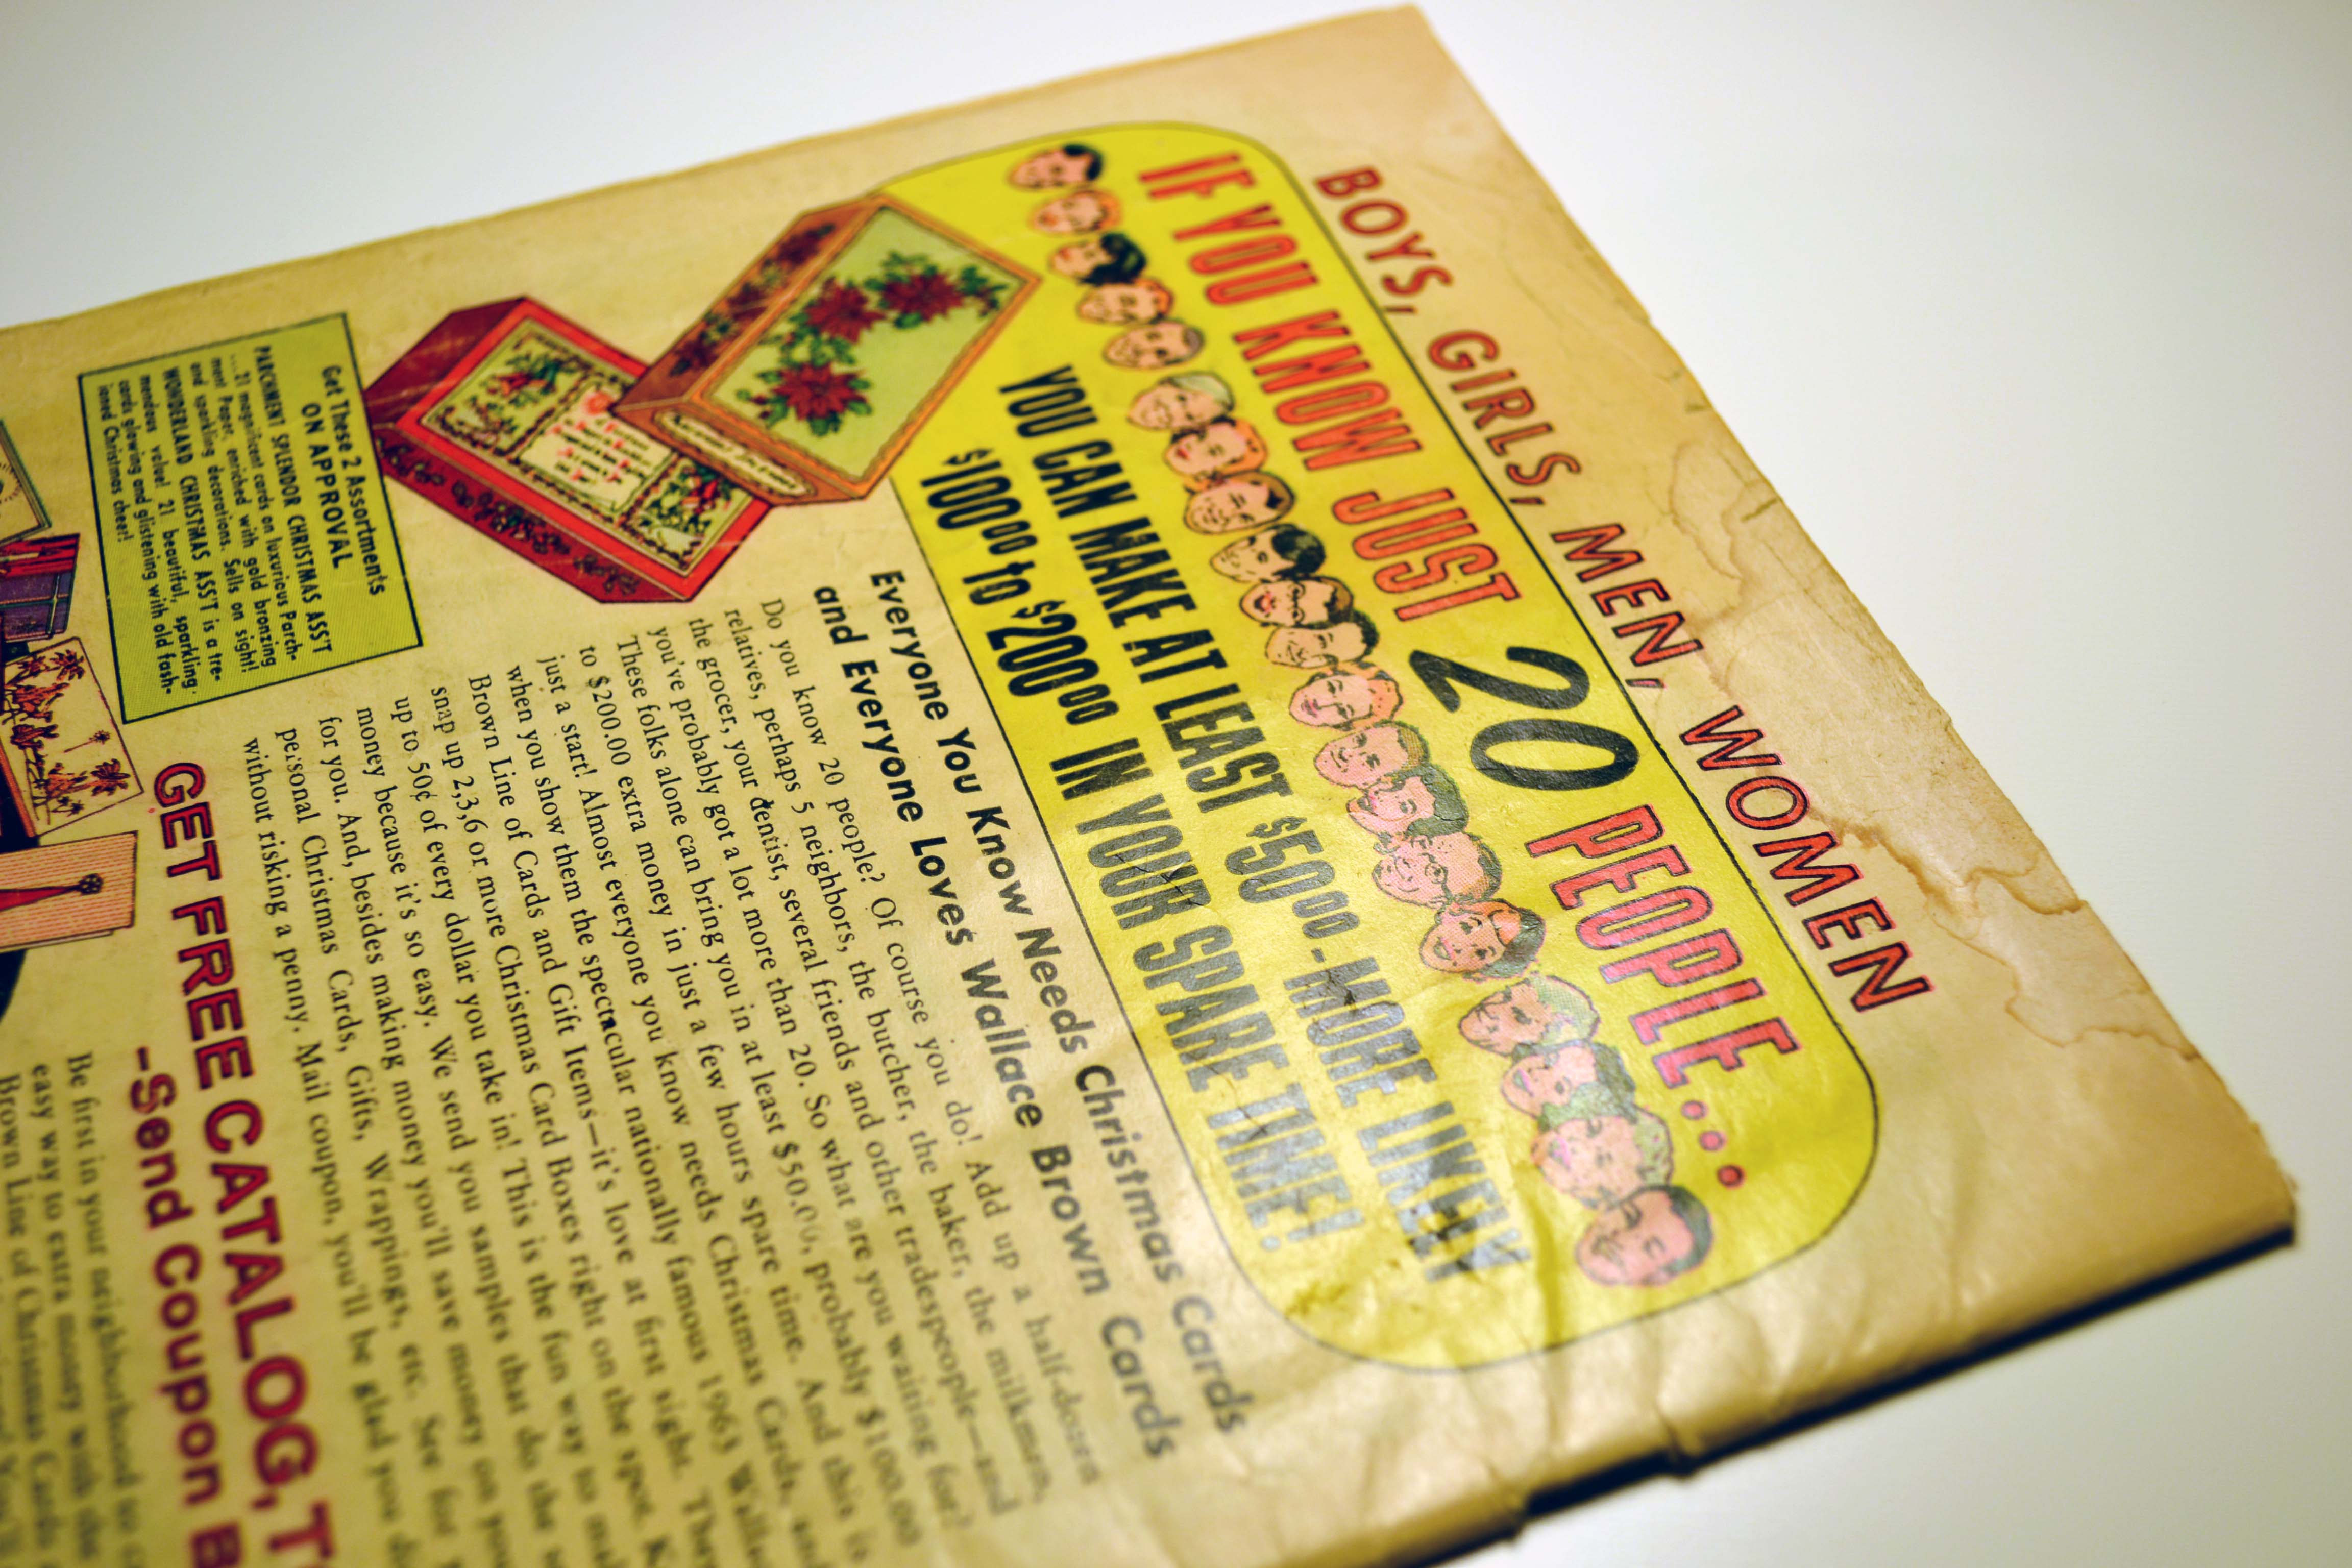
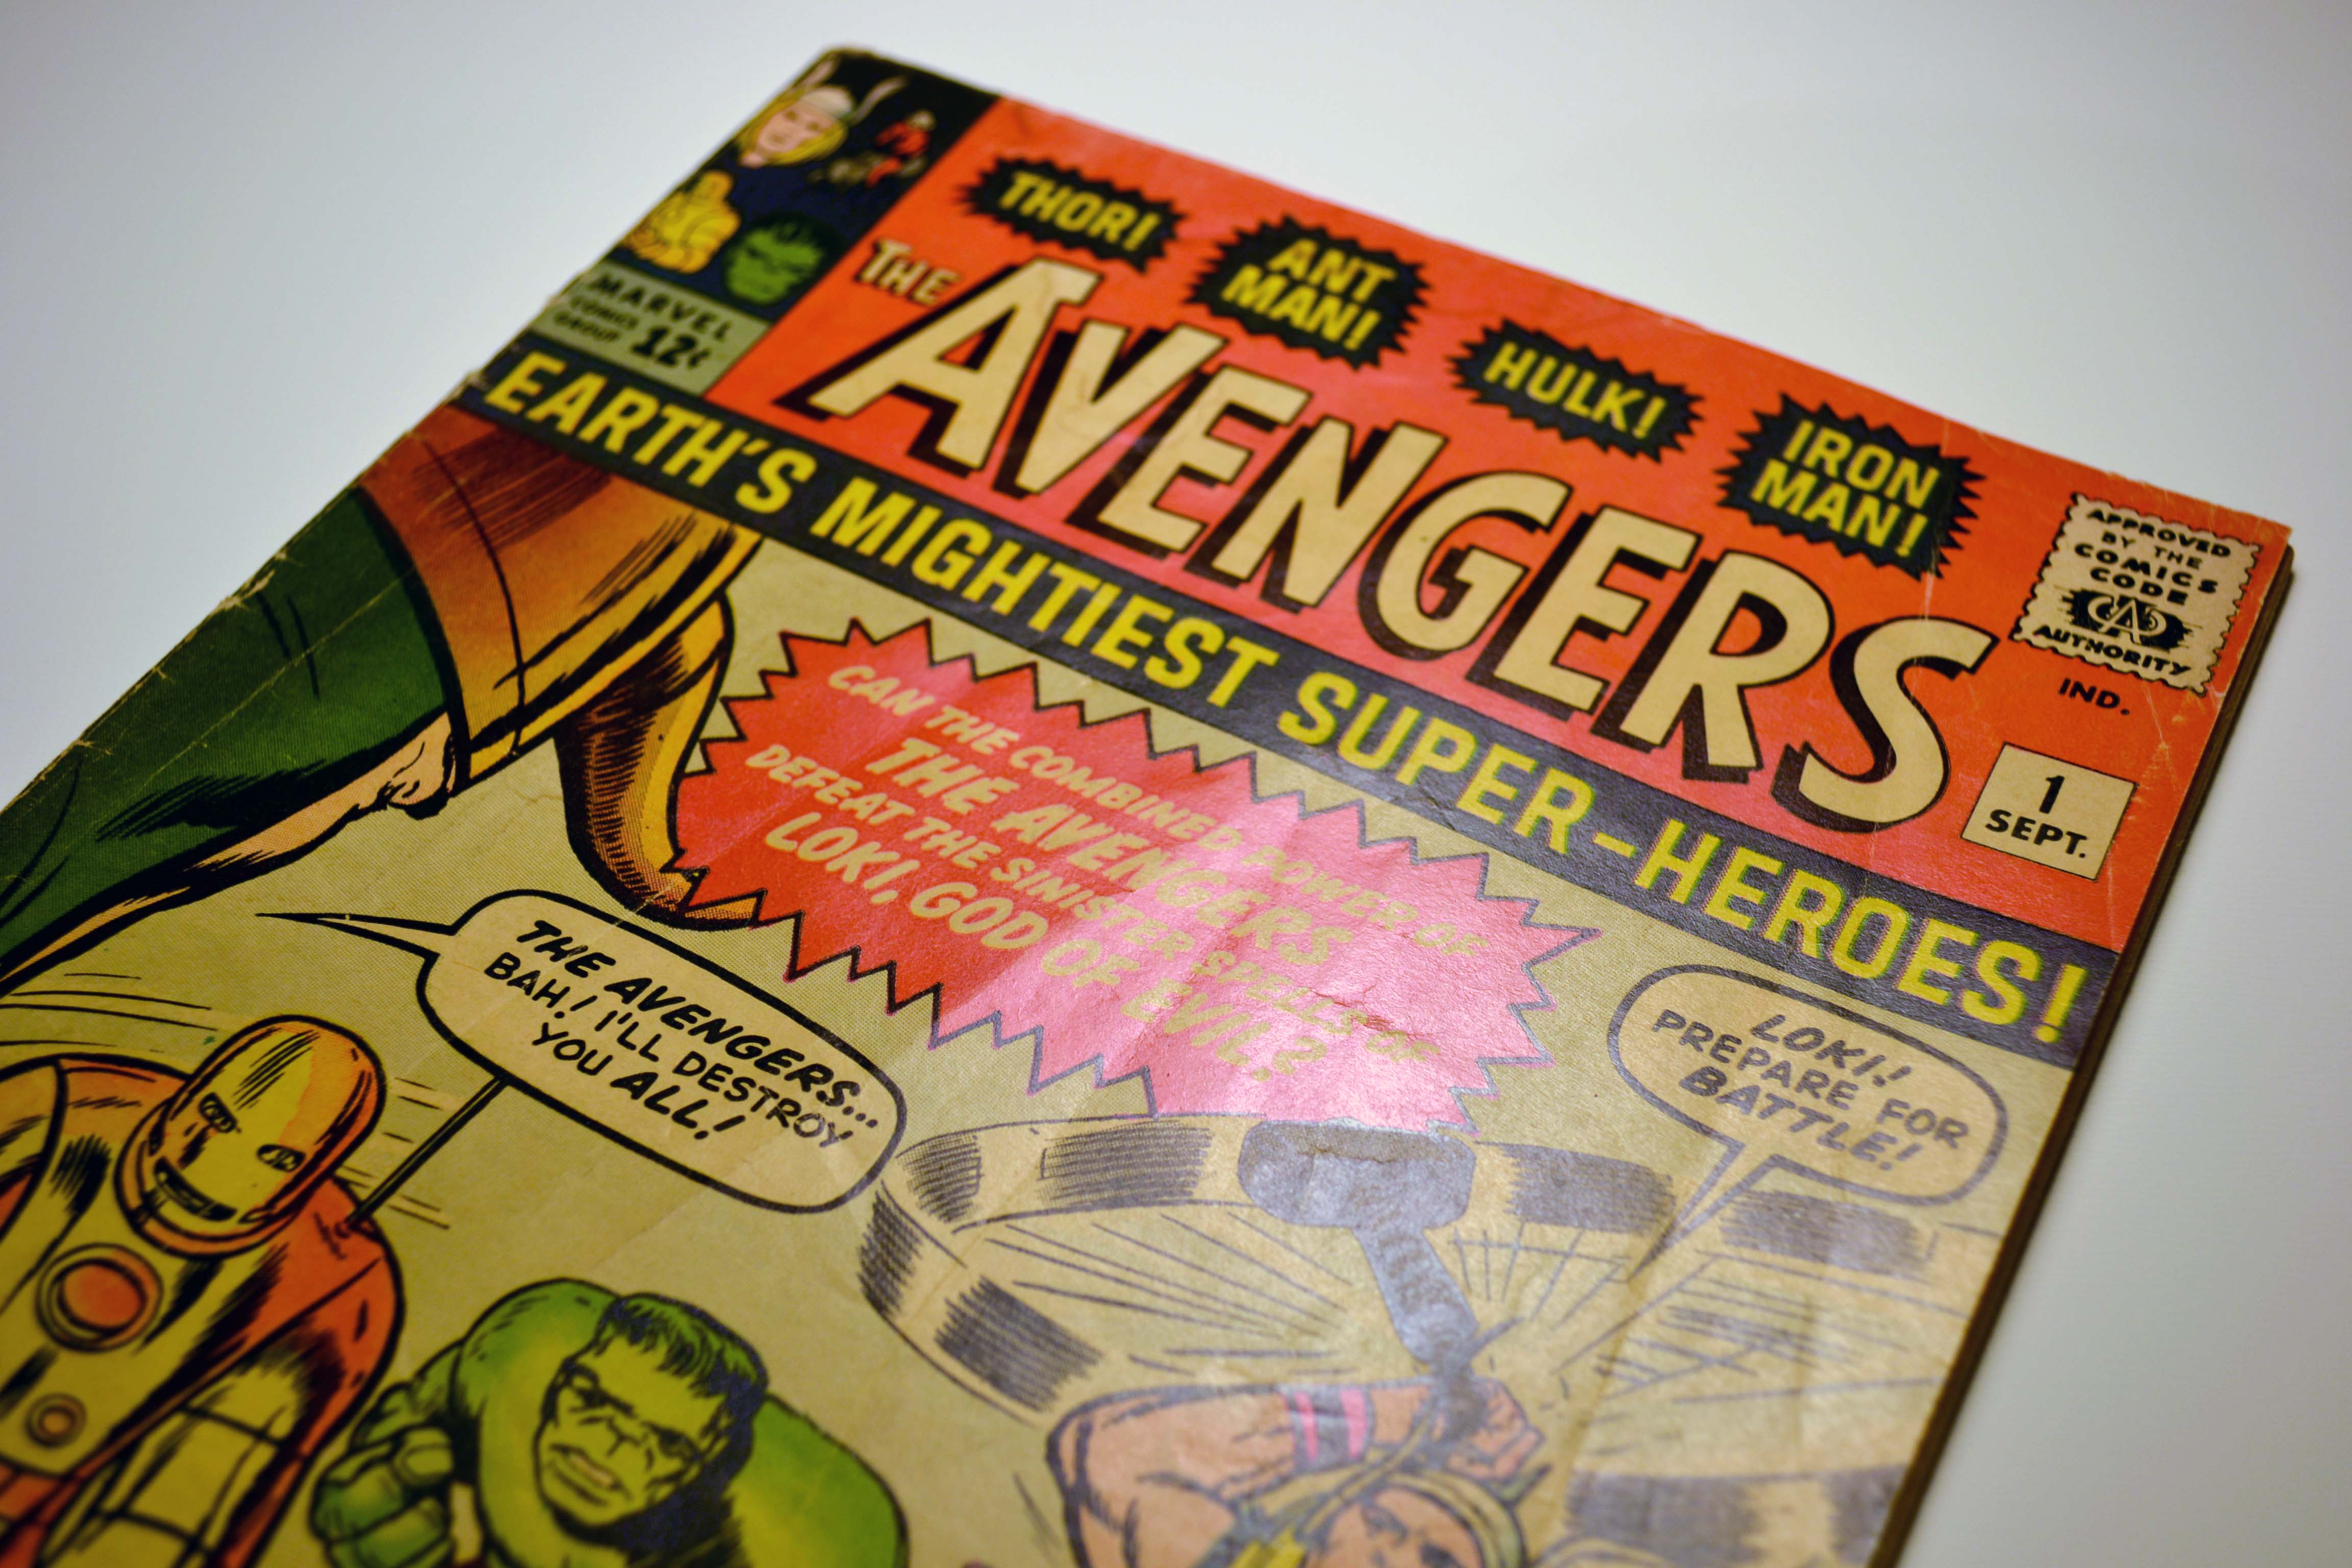
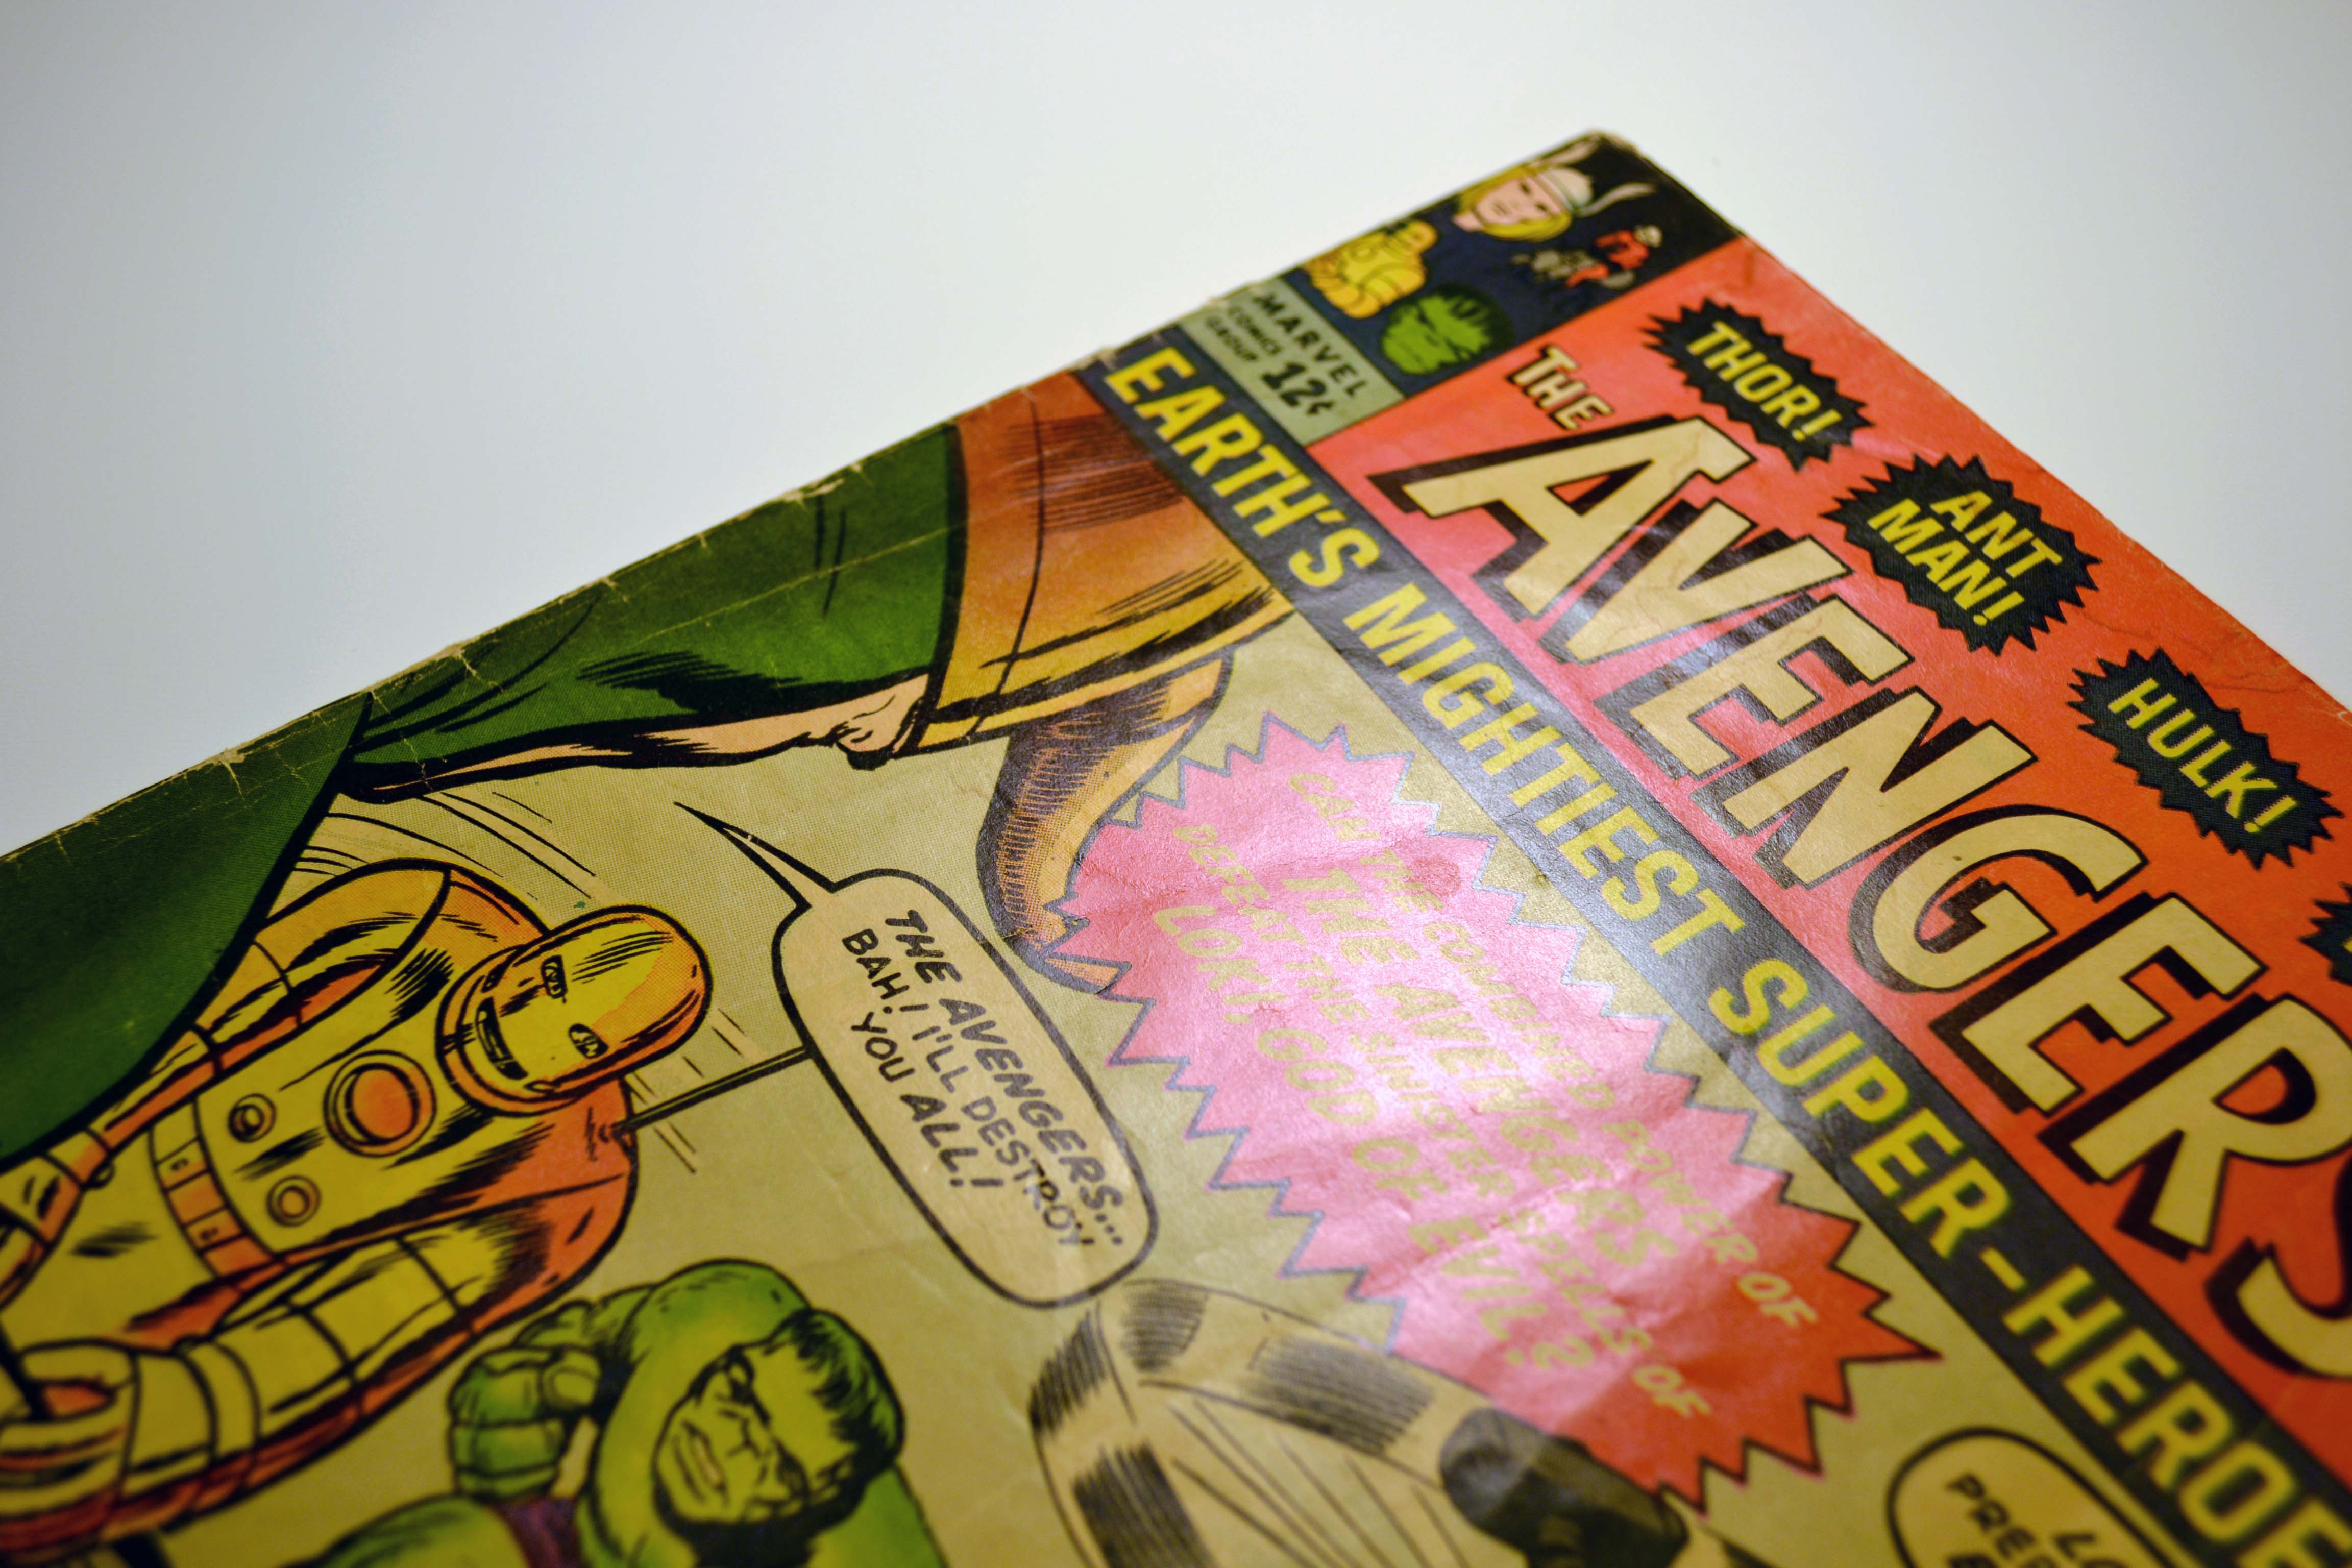
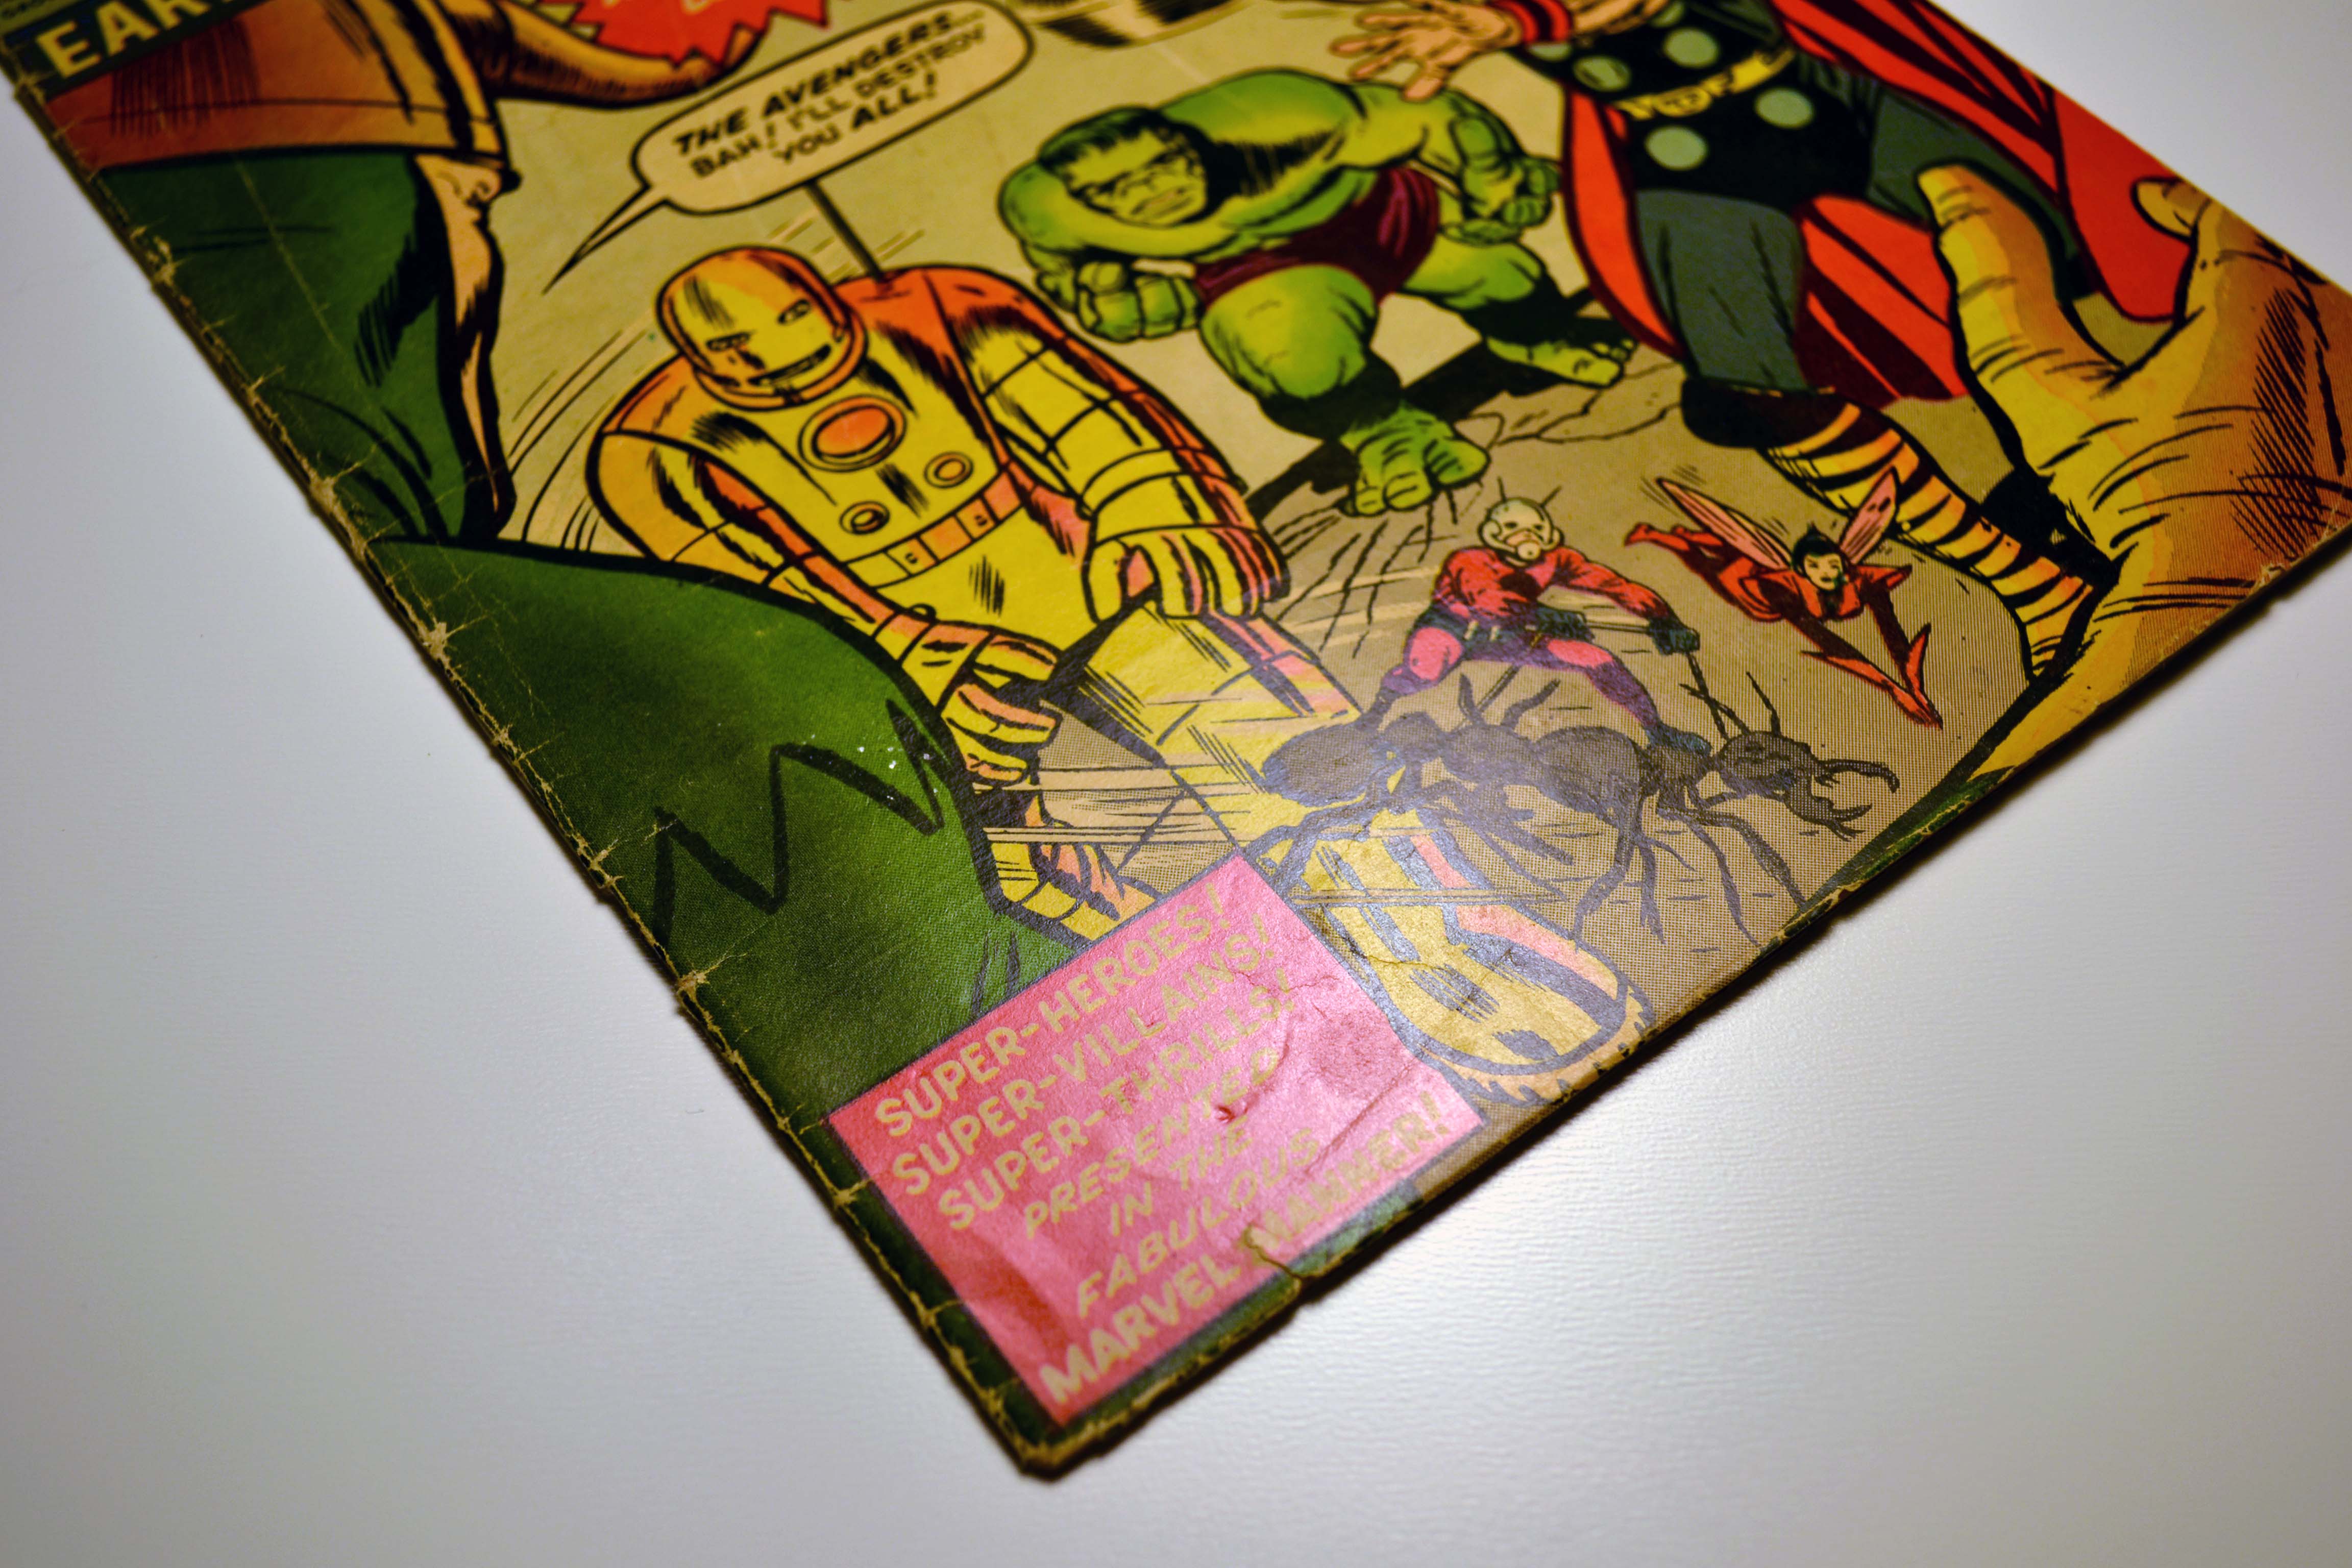
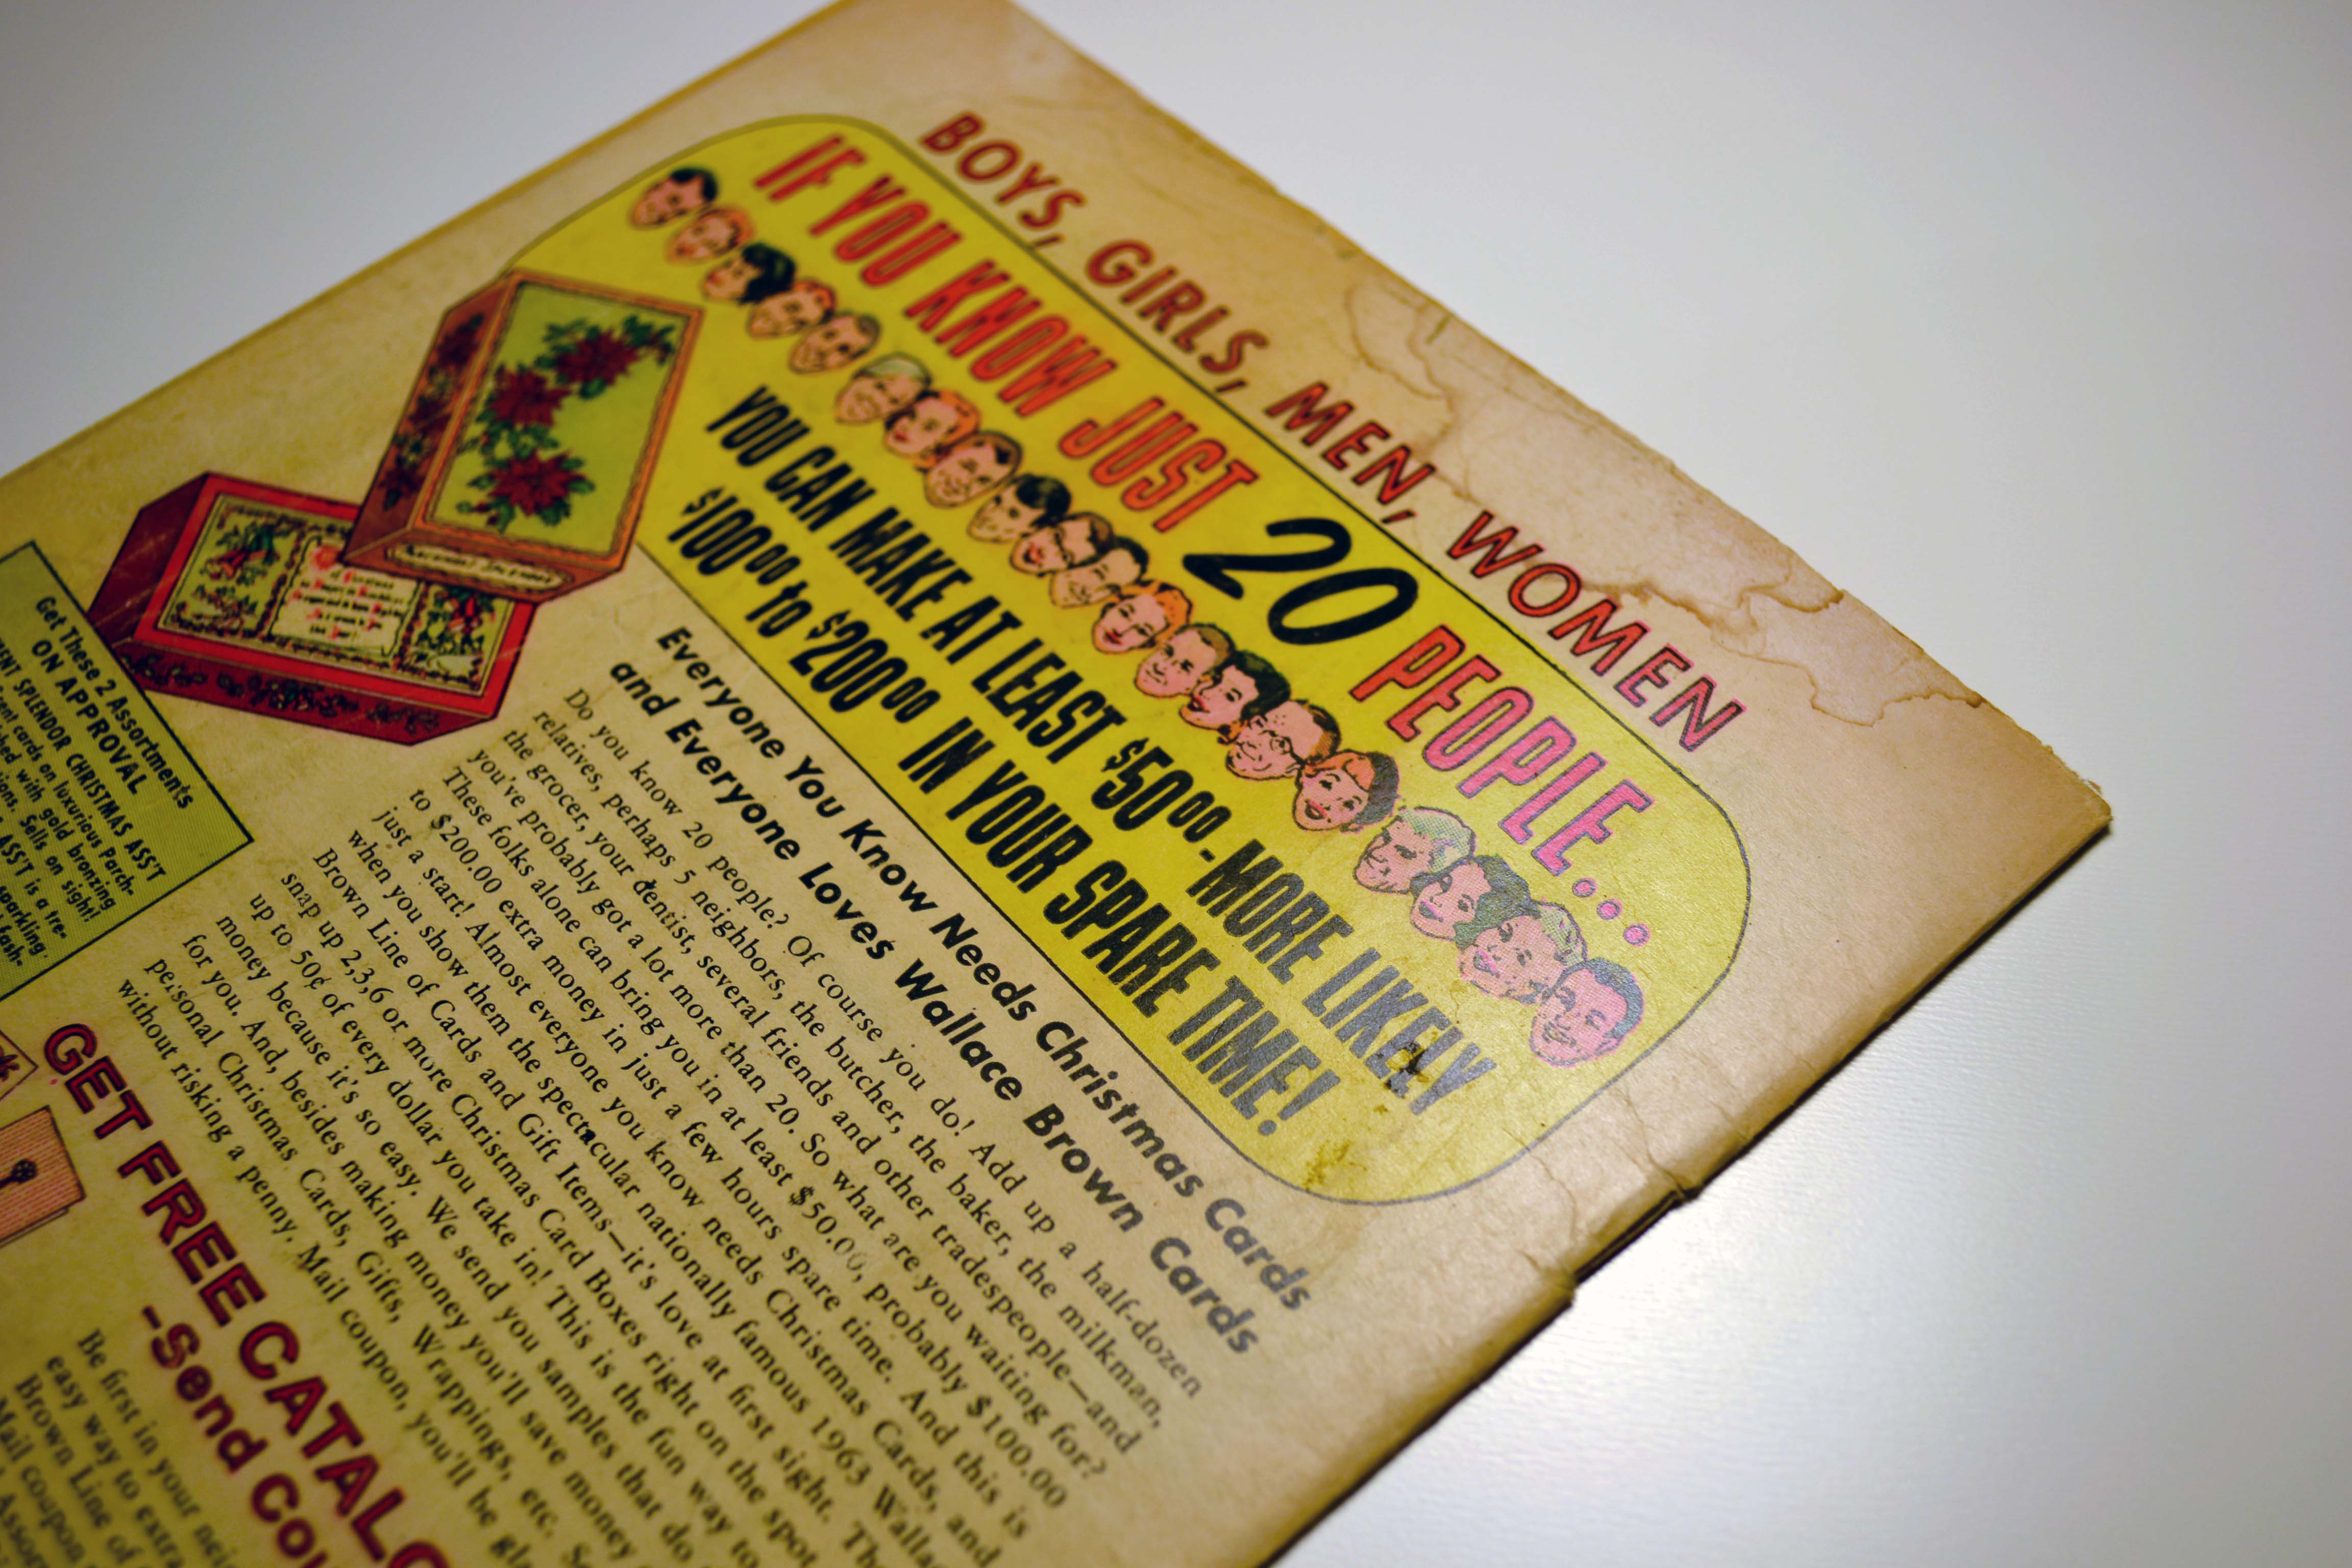
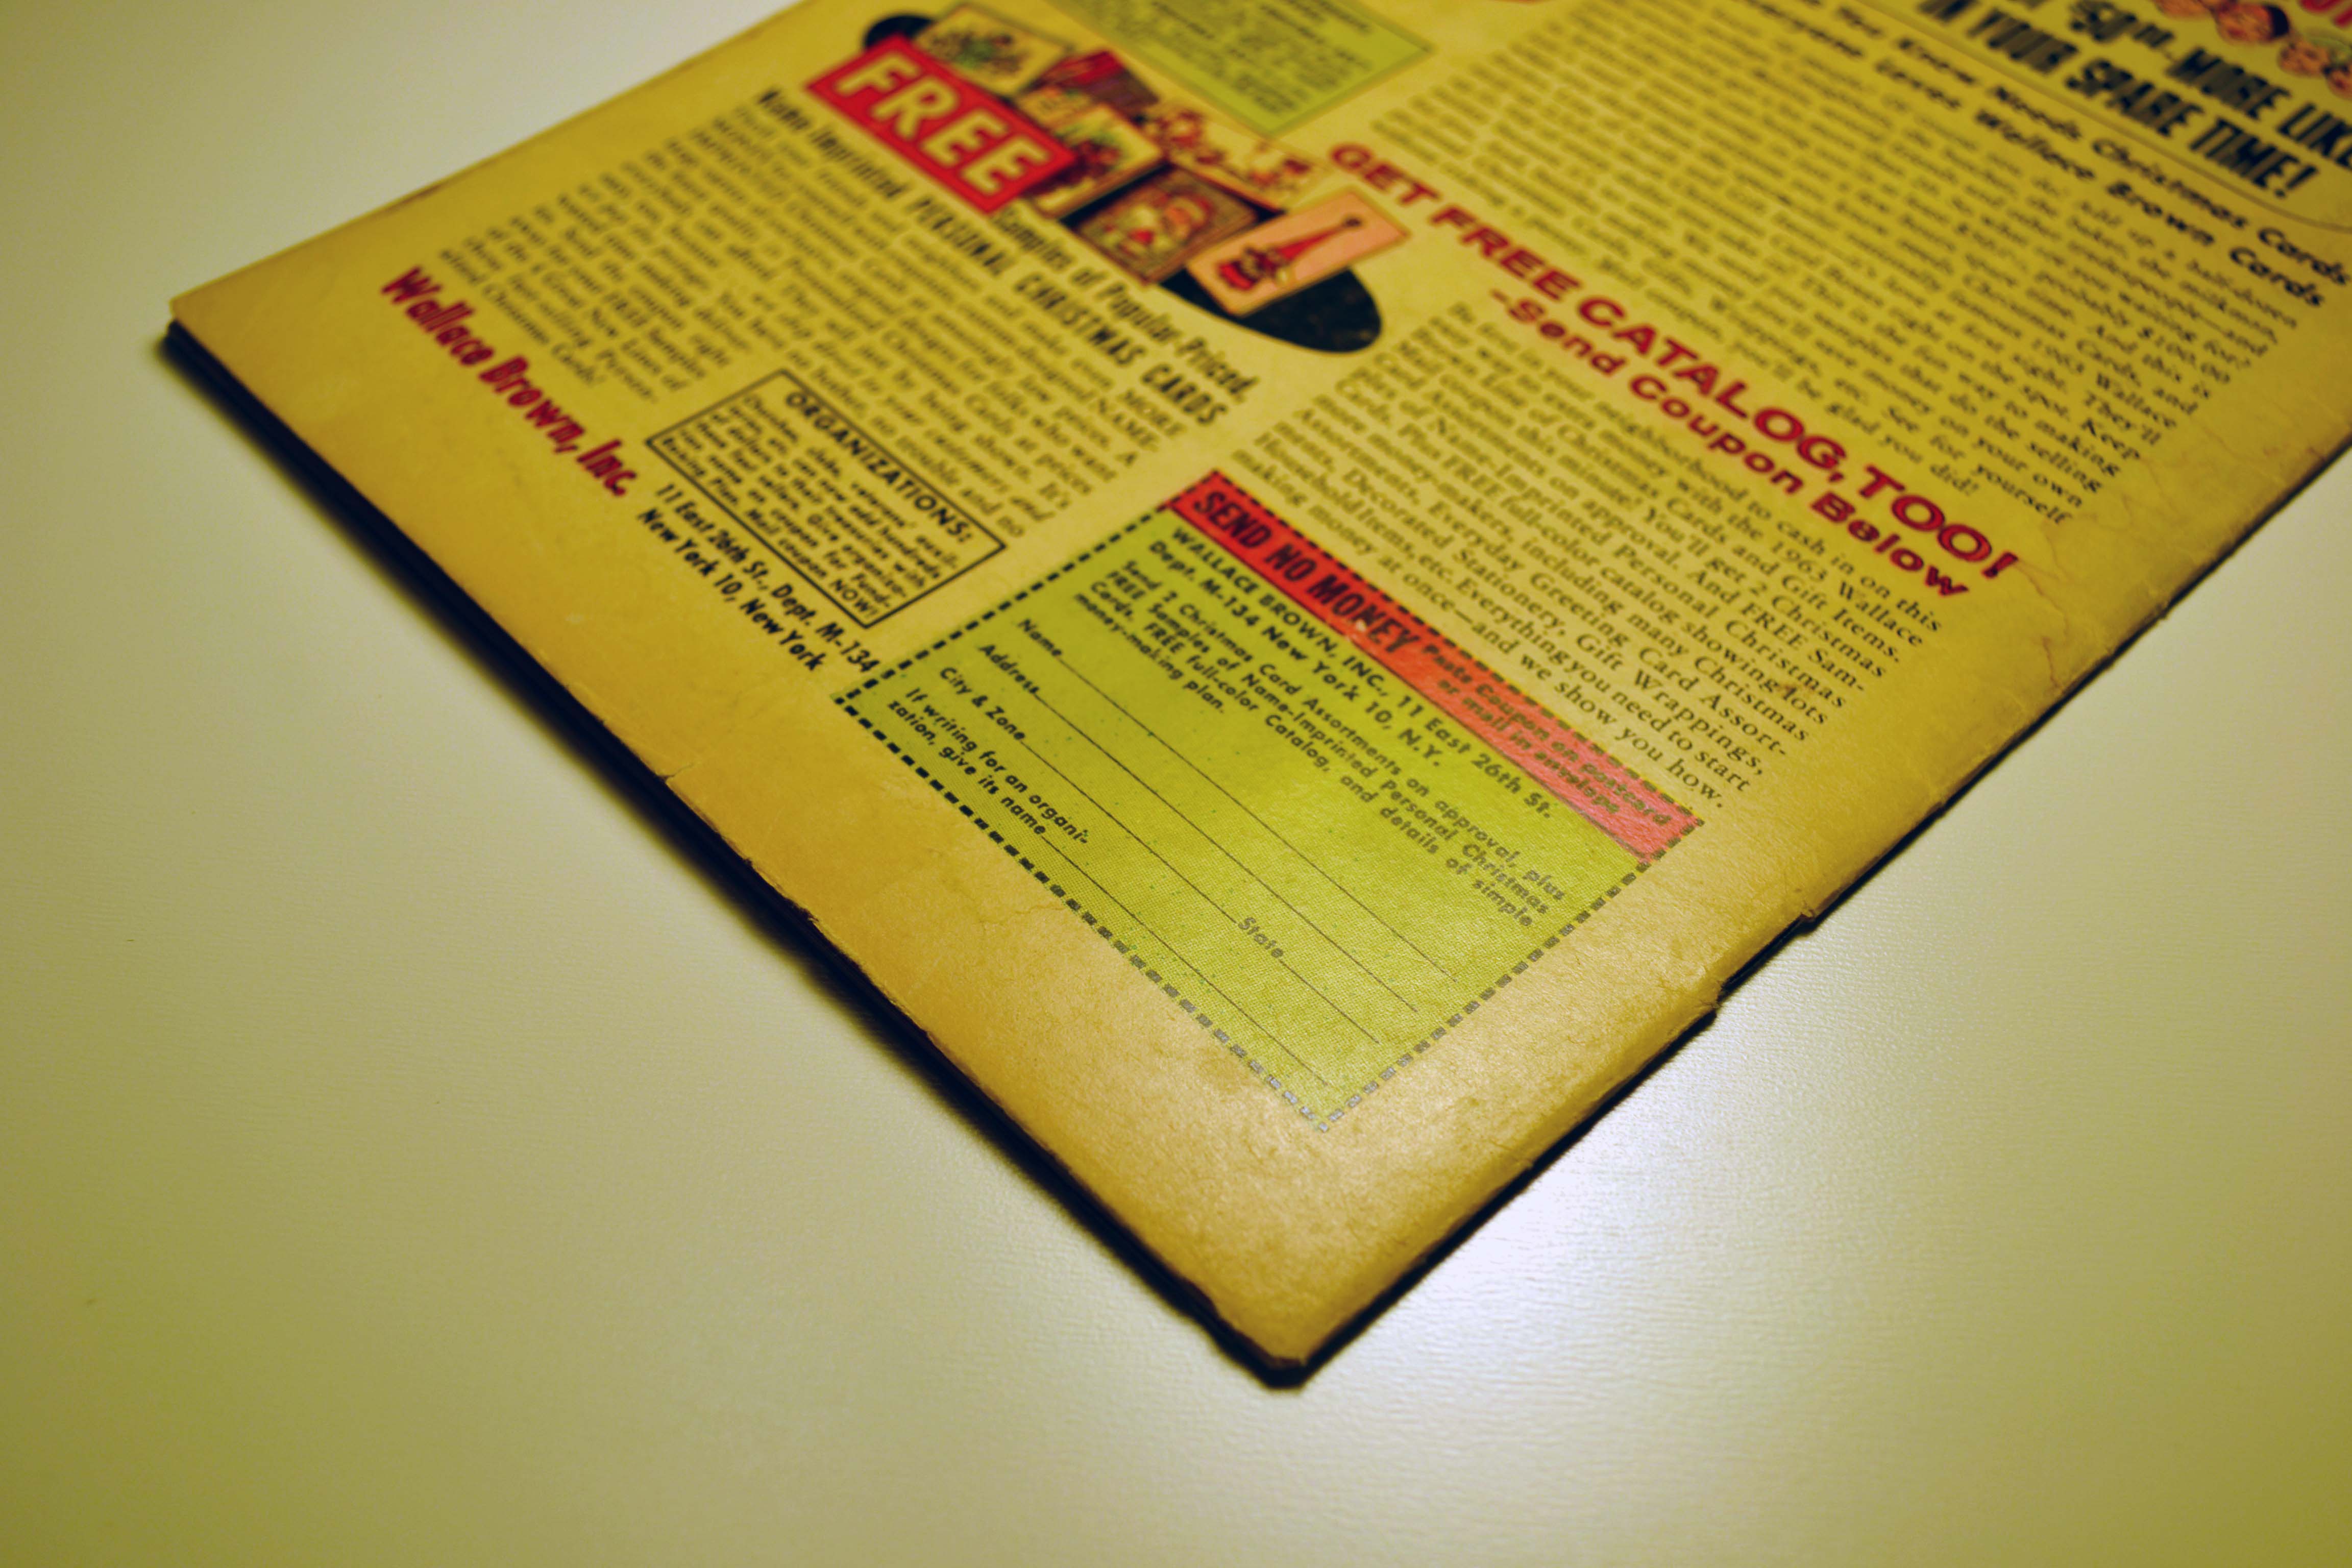
It’s not clear from the above scans, but the book is rather wrinkled and wavy from water damage as shown below.
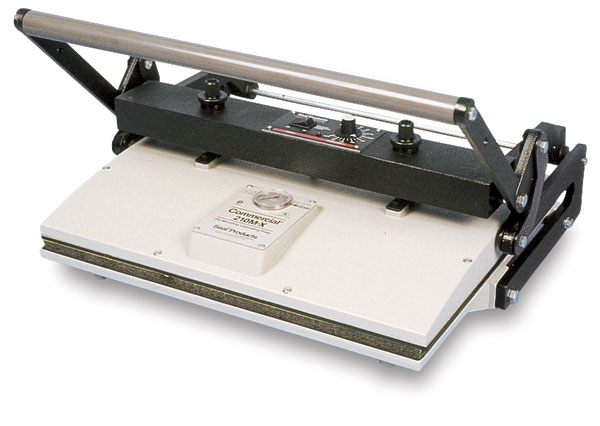
I use a Bienfang / Seal 210M Commercial Dry Mounting Press. It has an adjustable temperature setting from 150-350 degrees, 18.5″ x 23″ working area, and can produce over 1,200 lbs of pressure.
I first started pressing “test” books by sandwiching them between a pair of larger comic backing boards. This resulted in mixed results for a few different reasons. The first problem I encountered was the book moving slightly in the press, thus “pressing” the backboard line into the book, ruining it. The second problem was that the black ink from the comic would stick to the back board during pressing and be ripped off the book. The later would happen more frequently with silver and golden age books. Another problem I encountered was that sometimes the pressing process would darken the overall color of the book and cover.
I resolved the “pressing line” issue by purchasing magazine sized back boards so that even if the book slightly shifted in position I still had adequate coverage around the perimeter of the book.
The black ink sticking the the boards was resolved by adding a layer of parchment paper on both sides of the book during the pressing process. The parchment paper was a logical choice for its heat resistance, low surface energy and non-stick properties. I had concerns about the sulfuric acid and chlorine used to produce parchment paper, but was reassured that due to the short exposure time it wouldn’t be an issue.
The darkened page issue was resolved by reducing the temperature but increasing the duration of pressing. I’ve found that 150-200 degrees for around 20-30 minutes yields great results. If I didn’t get the desired results after the first pressing I would repeat the process which got me to where I wanted to be most of the time.
I also tried to press books for long periods of time with no heat at all. This never worked.. heat and even pressure are needed.
I still have a couple problems that I don’t yet have solutions to. The first is staple indents.. This happened when the staples of the book were not centered on the binding fold, resulting in the staple impressions being pressed through the other half of the book. The only possible solution I see right now is to remove the staples before pressing and return them after. Another problem is when the cover is slightly larger then the other pages resulting in a line being pressed into the cover along the shorter edge.
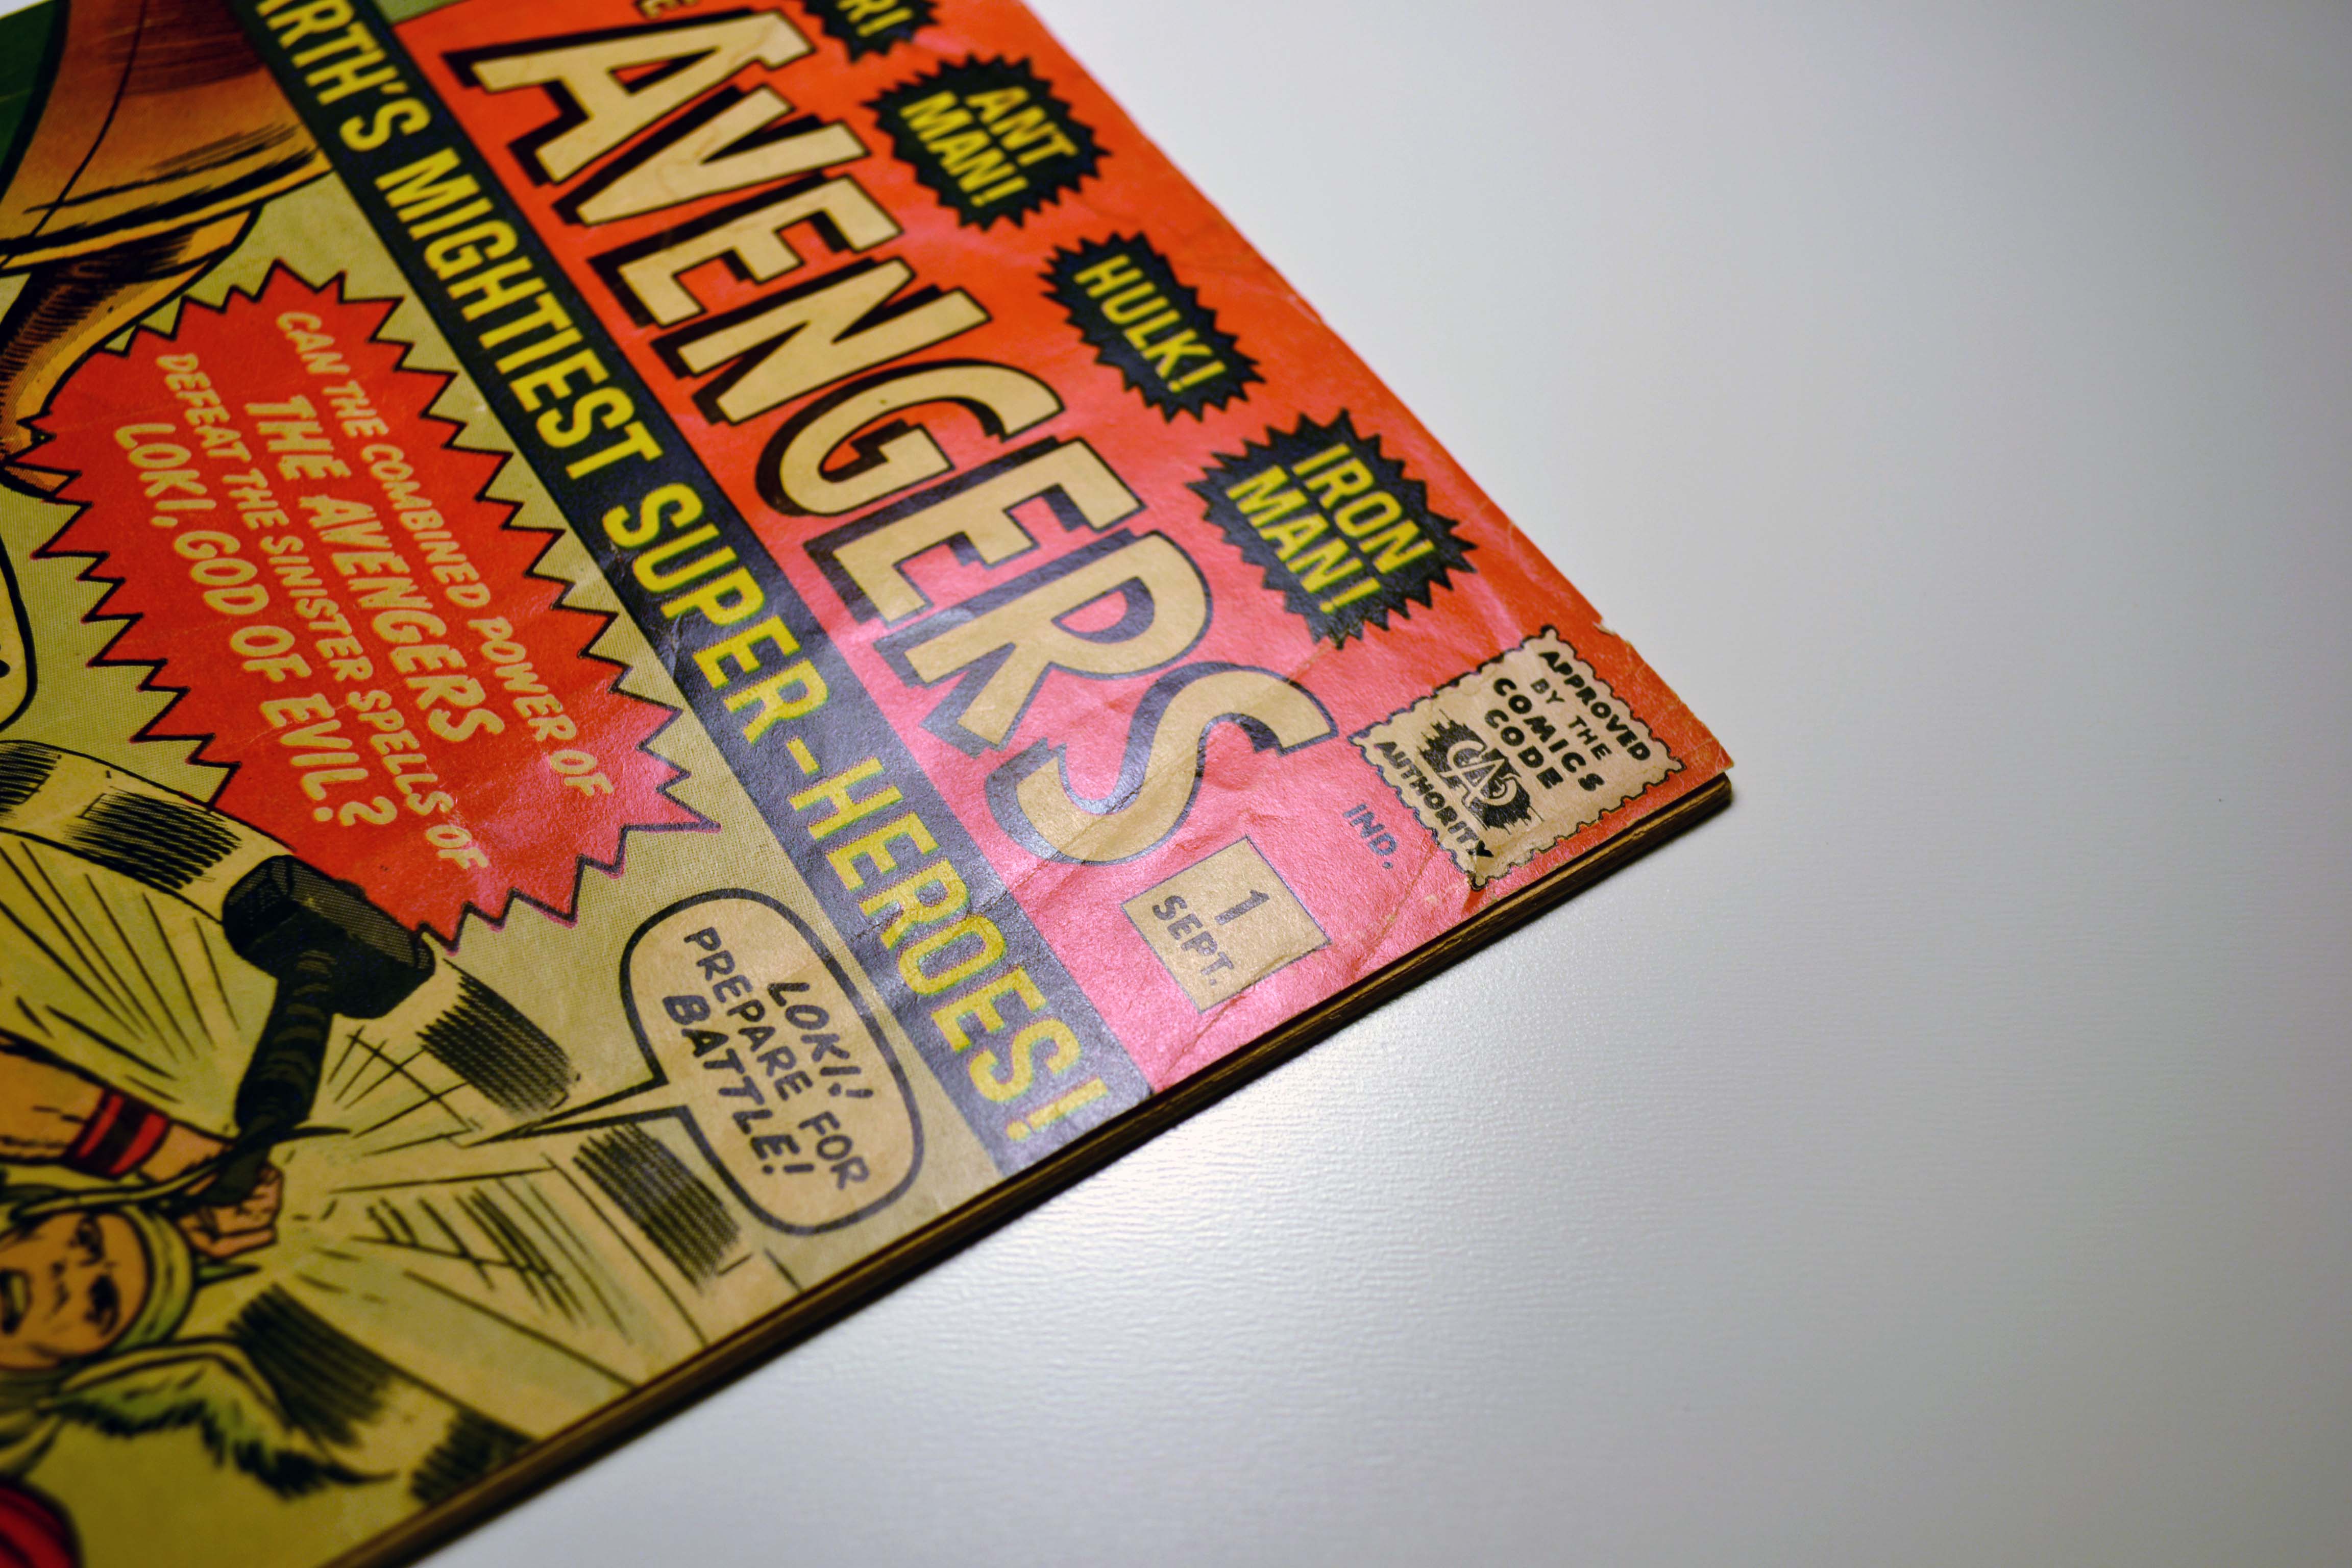
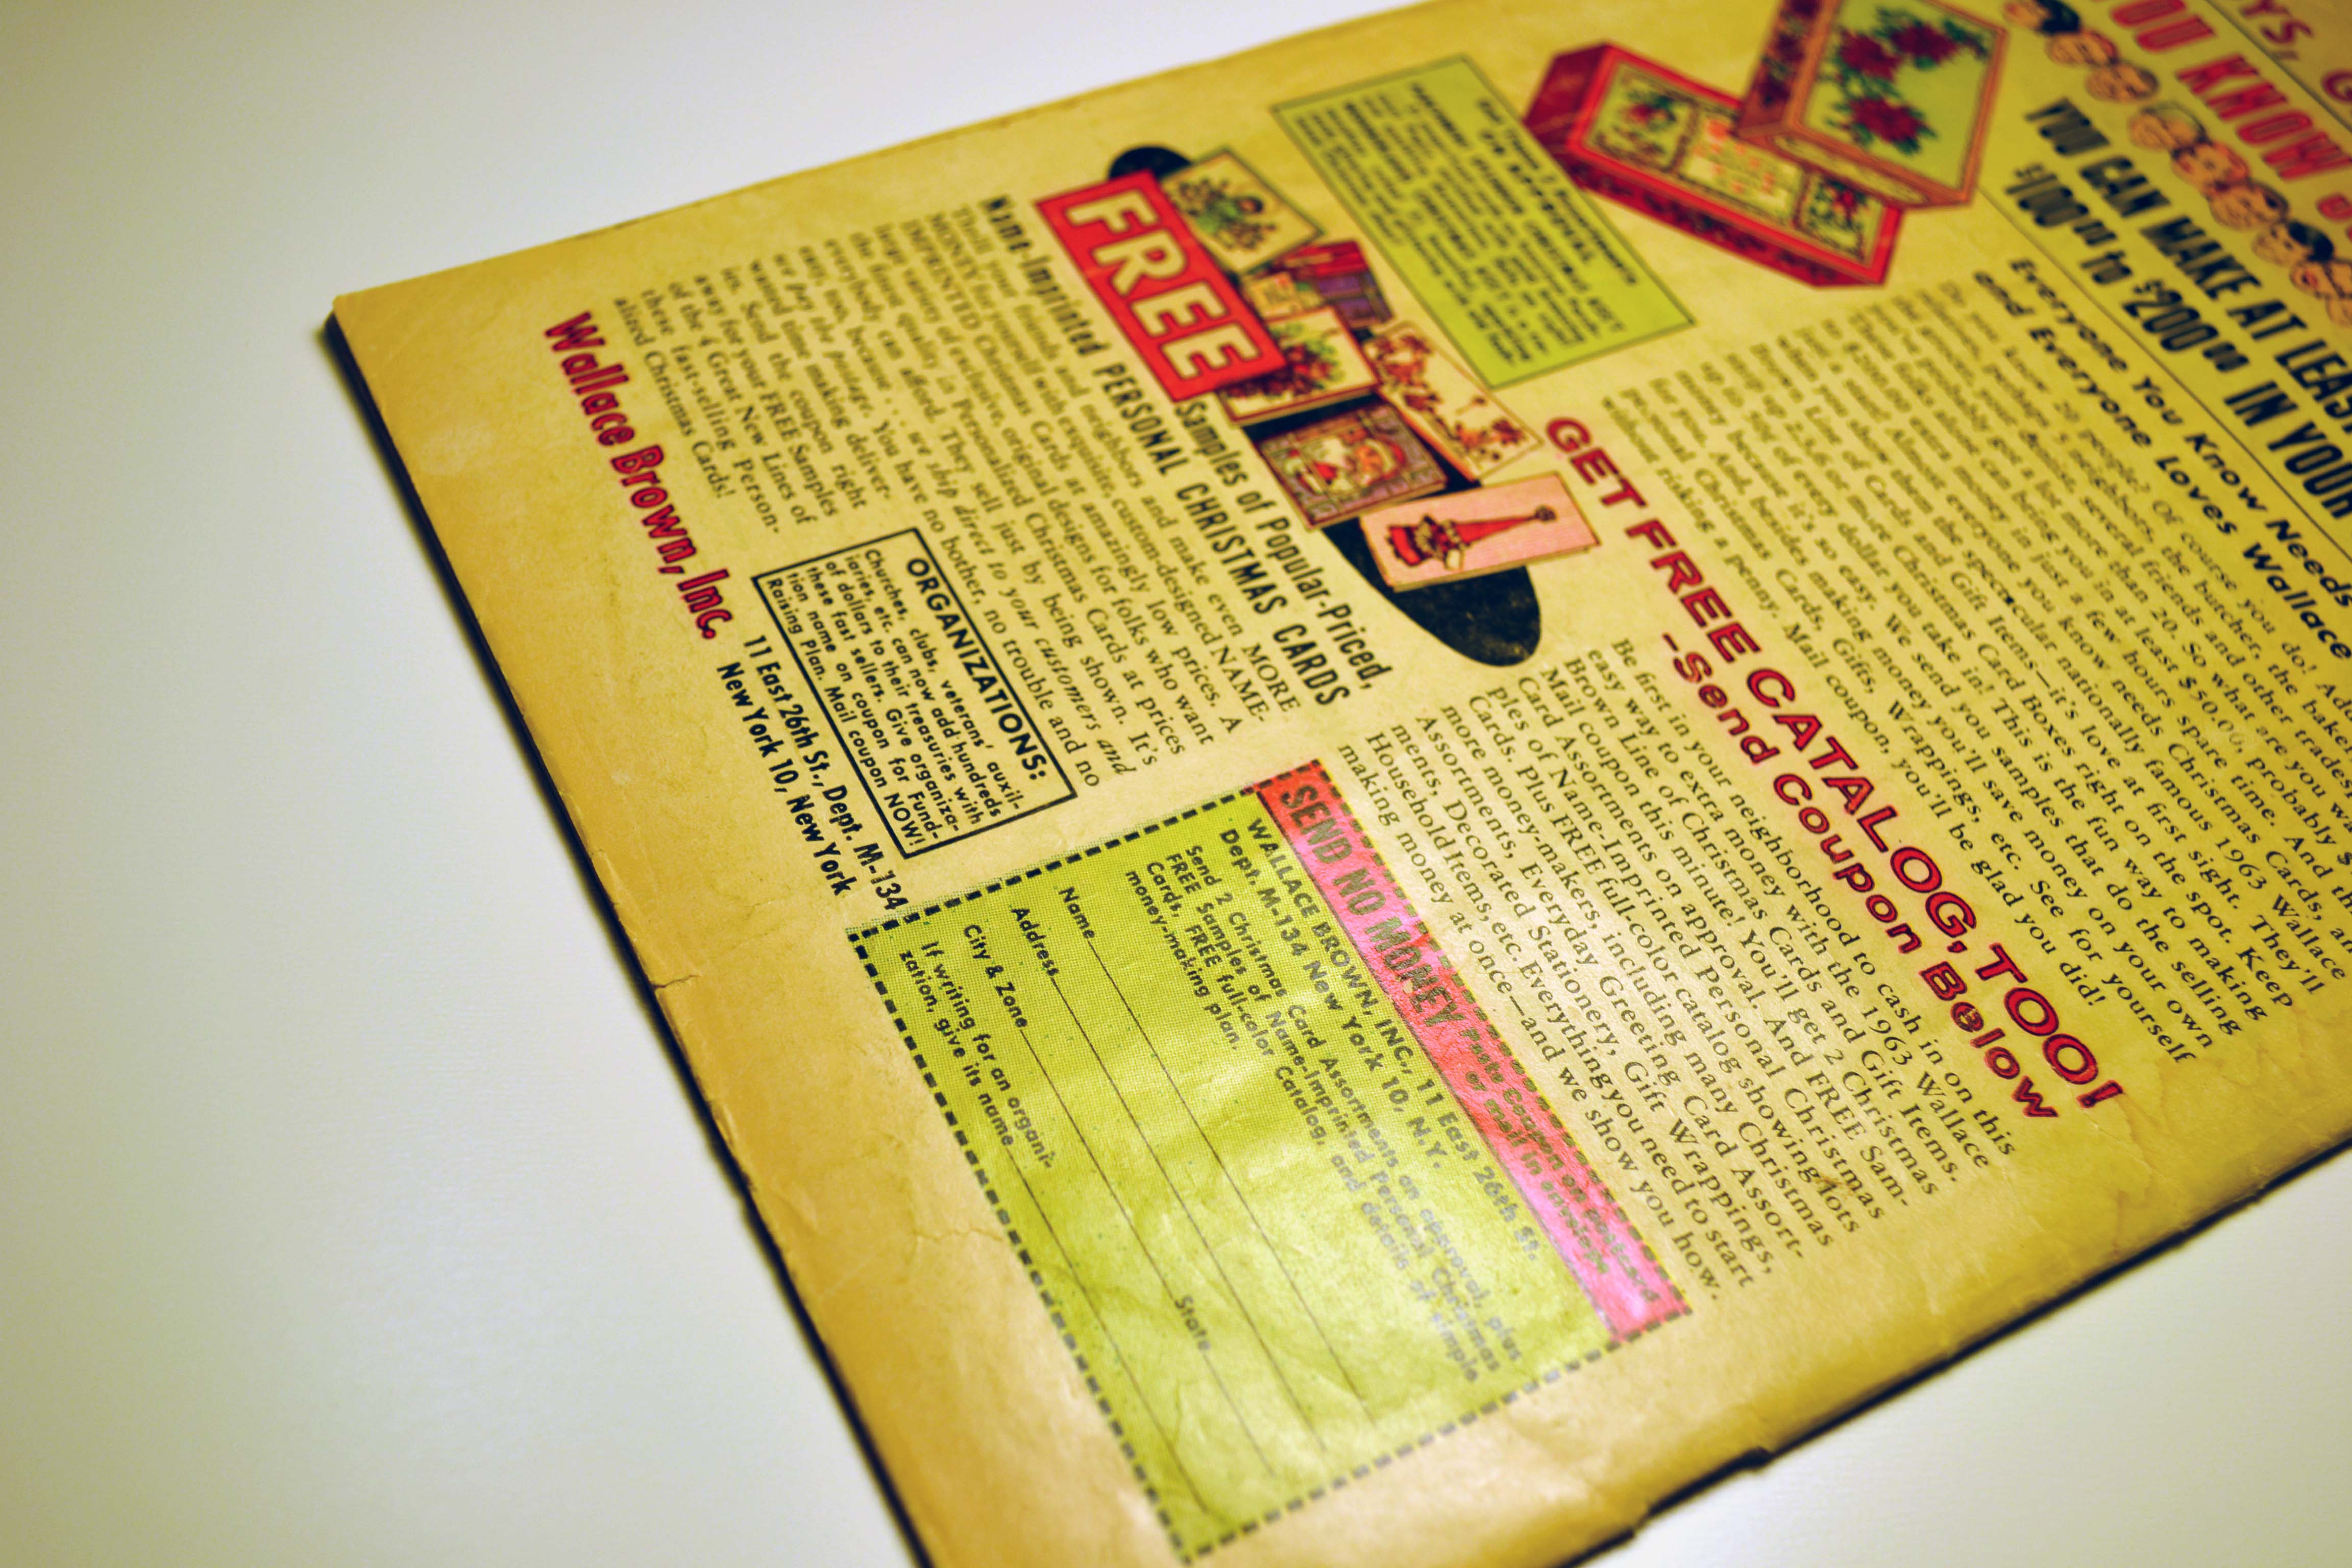
After a single pressing you will notice below that the book already looks considerably better. This pressing was for 30 minutes @ 175 degrees. The back of the book looks substantially better, but the front isn’t where I would expect it to be yet.
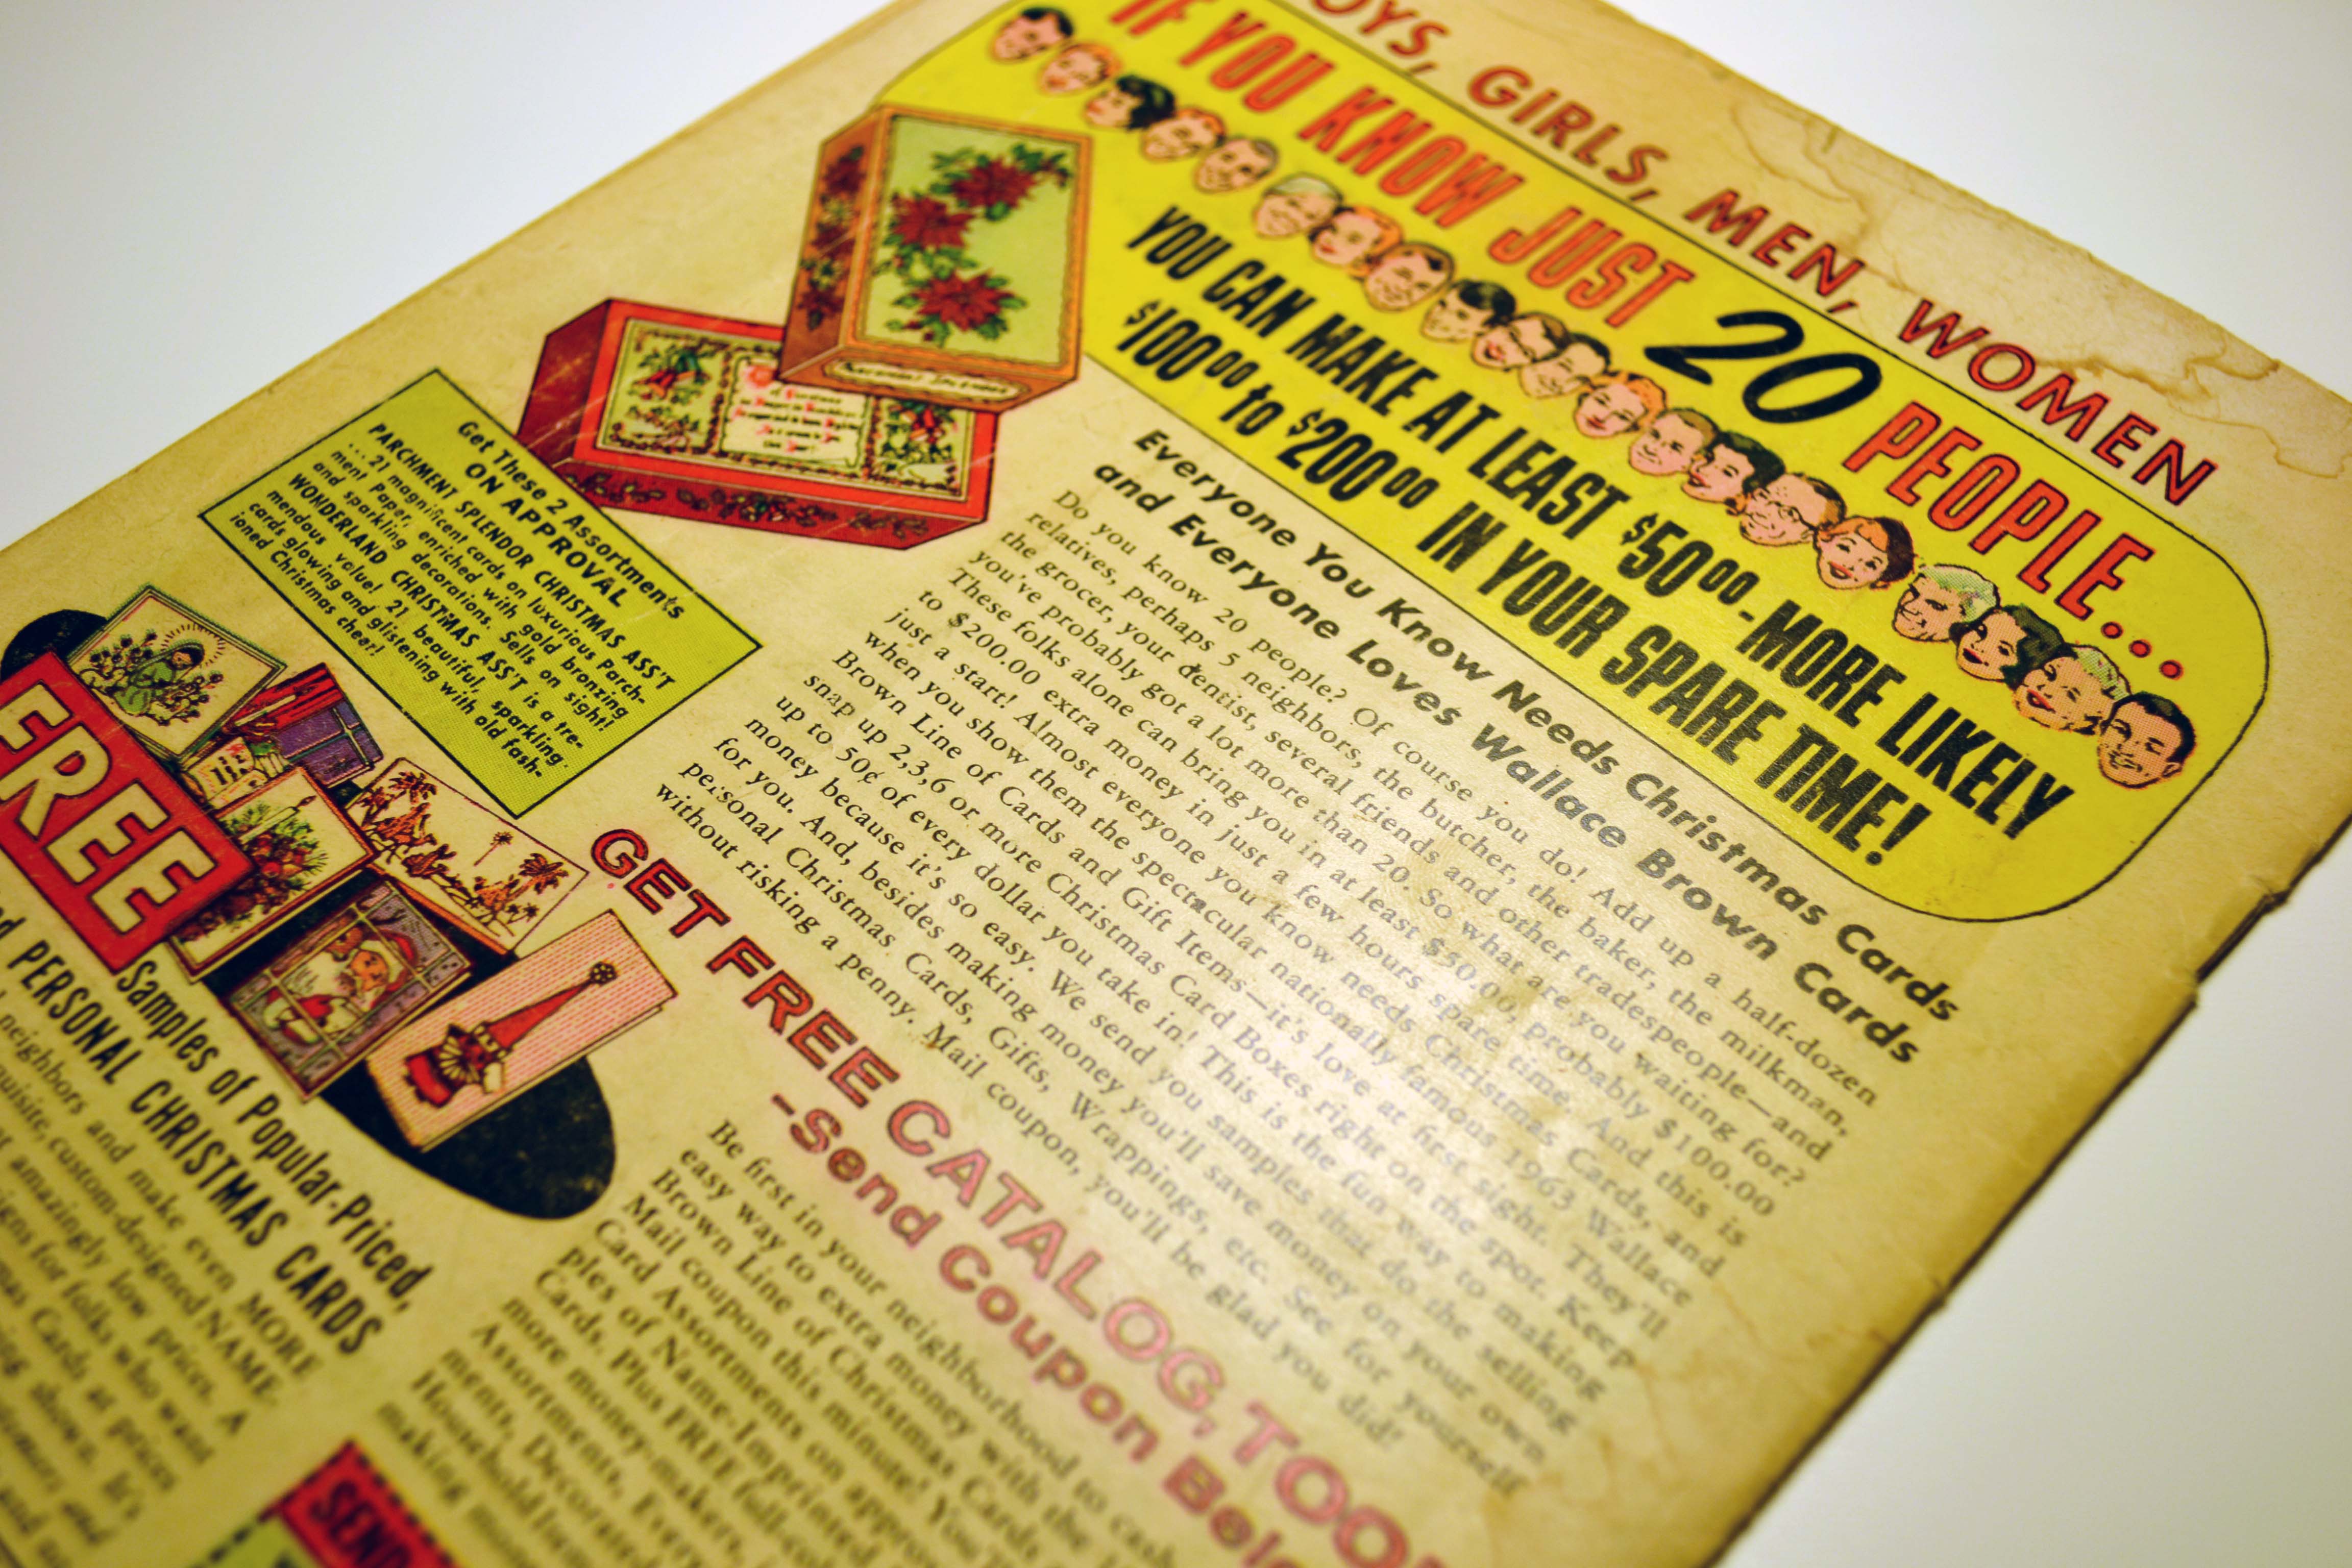
You can really tell in the side by side below the drastic difference after a single pressing.