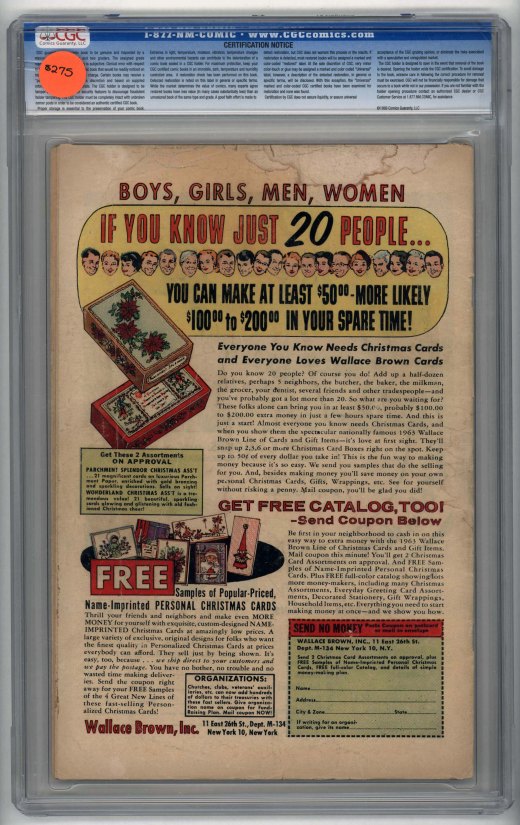
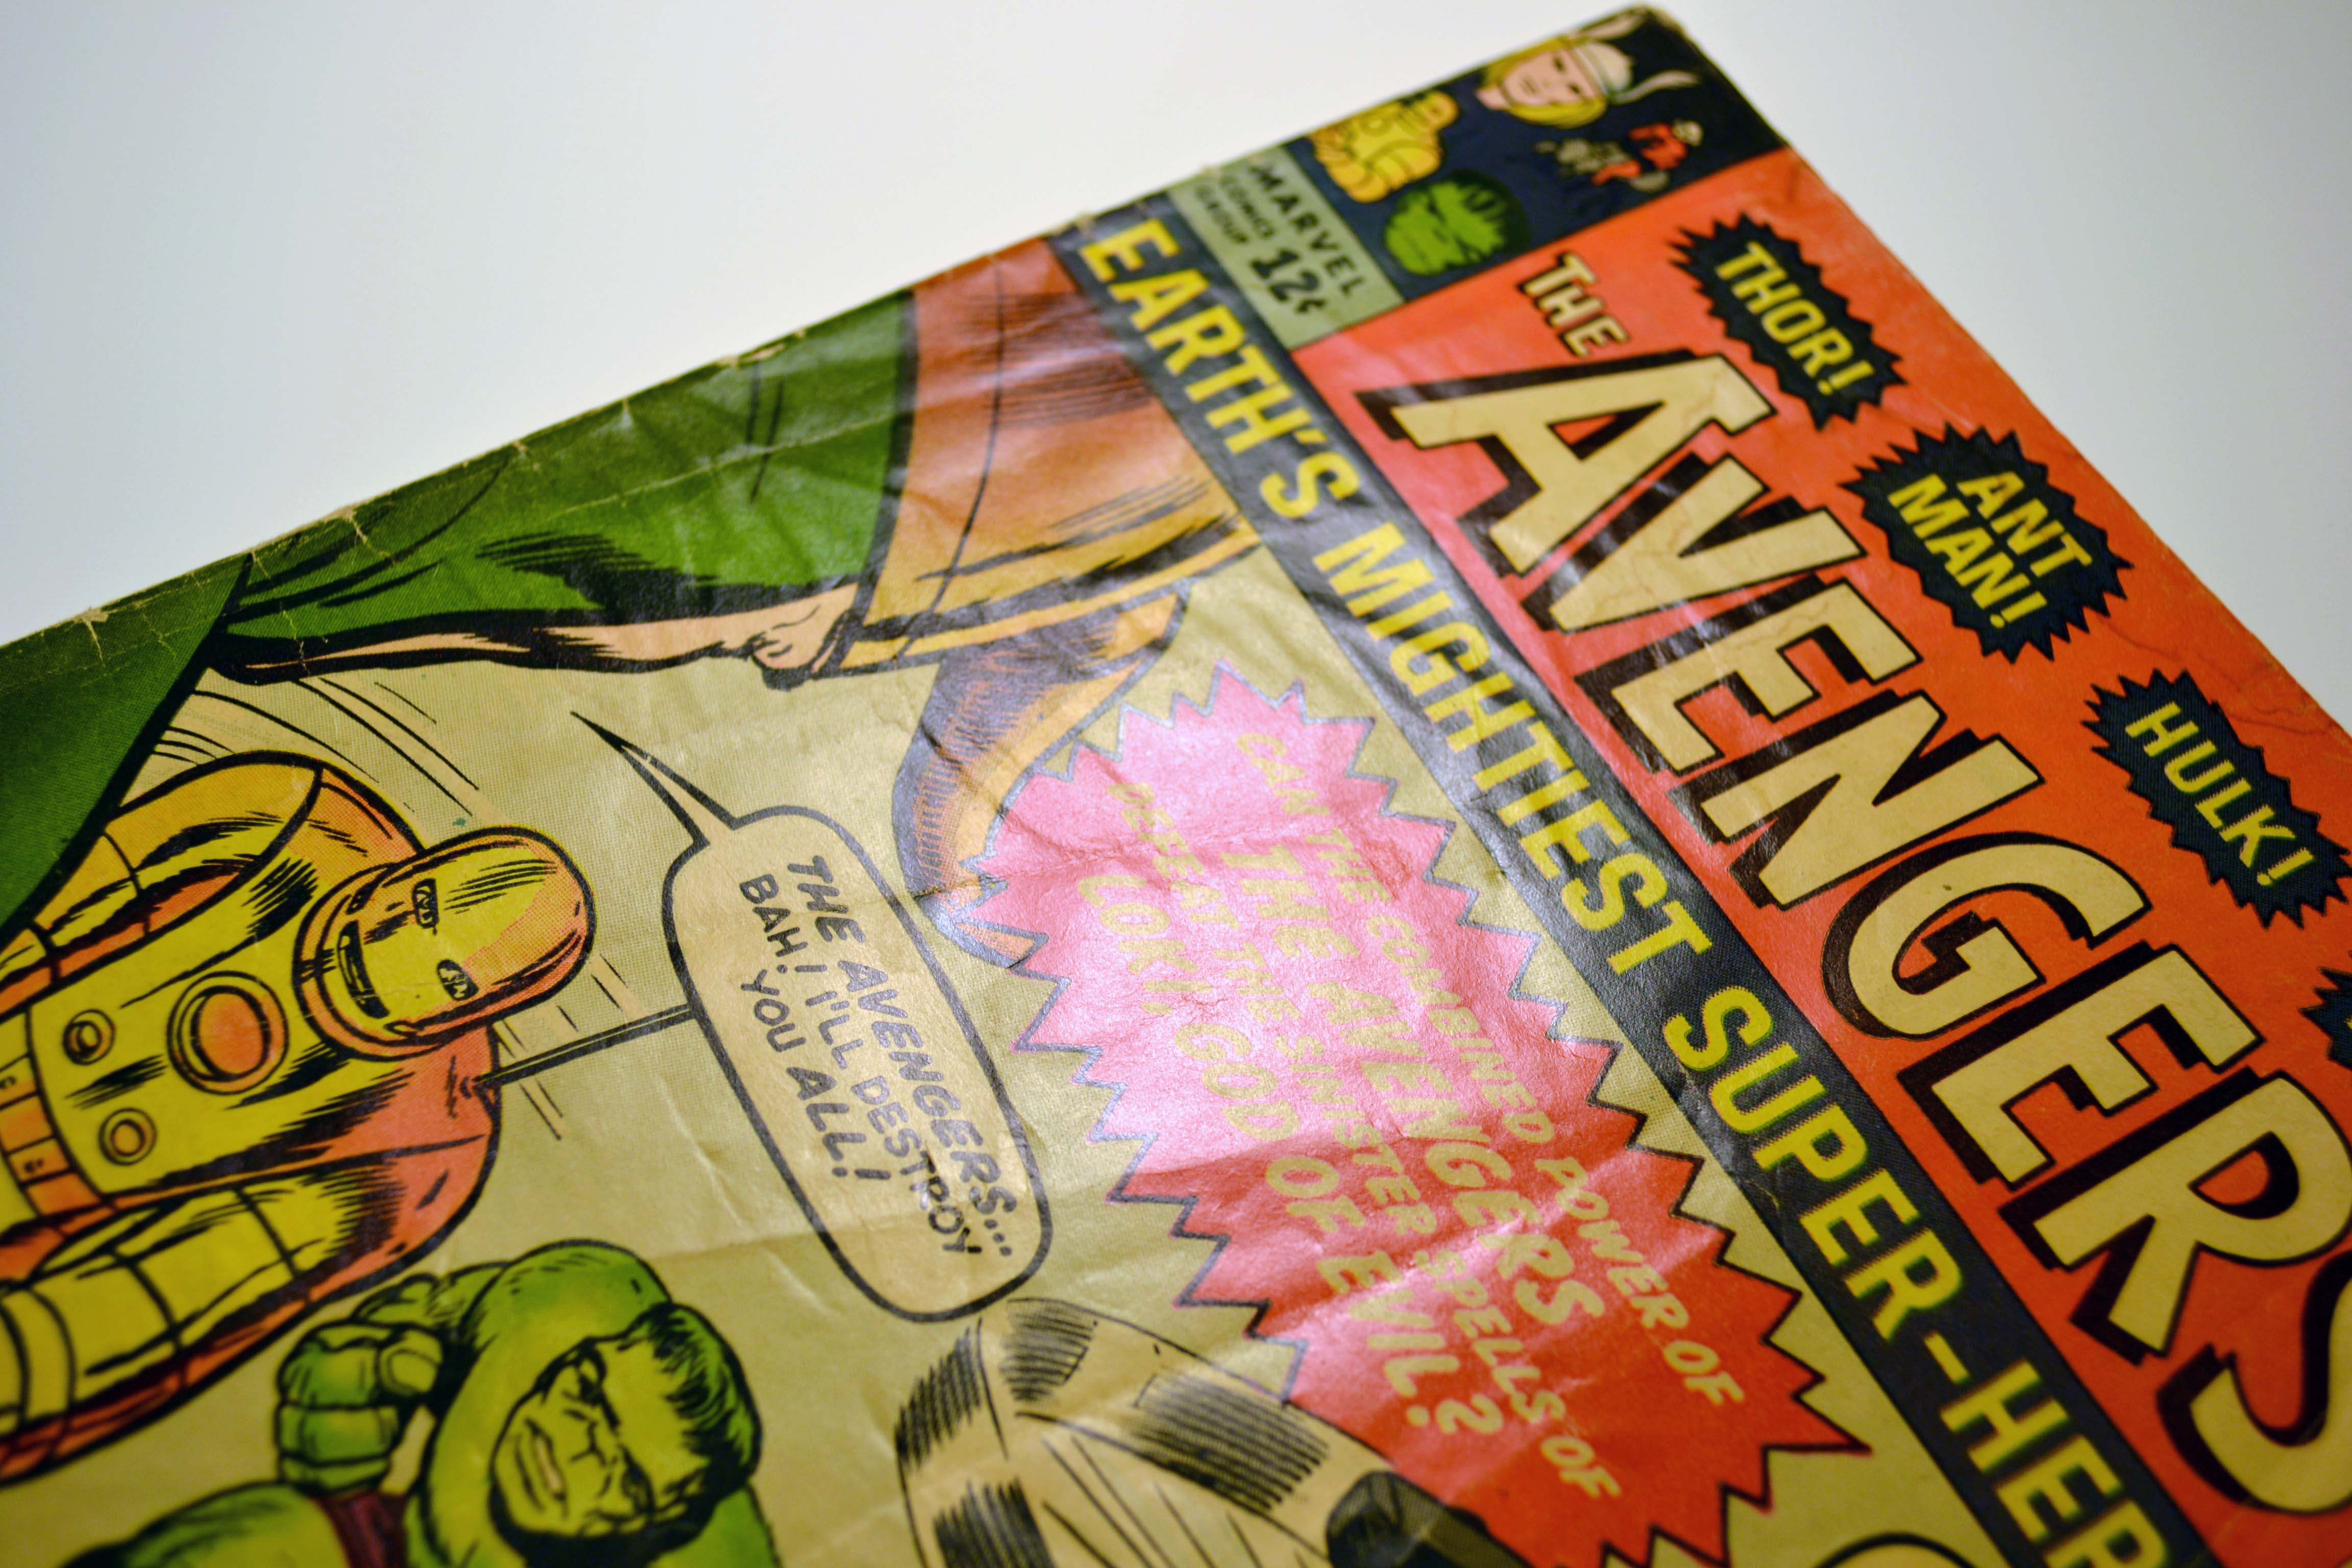
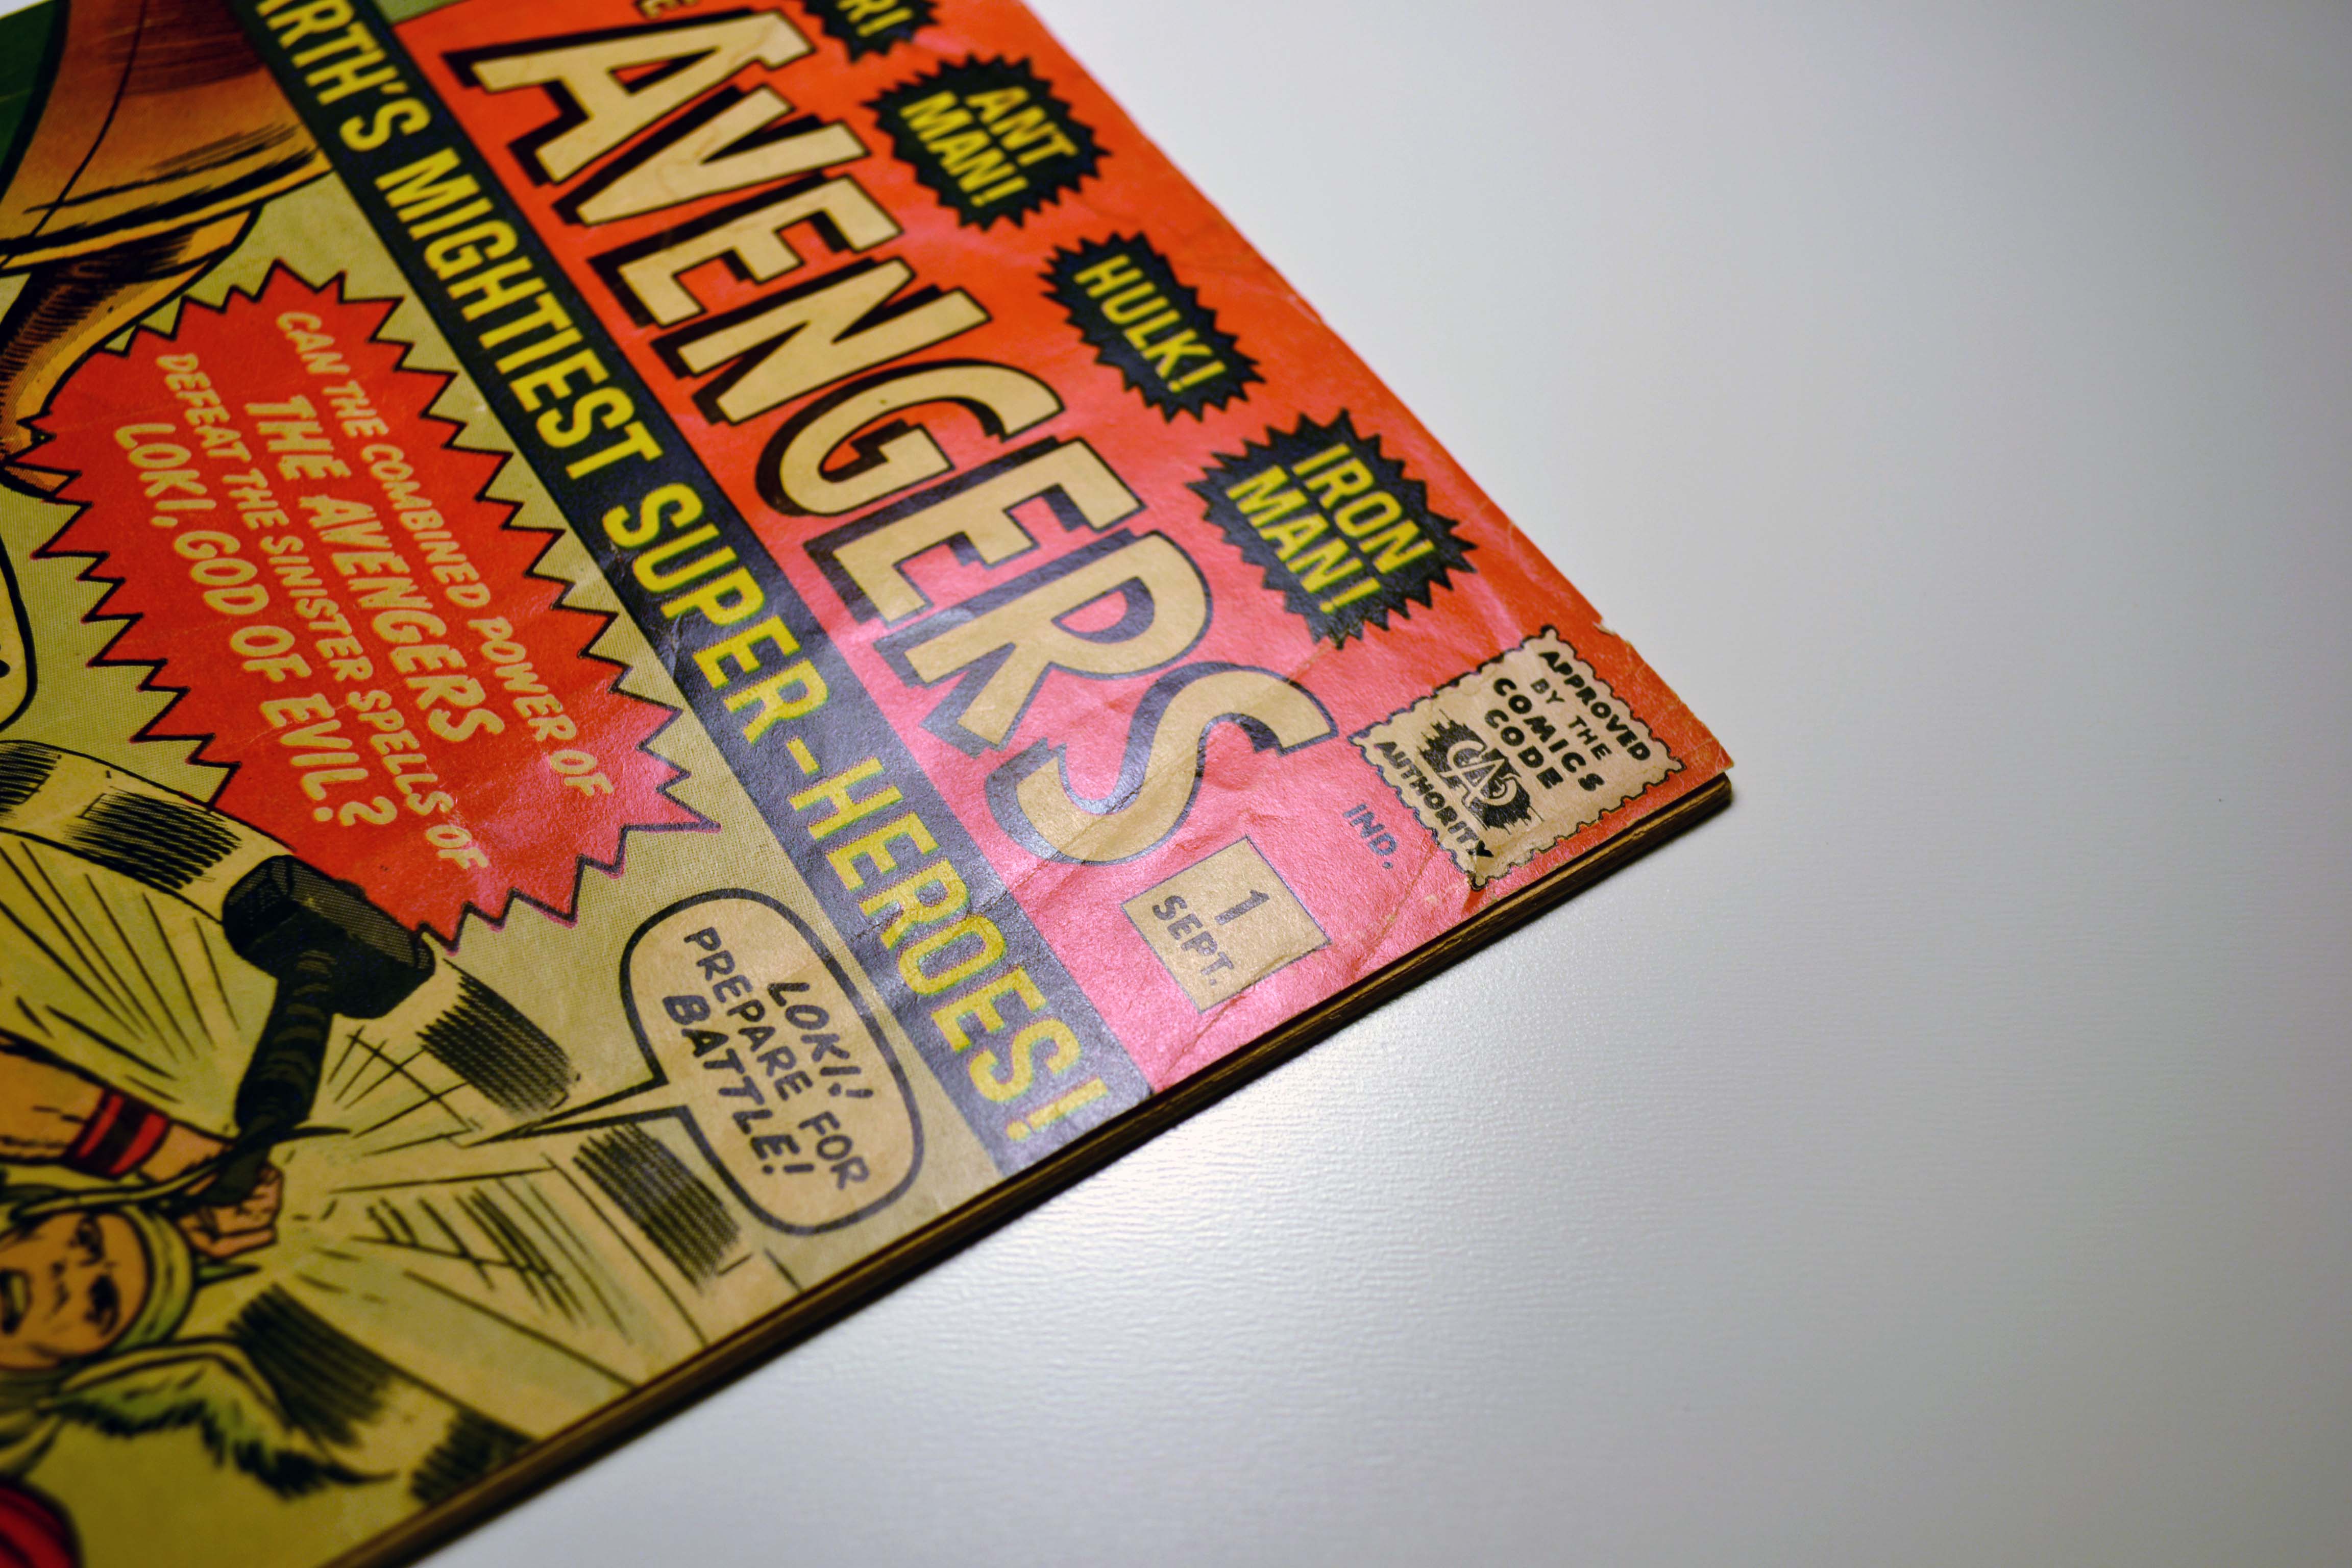
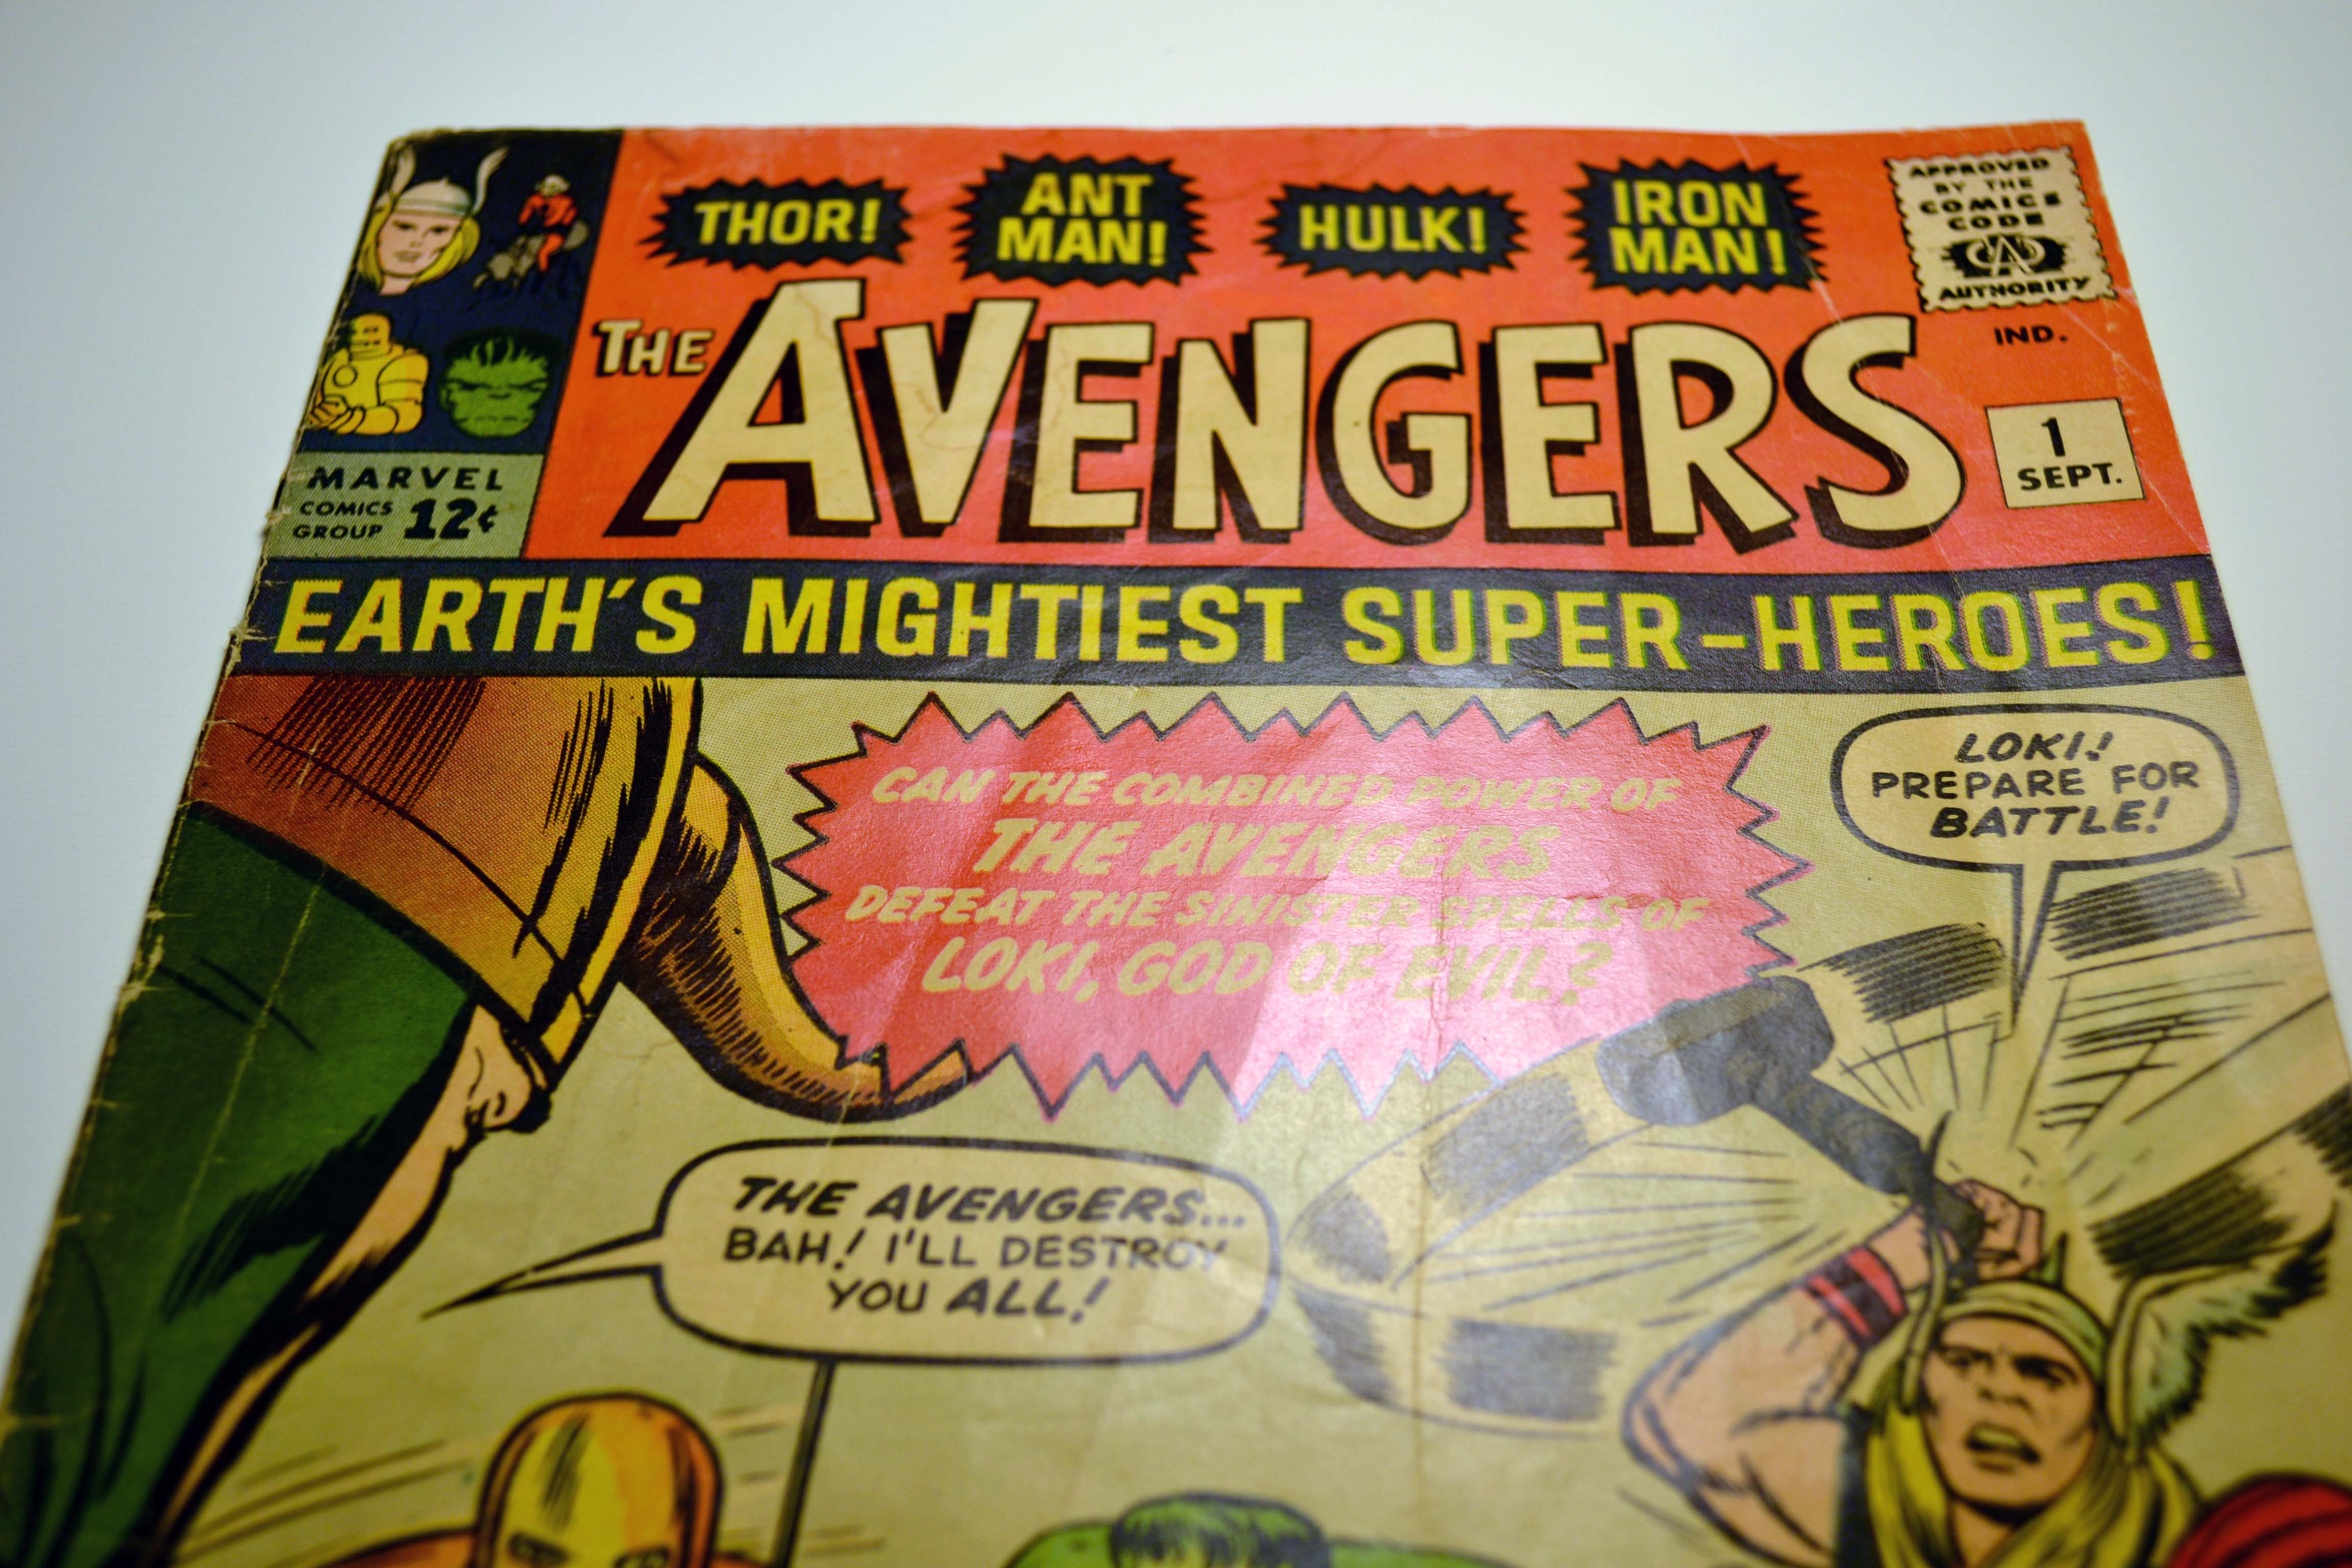
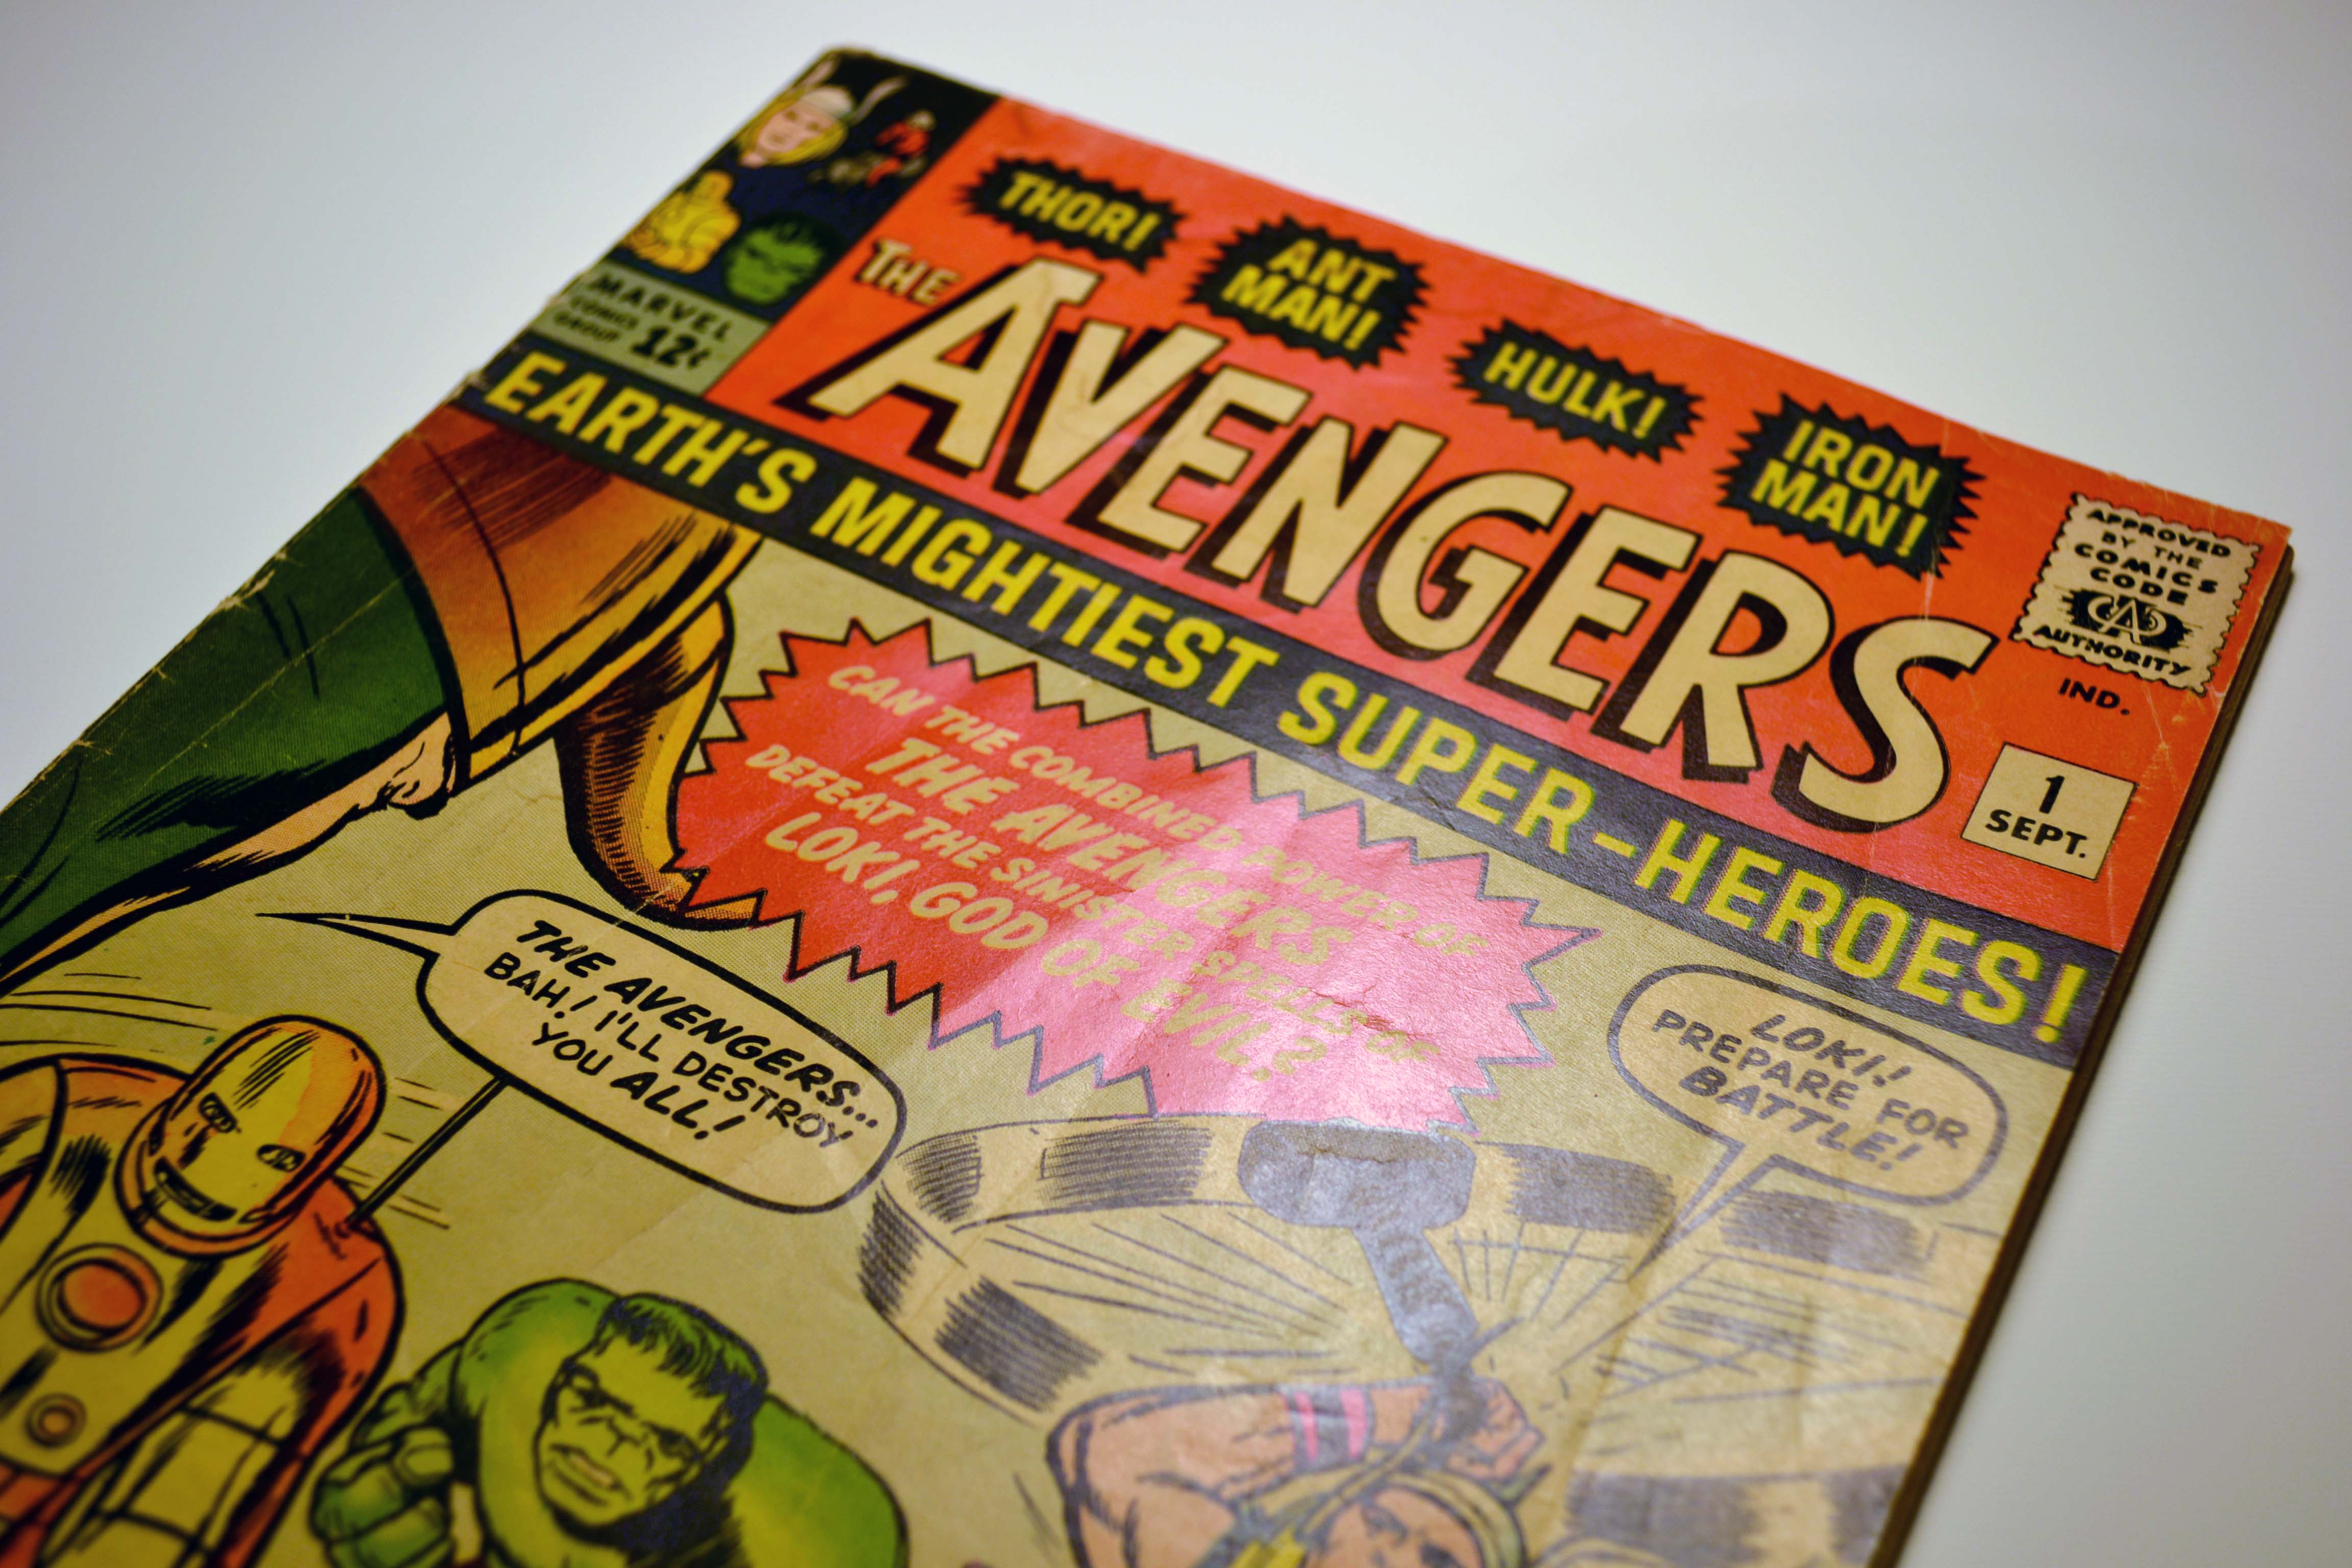
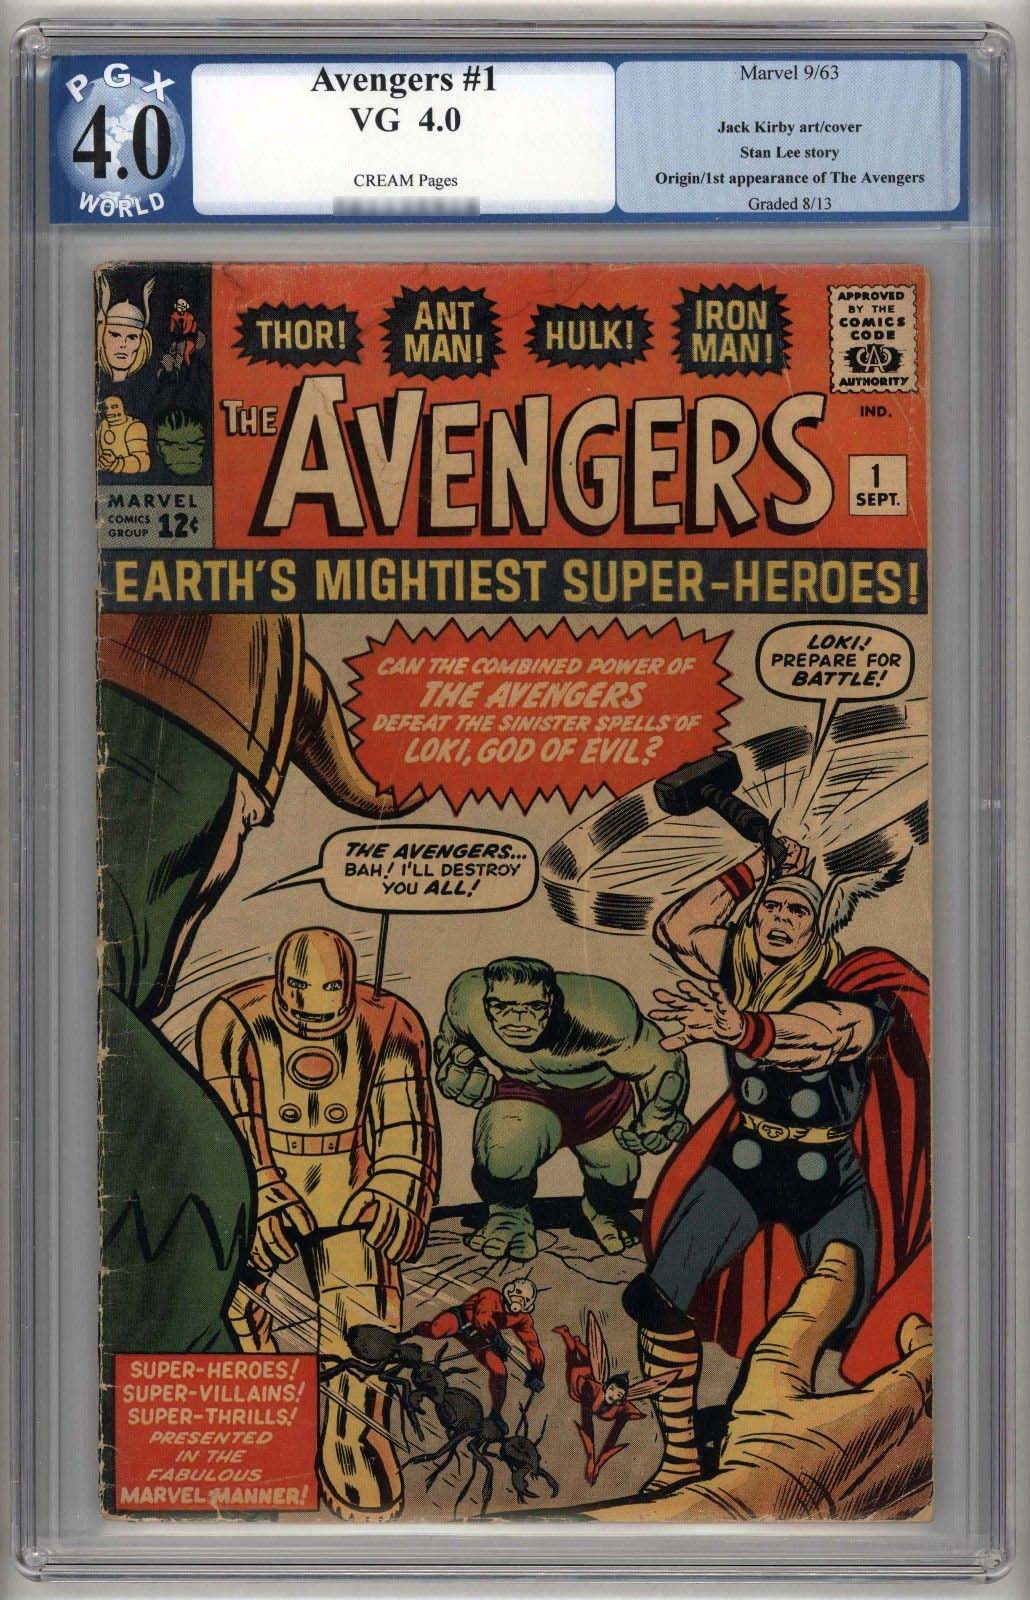
This is a tutorial on how to use non-restorative techniques to improve the appearance of comic books. Our example book is an original Avengers #1 that has been graded 1.8 / Good- by Certified Guaranty Company, LLC.
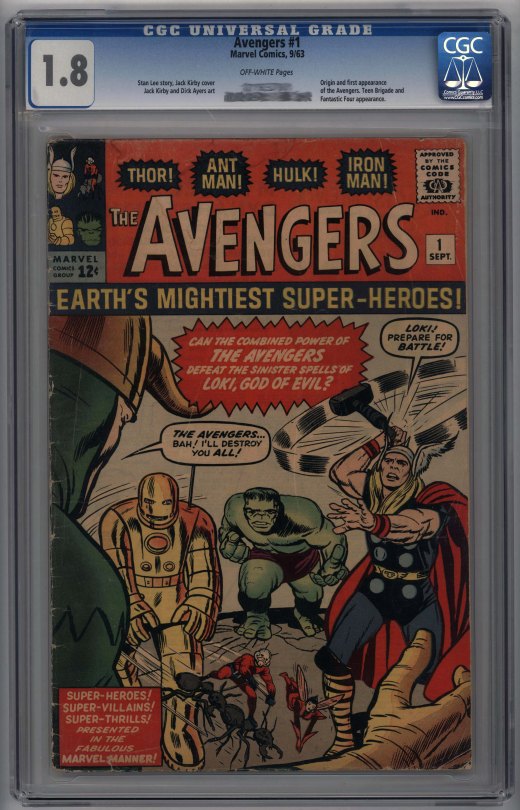
The first step was to release the book from the CGC holder. This was done by carefully inserting a flat blade screwdriver into the left and right side of the case, and twisting it near the bottom to “crack” the bottom seal. After the seal was broken the inner case, label and book were easily removed. I freed the book from the inner case by carefully cutting the plastic encasement on 3 of the 4 sides with sharp forceps. I would suggest wearing cotton gloves when handling the book to protect it from the oils in your skin.
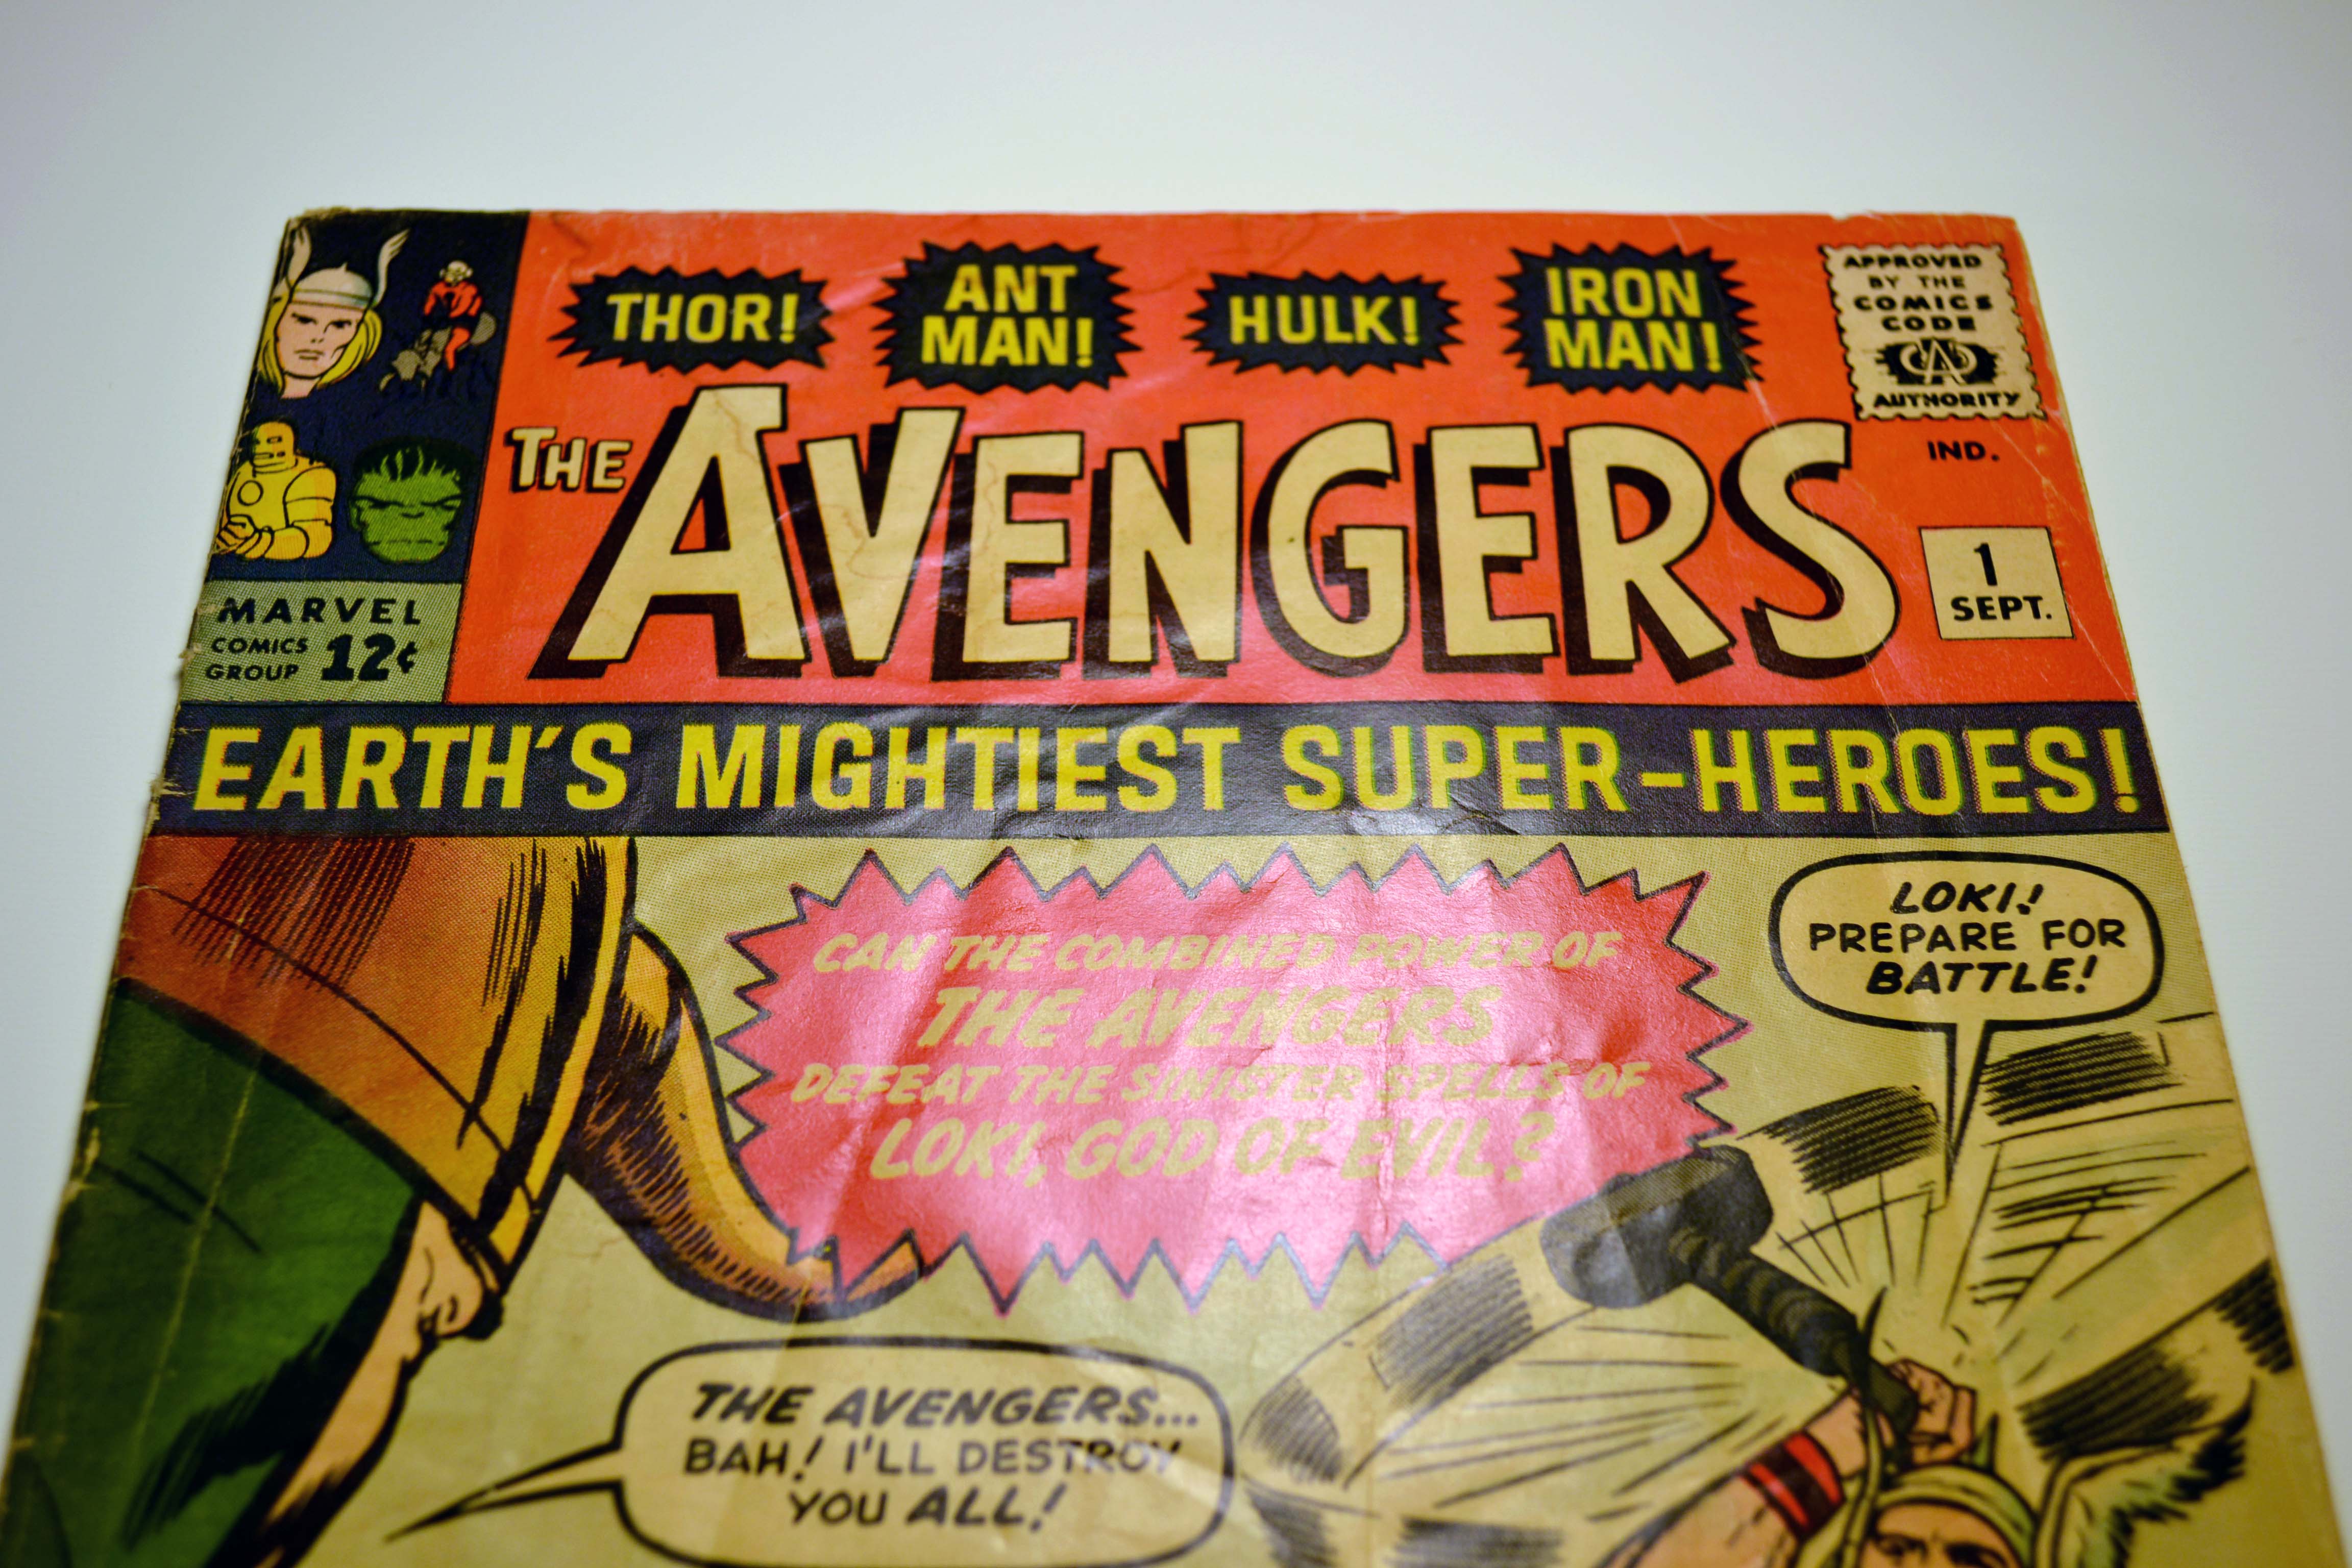
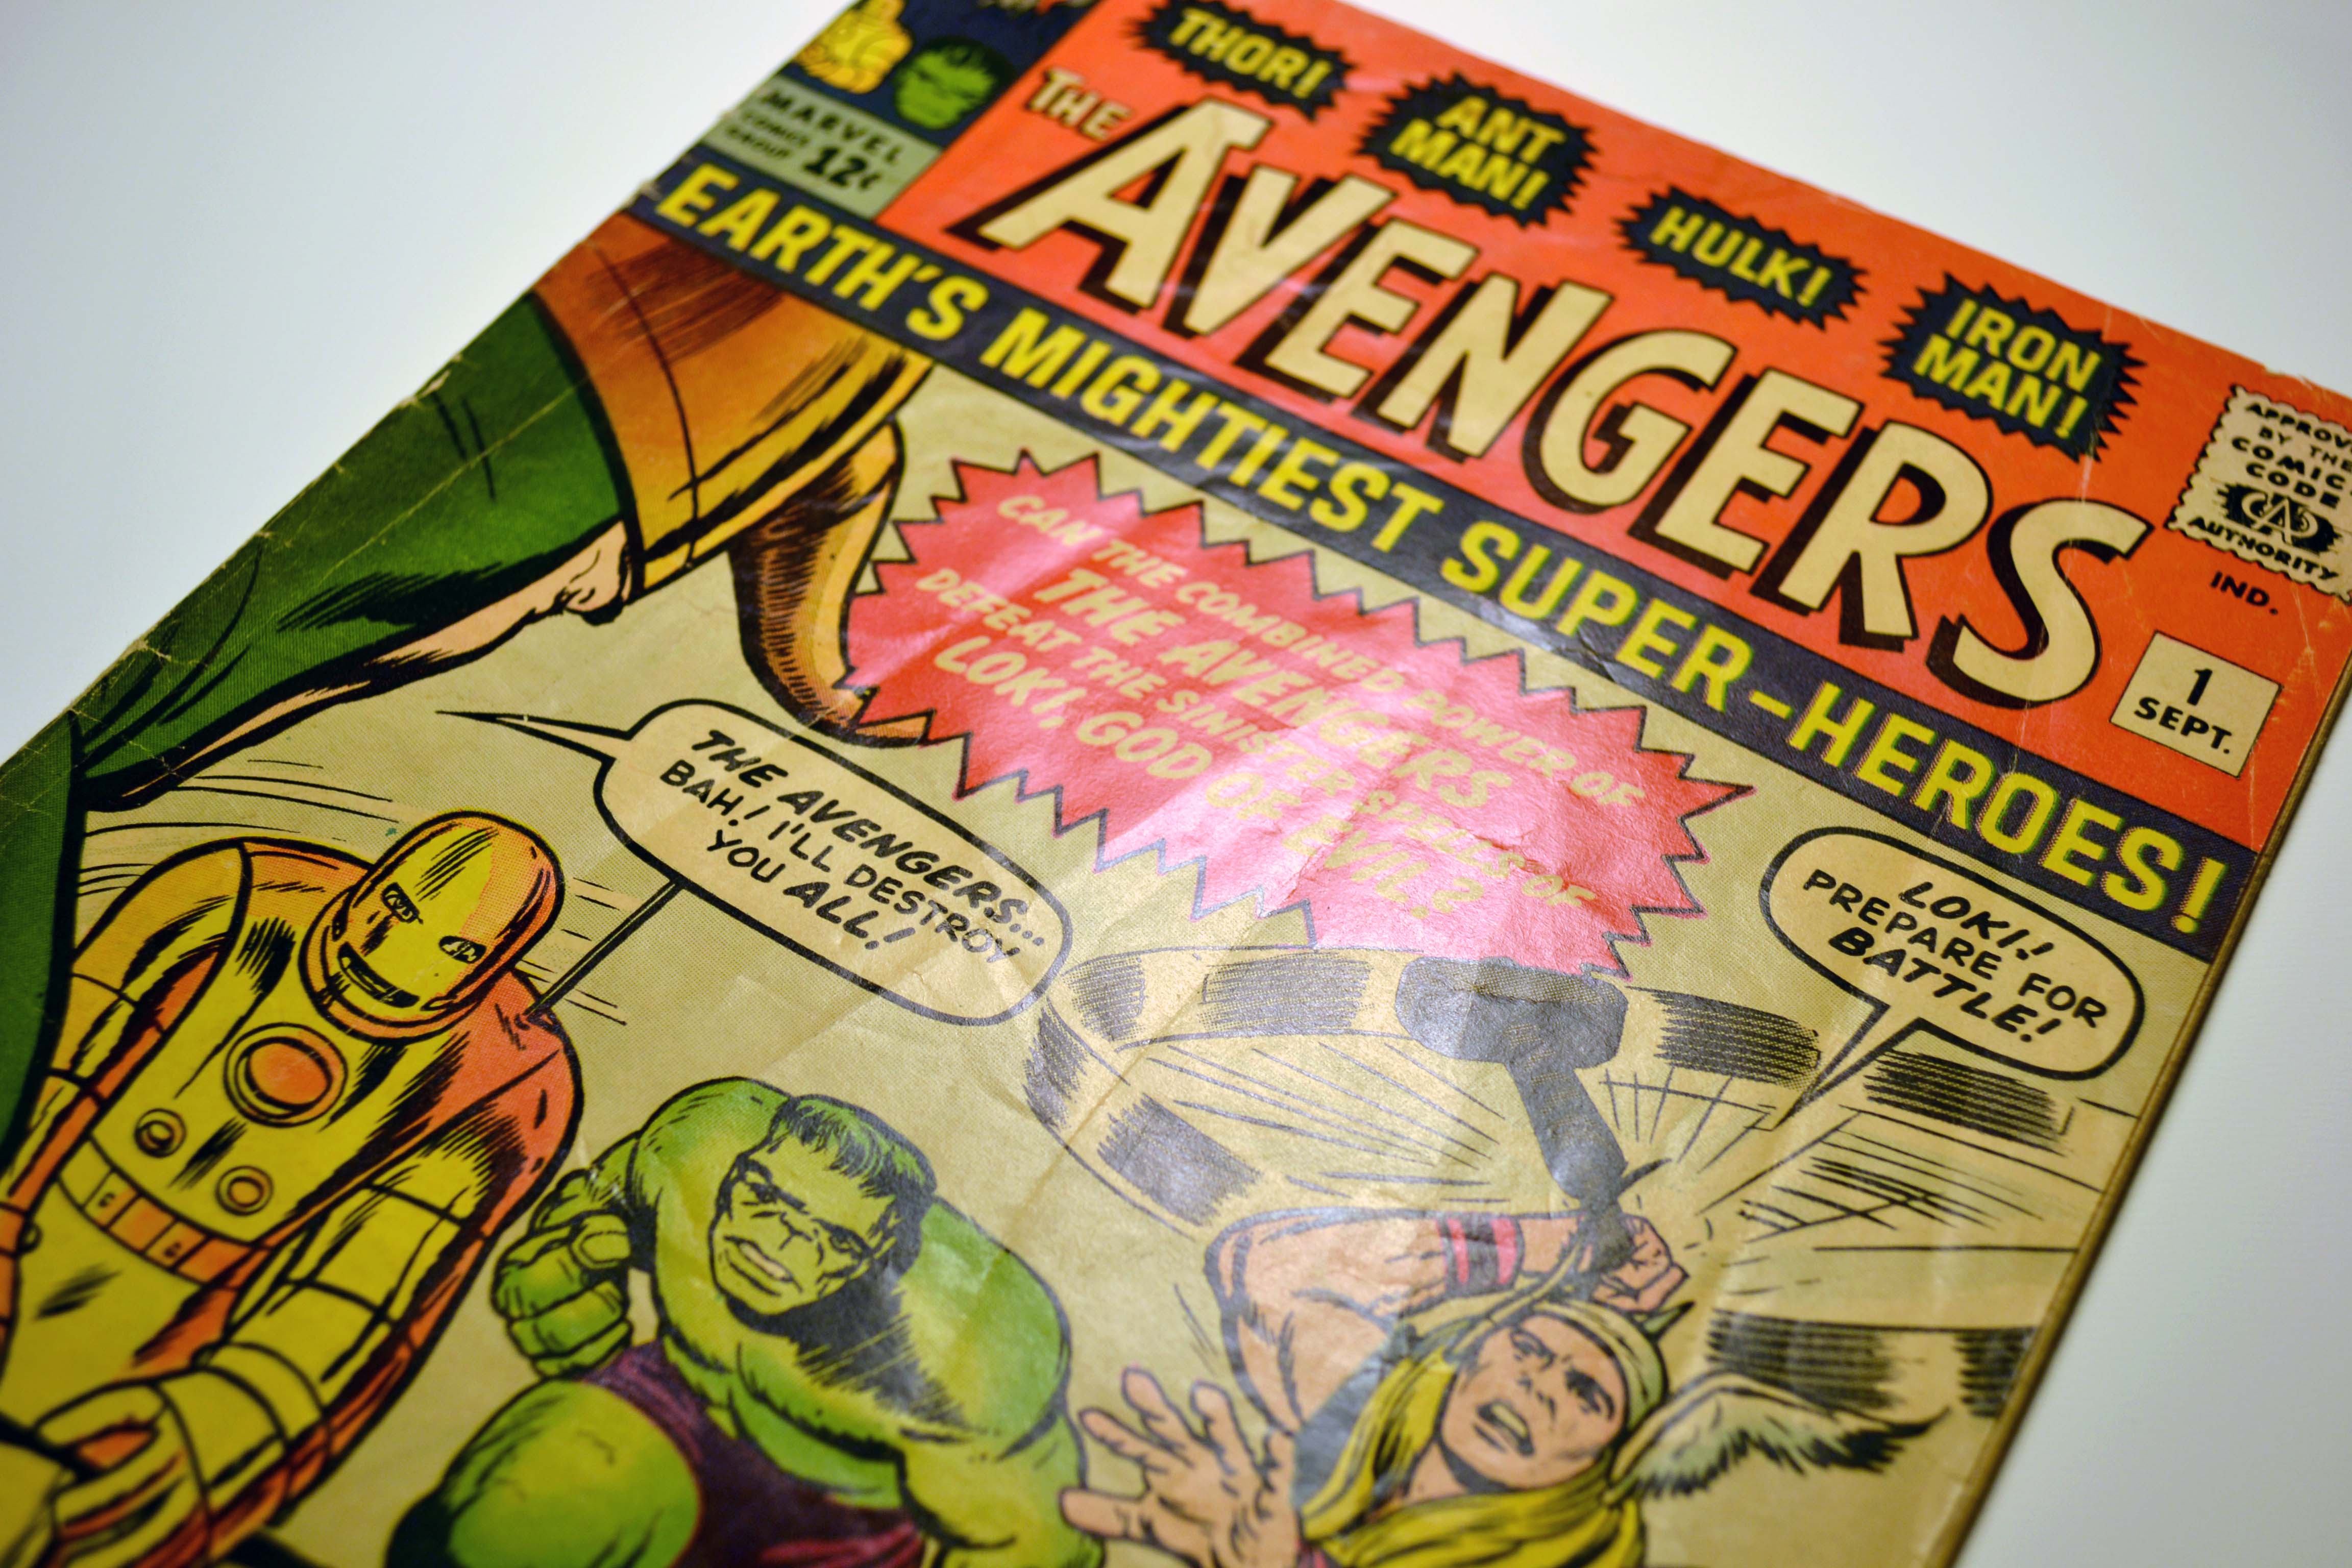
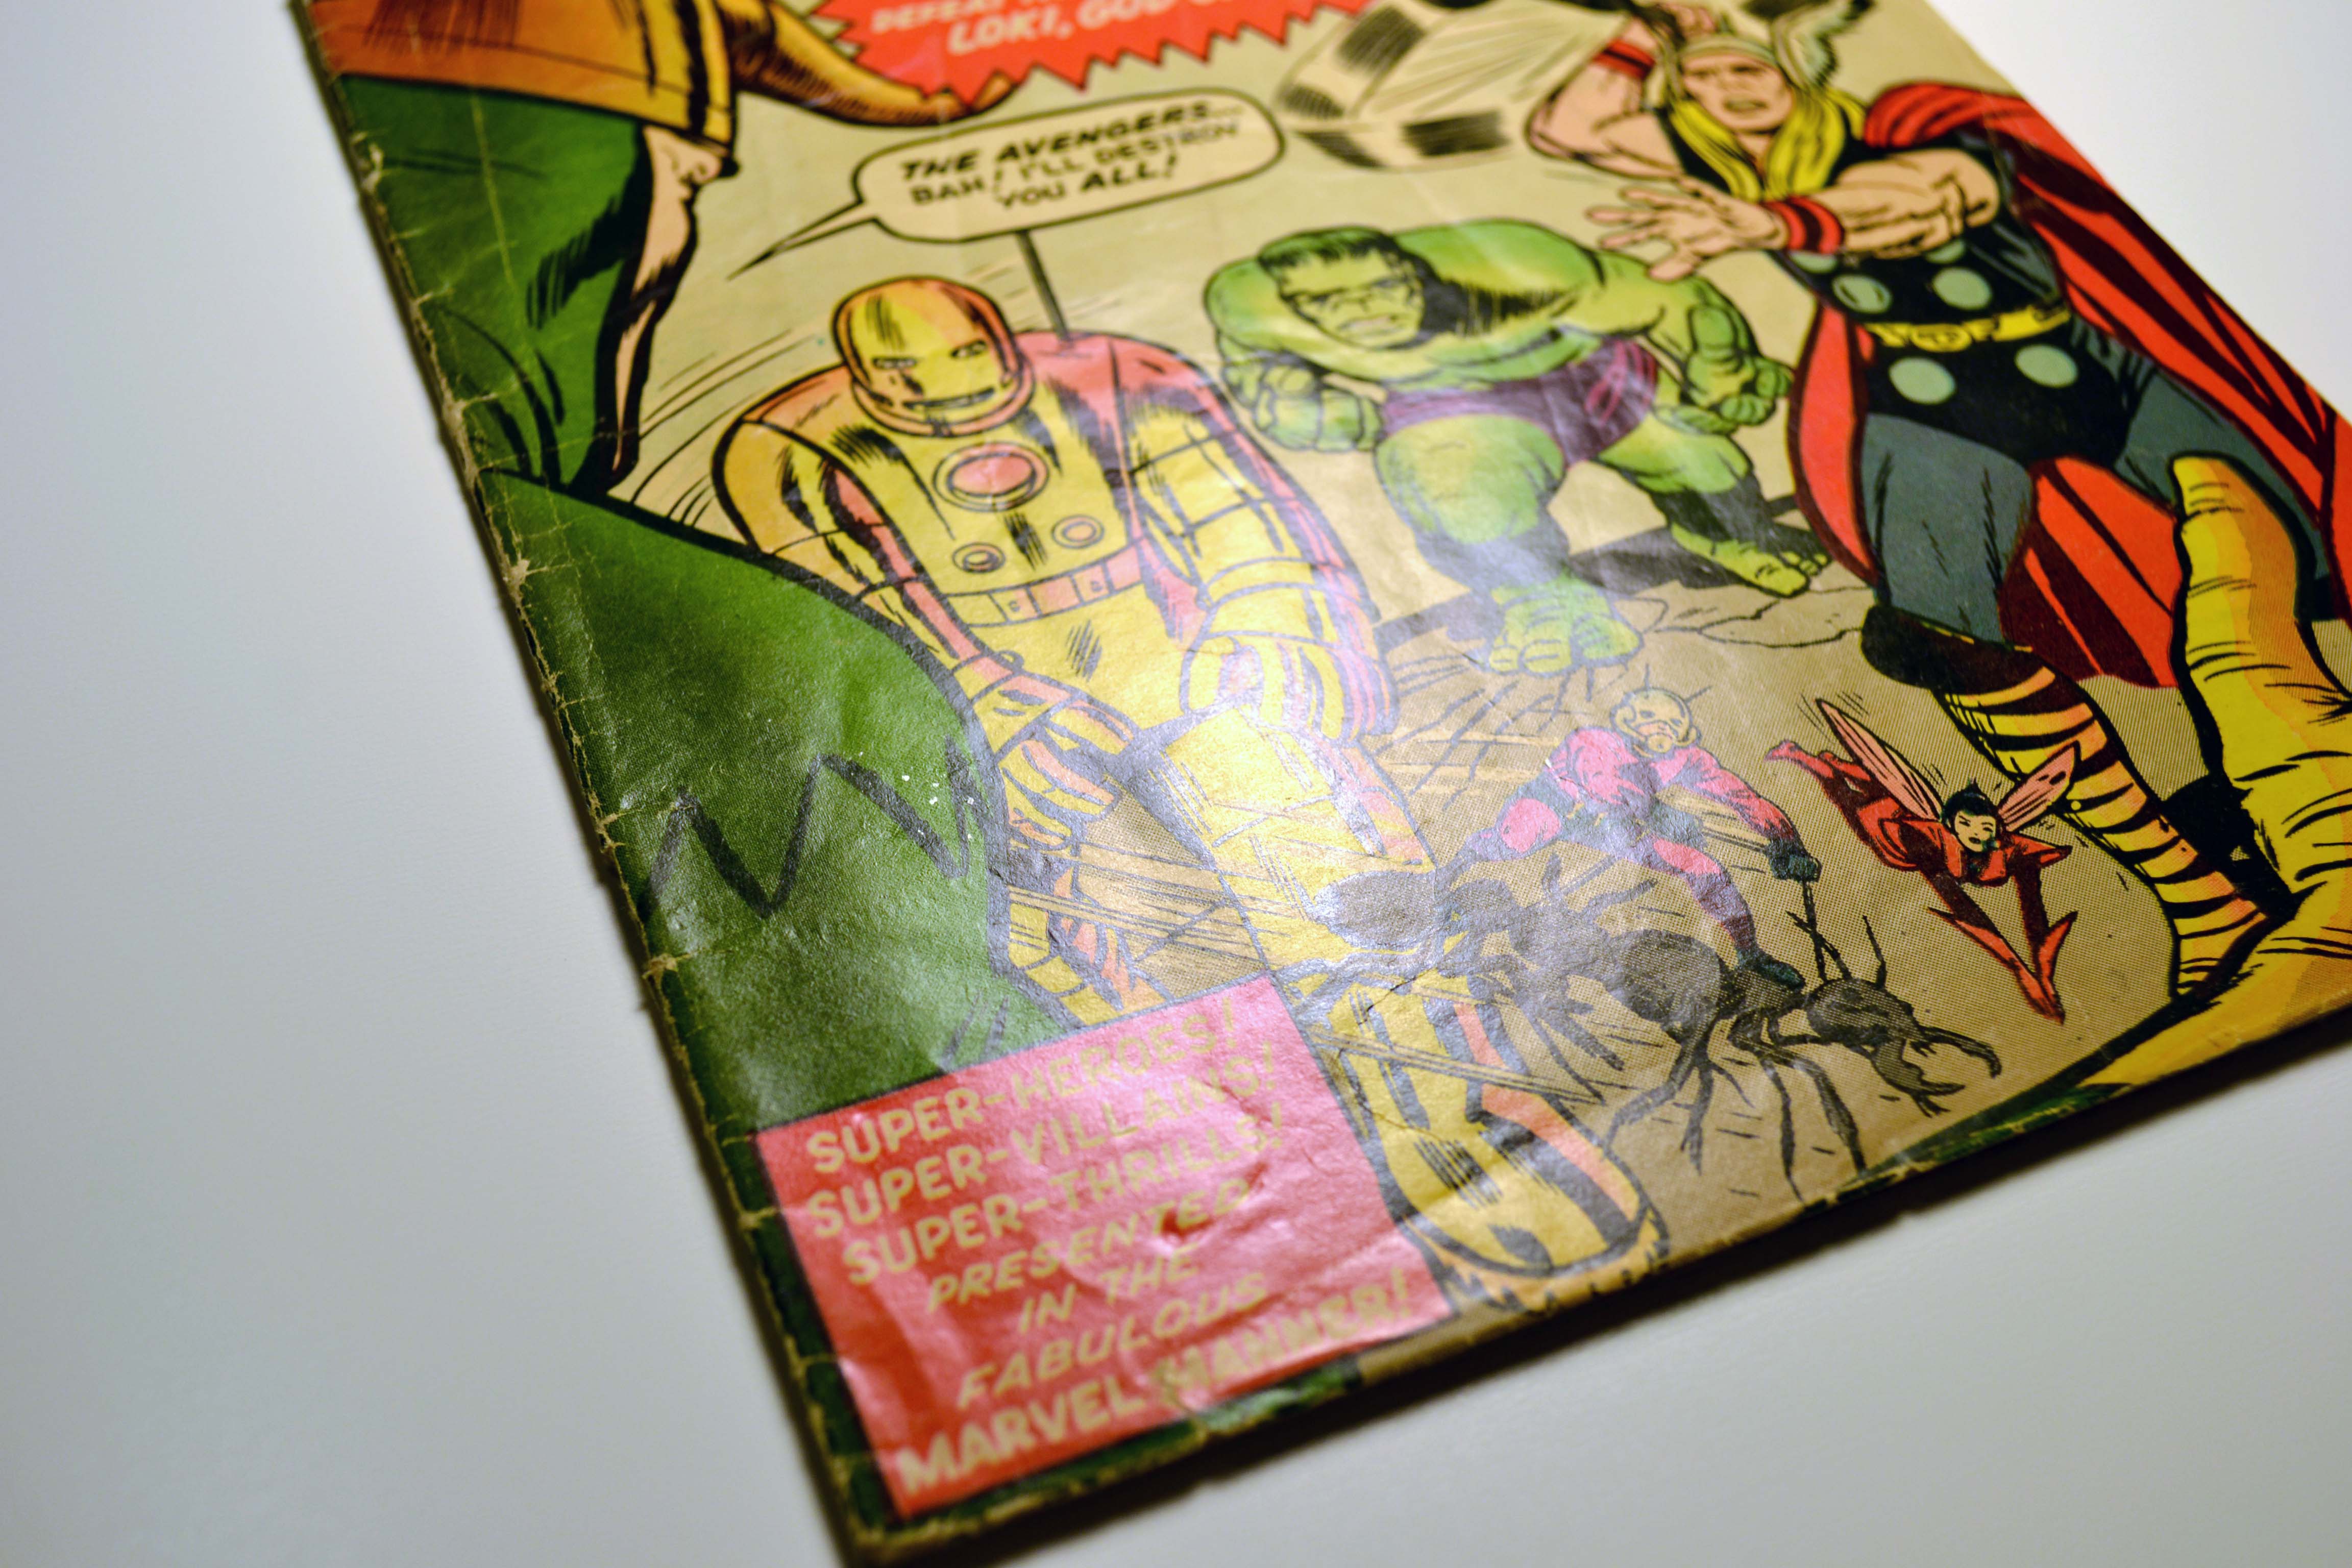
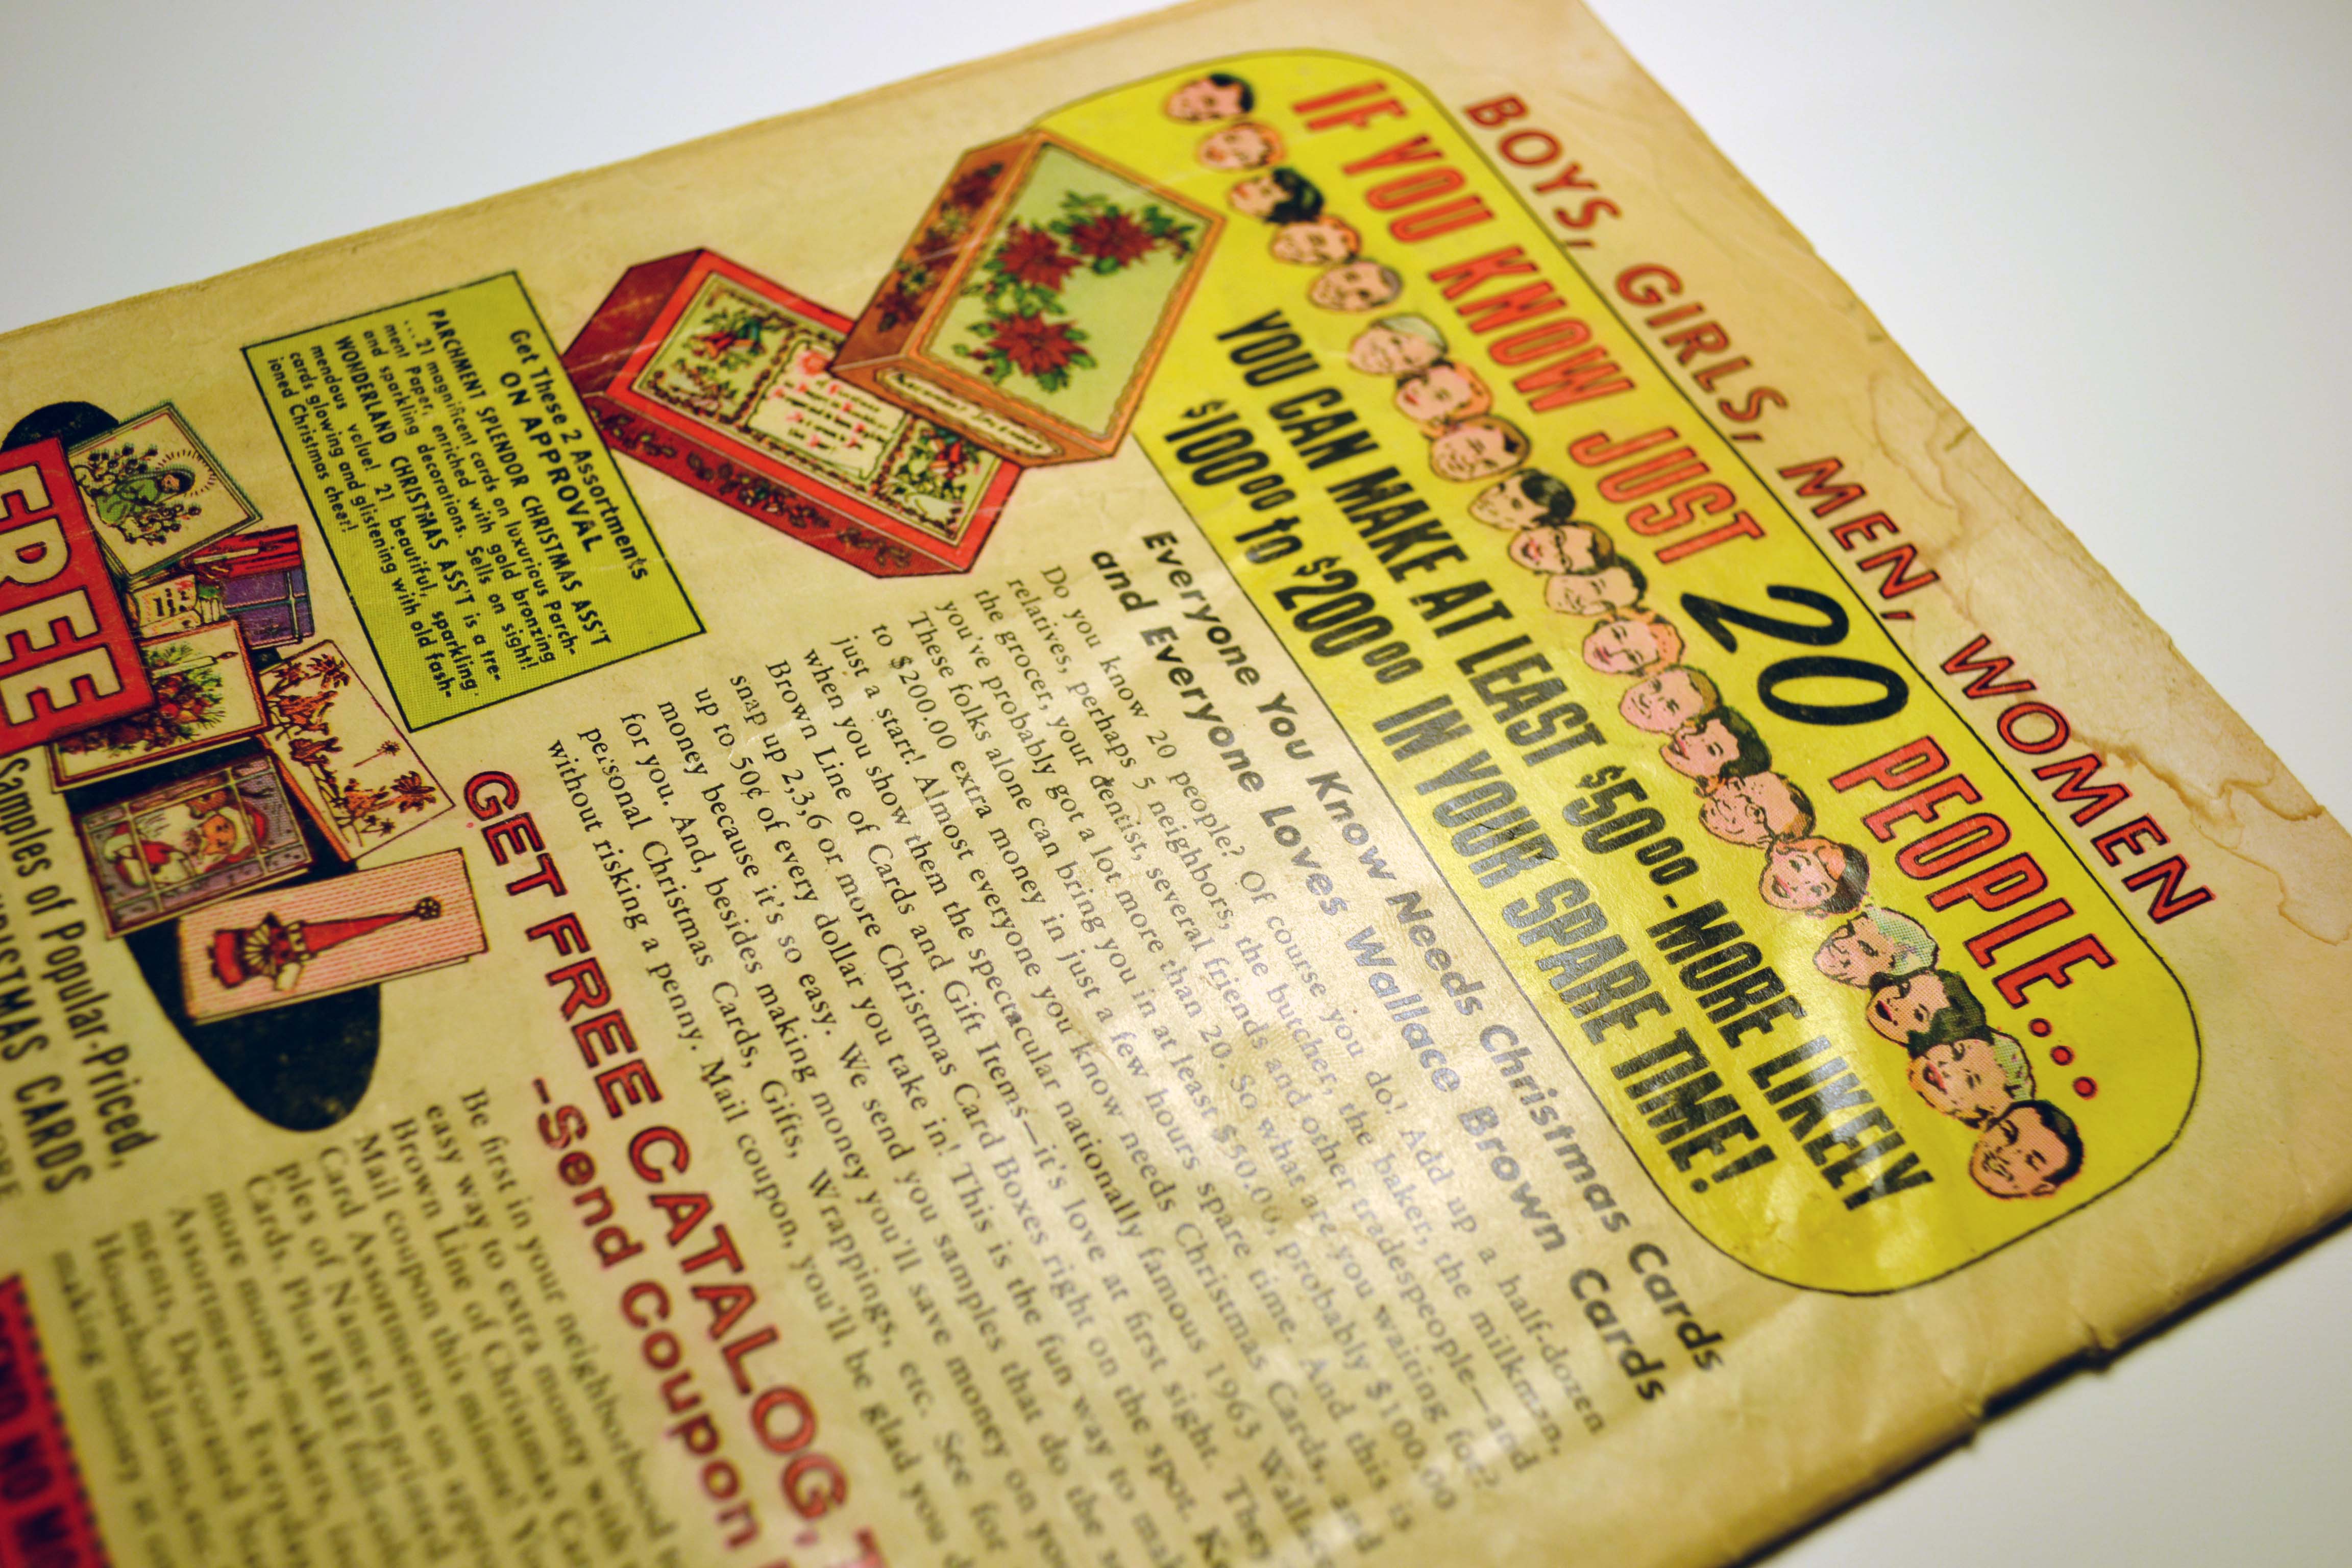
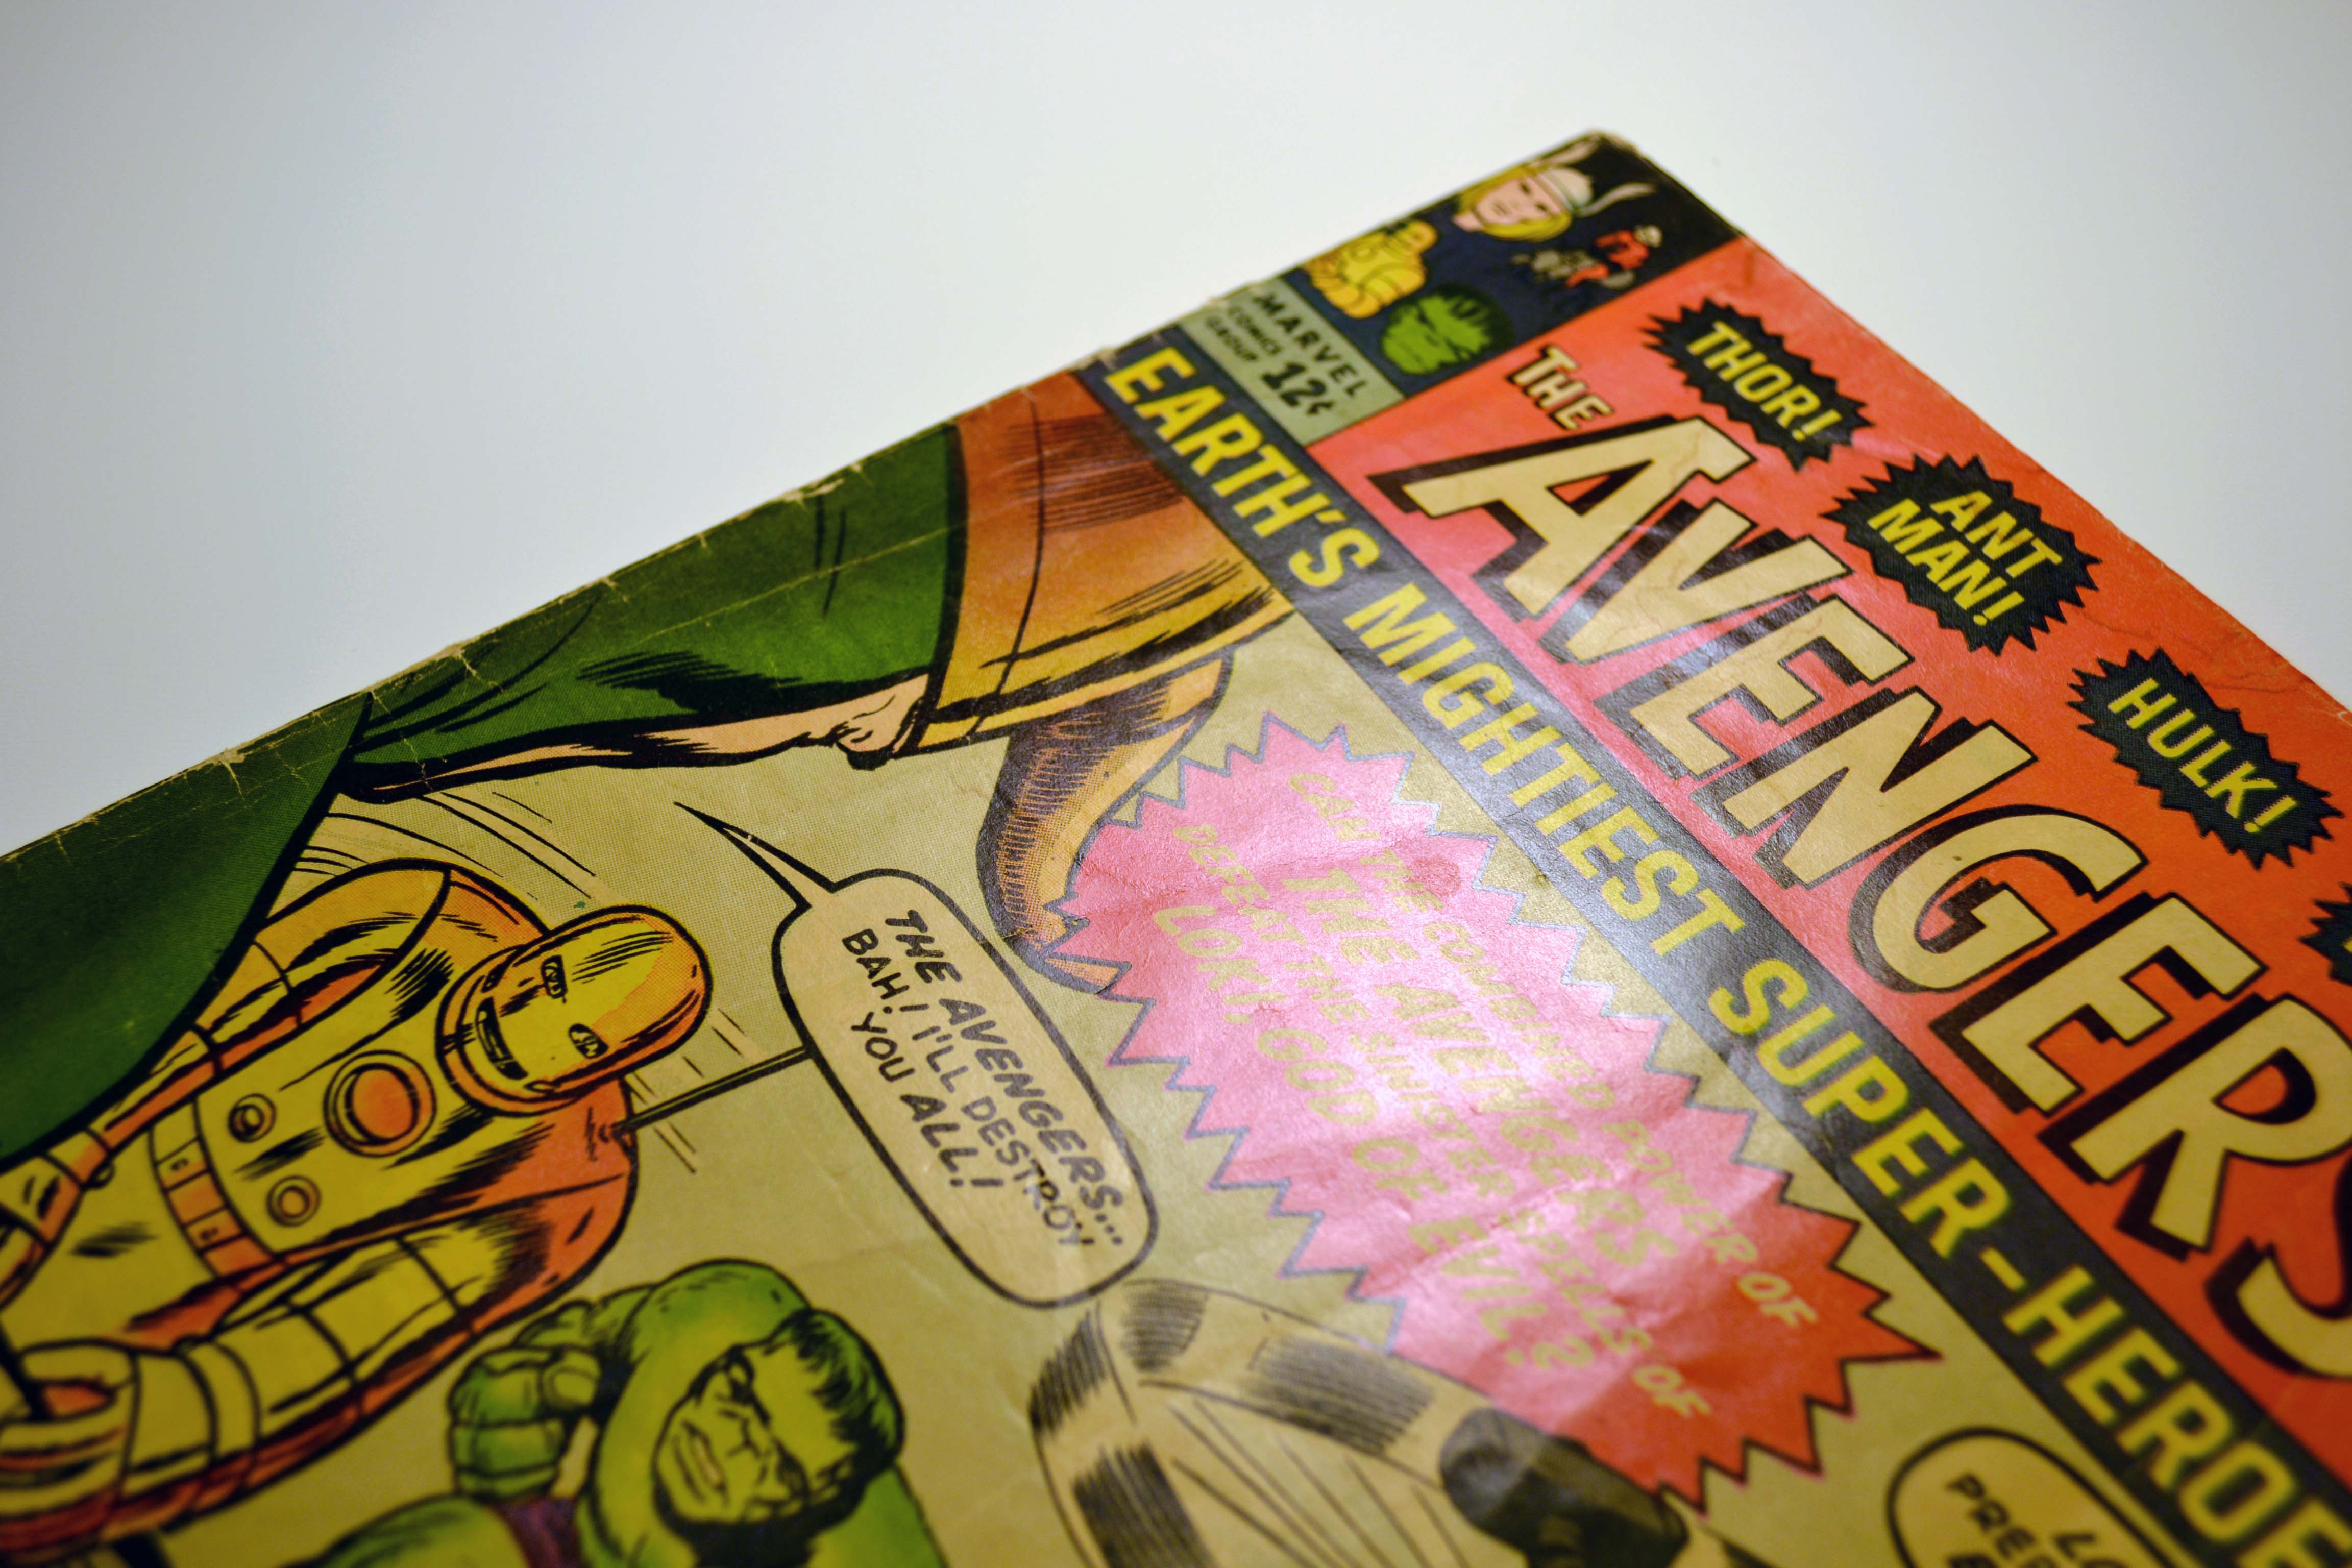
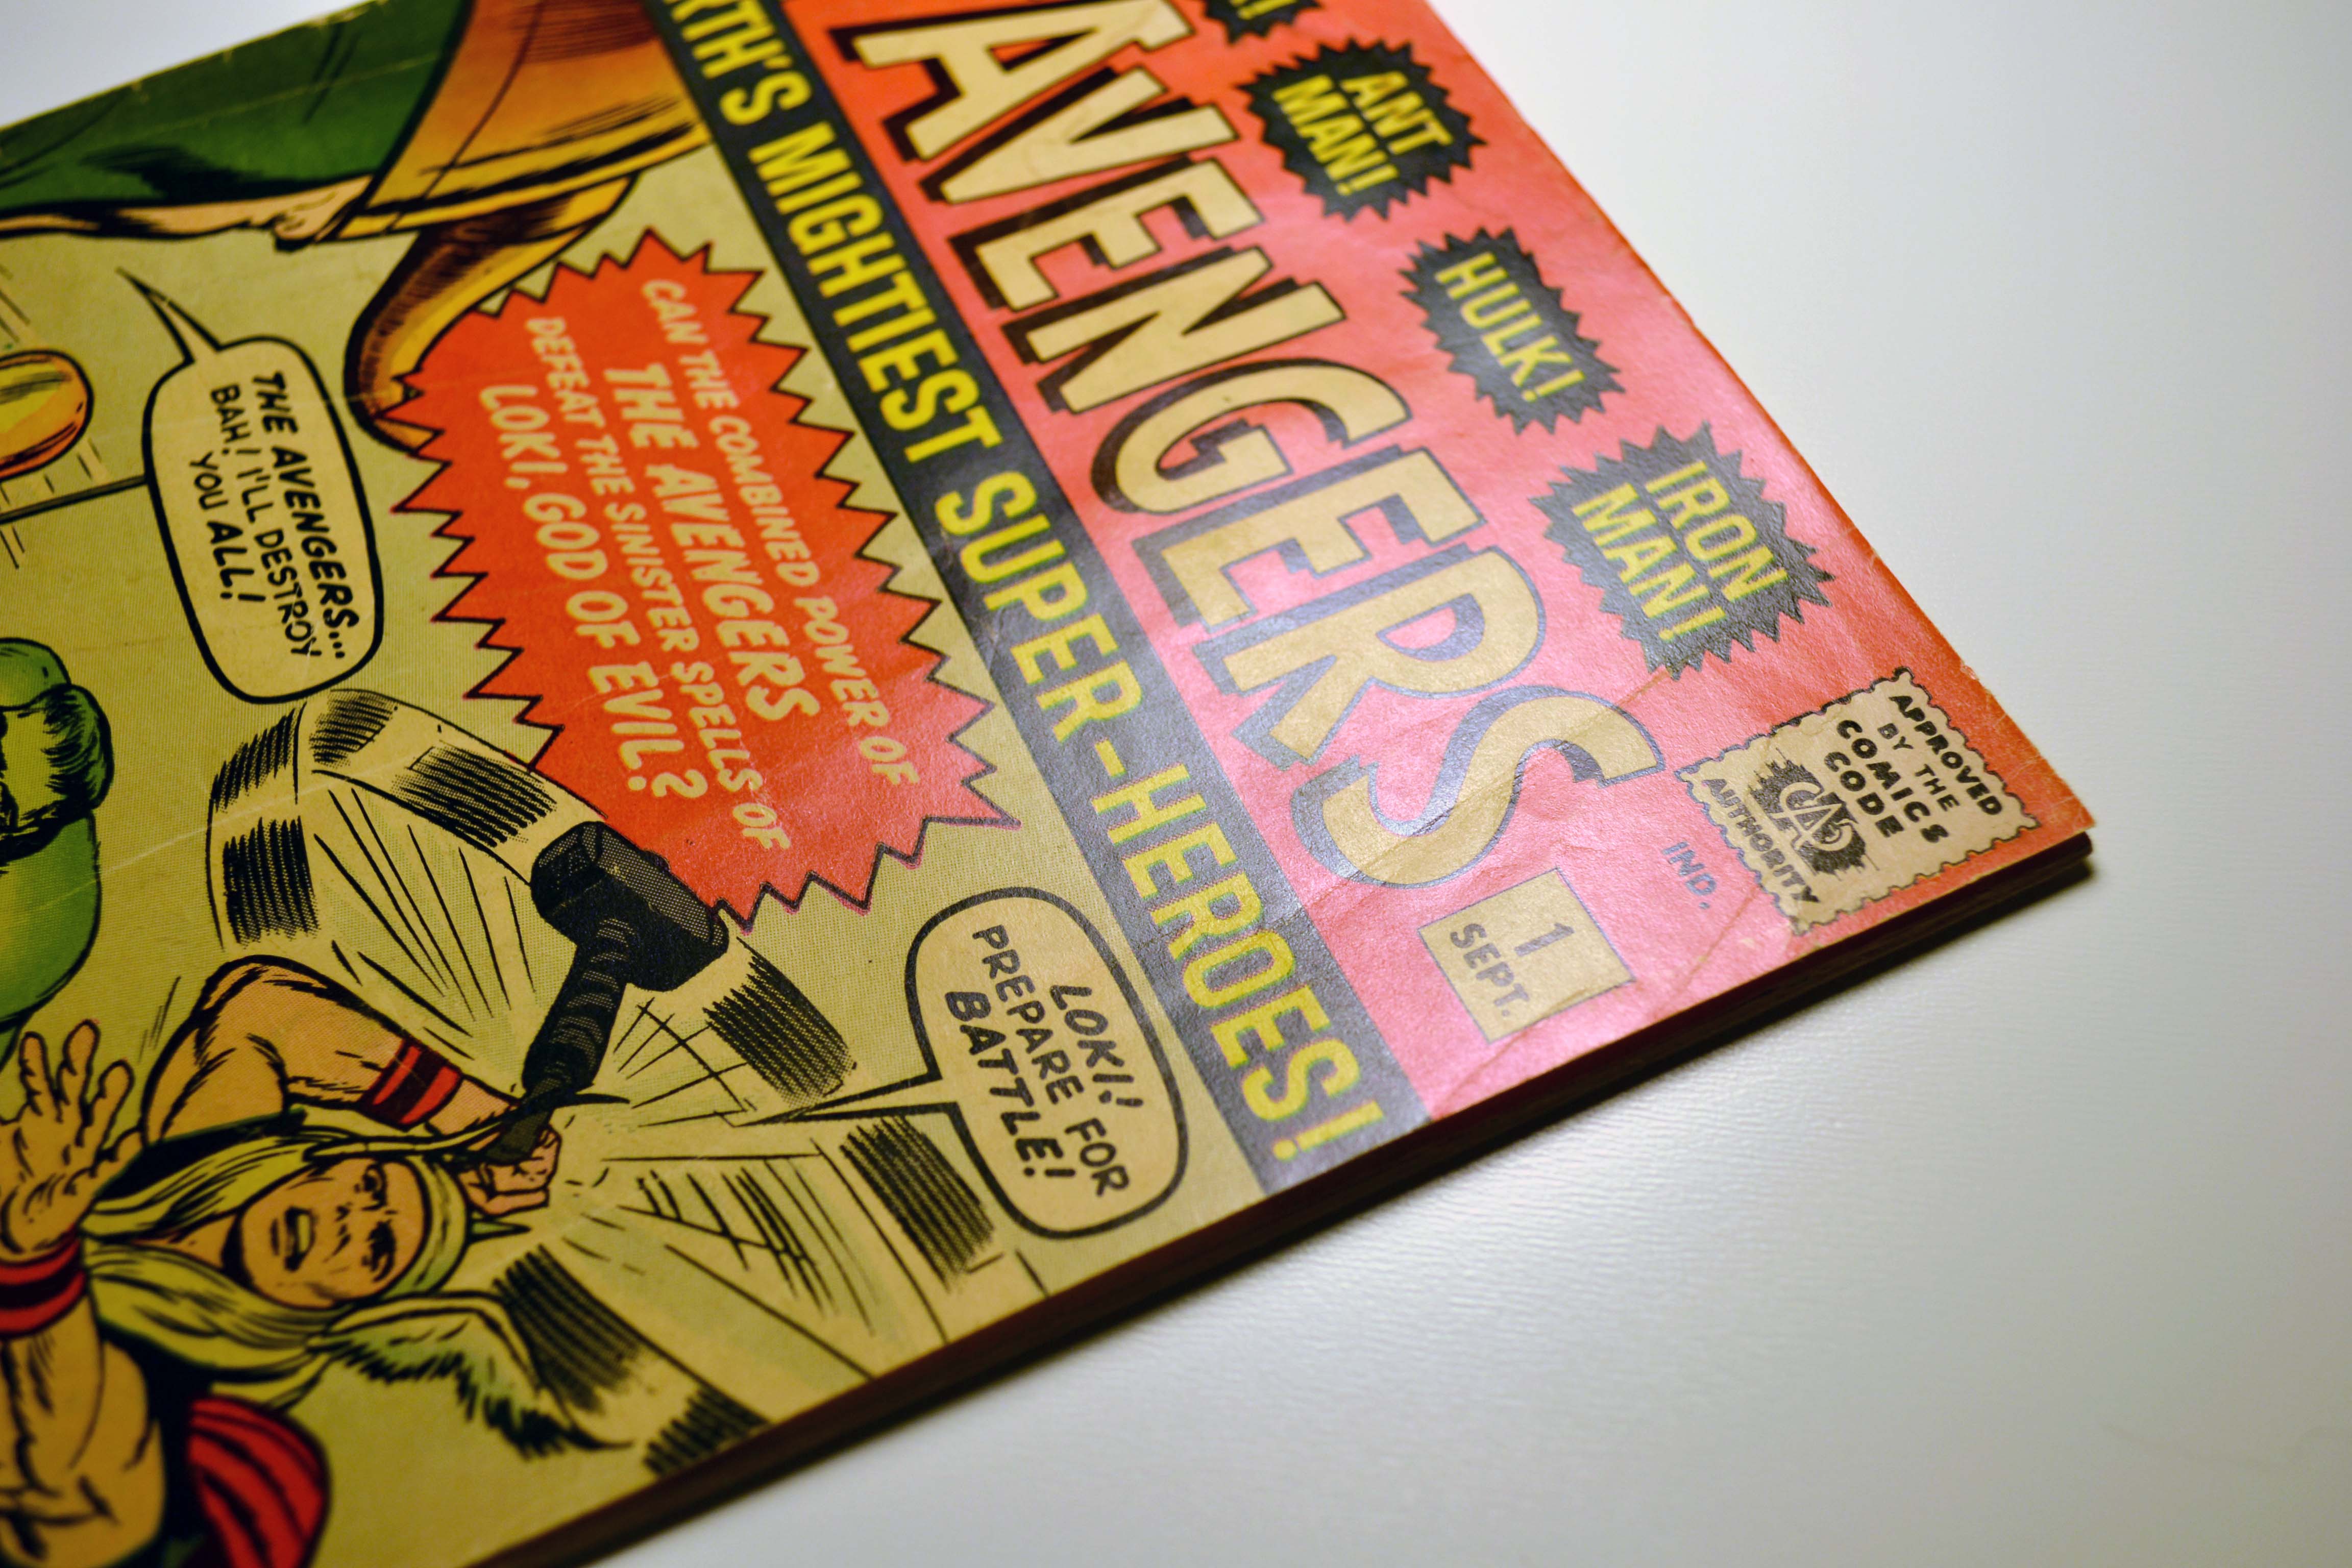
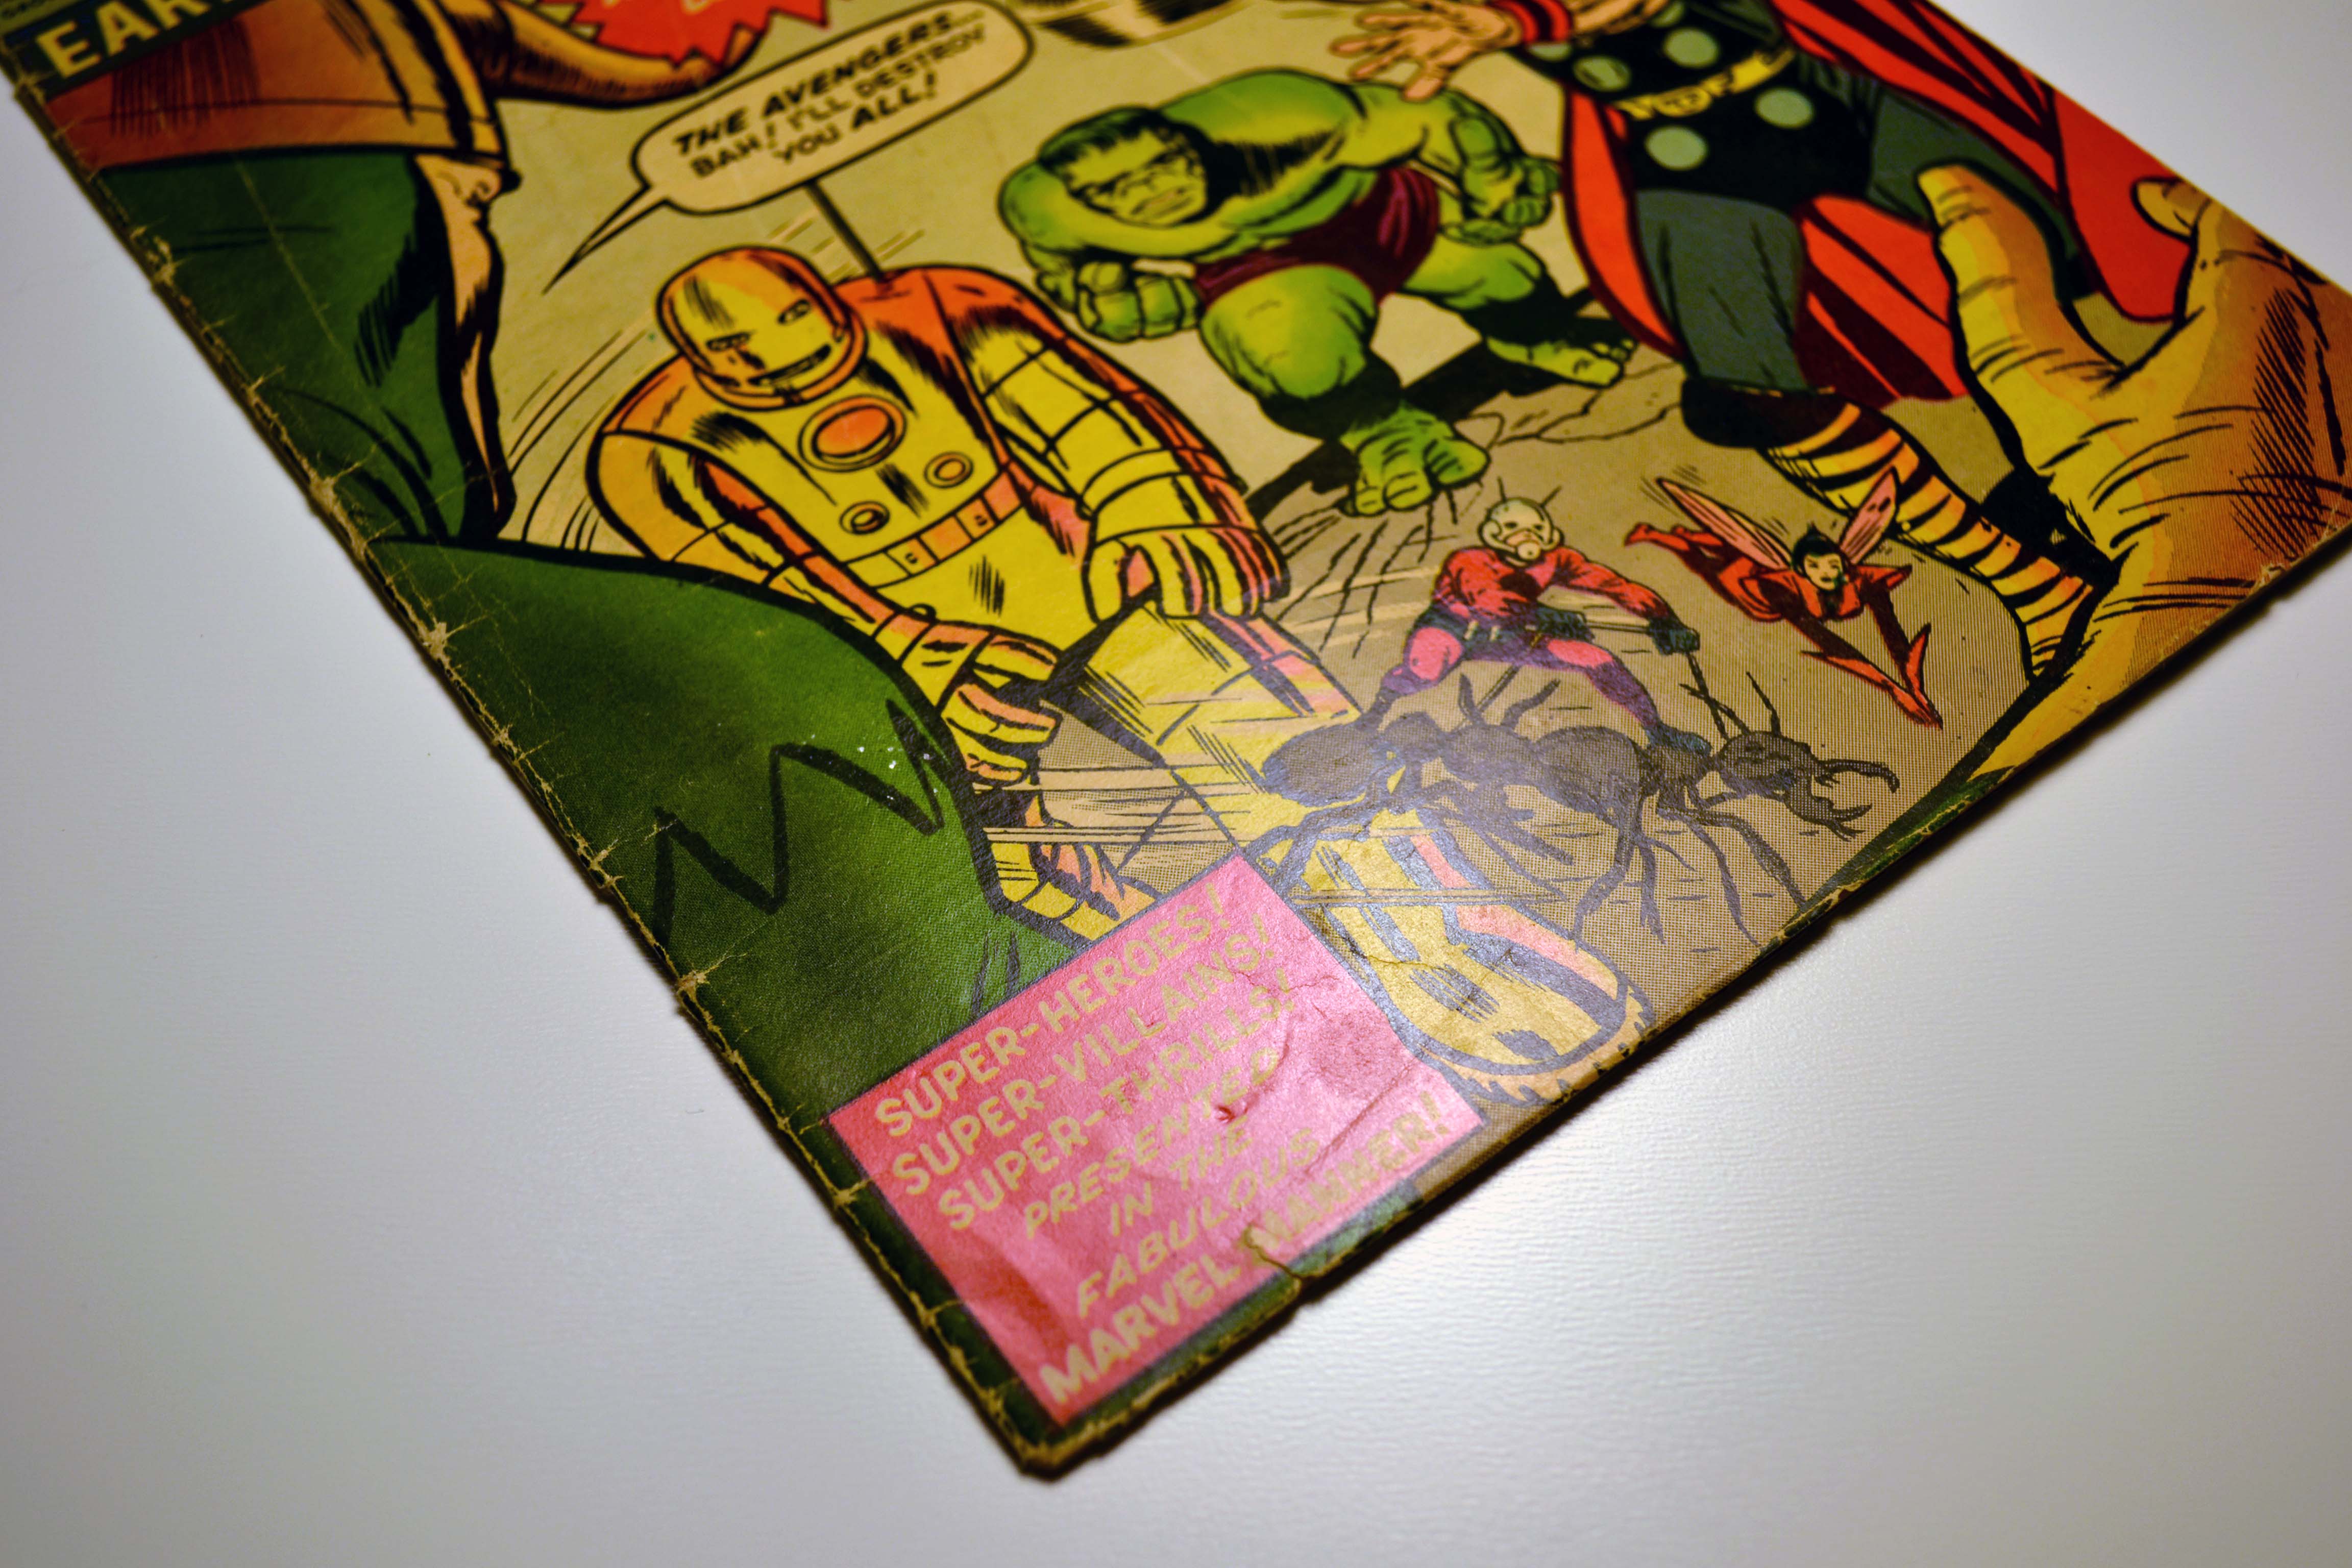
It’s not clear from the above scans, but the book is rather wrinkled and wavy from water damage as shown below.
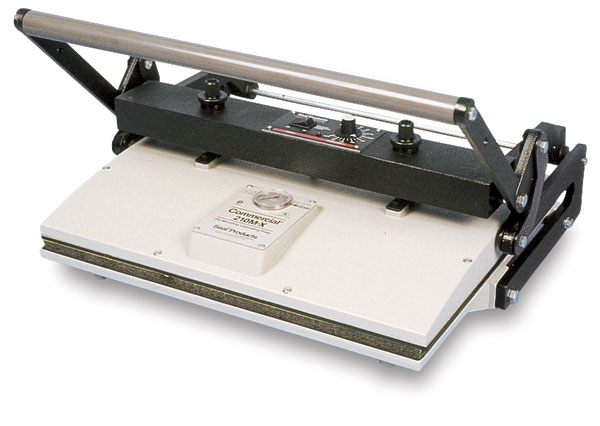
I use a Bienfang / Seal 210M Commercial Dry Mounting Press. It has an adjustable temperature setting from 150-350 degrees, 18.5″ x 23″ working area, and can produce over 1,200 lbs of pressure.
I first started pressing “test” books by sandwiching them between a pair of larger comic backing boards. This resulted in mixed results for a few different reasons. The first problem I encountered was the book moving slightly in the press, thus “pressing” the backboard line into the book, ruining it. The second problem was that the black ink from the comic would stick to the back board during pressing and be ripped off the book. The later would happen more frequently with silver and golden age books. Another problem I encountered was that sometimes the pressing process would darken the overall color of the book and cover.
I resolved the “pressing line” issue by purchasing magazine sized back boards so that even if the book slightly shifted in position I still had adequate coverage around the perimeter of the book.
The black ink sticking the the boards was resolved by adding a layer of parchment paper on both sides of the book during the pressing process. The parchment paper was a logical choice for its heat resistance, low surface energy and non-stick properties. I had concerns about the sulfuric acid and chlorine used to produce parchment paper, but was reassured that due to the short exposure time it wouldn’t be an issue.
The darkened page issue was resolved by reducing the temperature but increasing the duration of pressing. I’ve found that 150-200 degrees for around 20-30 minutes yields great results. If I didn’t get the desired results after the first pressing I would repeat the process which got me to where I wanted to be most of the time.
I also tried to press books for long periods of time with no heat at all. This never worked.. heat and even pressure are needed.
I still have a couple problems that I don’t yet have solutions to. The first is staple indents.. This happened when the staples of the book were not centered on the binding fold, resulting in the staple impressions being pressed through the other half of the book. The only possible solution I see right now is to remove the staples before pressing and return them after. Another problem is when the cover is slightly larger then the other pages resulting in a line being pressed into the cover along the shorter edge.
After a single pressing you will notice below that the book already looks considerably better. This pressing was for 30 minutes @ 175 degrees. The back of the book looks substantially better, but the front isn’t where I would expect it to be yet.
You can really tell in the side by side below the drastic difference after a single pressing.


Nice ! Ever add a bit of moisture ?
I’ve wanted to try adding moisture, but am unsure how to do it safely. I plan to update this blog in the near future, for I sent the book back in to be re-graded and it came back with a 4.0.
Nice ! I have been pressing for about 8 months and use a garment steamer with great results ! if you want I can send you pics of my set up
What do you do about spine roll ? I’m going to attempt it on some old bronze age books but could use any tips you may have ?
you can introduce moisture several ways, a direction you can go is to use a Q-tip to introduce it locally meaning in only certain spots and press quickly to create a sort of steaming effect in the press and no staining that way also no moisture on browning cover it will make water stains instanly
I’m interested in your garment steamer way of adding some moisture…. How long do you hold the steamer to the covers ? And is the steamer on hi ? …..thanks
Jim hi, I’d be interested in seeing your garment set up! Sounds cool (and cheap).
I viewed a youtube vid on pressing by a masked presser who instructions included printer paper on each side of the book, I believe, about 200 degree F temp and for 60 seconds. Lowering the temp and a time of 20 to 30 minutes seems to work much, much better.
Have you noticed there is a difference with regular and the newer books, some of which have a thicker stock of paper and a glossiness to them? I tried to press a wolverine origin book to get an indention out of it and a She hulk 8 to straiten a crease, but all I did was press a white outline around the staples. I thought about placing a sheet of paper between the covers, but then realized it wouldn’t stop the rest of the pages from getting damaged. I will not remove any staples so I guess I will just avoid books with staples that bow out into the page of the book.
Your tutorial was very helpful and was much better that the masked presser on youtube. you should check him out.
thanks
Jim, I would be interested in your garment steamer set up. I have tested various ways of pressing but haven’t as of yet got it quite right.
comicpressing, the backing boards don’t burn from the heat? How does the heat go through the boards to the comic?
Hi,
I just started pressing my comics. Love this article. I acquired a SEAL MASTERPIECE 360 to do my pressing.
You resubbed to PGX? You could have probably gotten that grade bump by just straight subbing without pressing to those clowns. They’ll grade anything higher for shits and giggles.
That said, the pressing info. was helpful. Try teflon sheets instead of printer paper or other non-sticky stuff. Works like a charm. As far as the staples are concerned: you may want to put additional sheets of paper or cardboard on the inside of the comic so that staples don’t get “indented” or indent as much.
I’ve never had an issue with PGX. I’ve gotten books back with grades lower than I expected. And their pricing is unbeatable. Anyways love this post. I’d love to get me a Avengers #1… I just sent out an Avengers 55 to get stabbed.
Is there a pressure gauge to adjust for or how do know the pressure you are using?
I have figured out the staple indent problem…. Im-Pressive is 100% correct. 🙂 I am using an old HIX heat press which is giving me excellent results…I have a lead on 2 dry mount presses. I have a feeling I will be wasting my money though…the HIX is great… can people share the machines they use also…any one else use a garment heat press? If not, please explain why not.
would love to know how you solved the staple indent problem … I know you need a barrier to cover the staple but would like to know what you used exactly. thanks much!
These press’s have adjustable pressure. How much pressure is actually needed, or how much do you use?
In regards of your staple indent issue , why not just open the comic book in the middle while the open end of the staples is facing up and then pressing the book that way ? The spine fold will still remain and you can just fold the comic back to its original form. I work in a printing industry and we use a collator and stitcher machine for some work. This would be the same process in assembling comics. There’s were plenty of times where the machine messed up and missed one staple, we would take the folded book, open it up to its flat form and send it back through or staple it manually on another machine or take out the staple entirely and resend the book through the machine again. Even tough it had to go through the “folding” part which is last , the original fold always remained the same even if the book shifted a bit. We also have the hear press machine here and I have done couple stapled cd booklets with some good results flattening them out.
Replacing the staples is major “restoration” for one thing… you’ll get the dreaded purple label if you do that, for sure.
Thank you for sharing your discoveries! I have been restoring just my collection, books i don’t sell, for about 3 years. I can’t believe that people are so against it. I have a few buddies like yourself and we trade tricks and don’t really talk about it, since people in the hobby treat you like your a crook or are wreaking the books. I found your blog because my heat press broke and I just got a new one and thought I’d check online on ideal time and temp. I had forgotten what my last optimal setting was before the press broke. Thanks!
Awesome write up. I’m using a pro-3804x for my first time pressing. I used a crap book to start with and have to say I was really impressed with the first time out. I used parchment paper over and under the comic and it worked like a charm with golden age backer boards outside of those. No idea how to adjust pressure yet but man the books look great!
Jimmy i just got the same press as you. What settings do you find work the best? and i agree there is not gauge to tell you how much pressure you are using.
Steven,
I’m still playing around with everything and trying to figure what works best. I recently started adding moisture to the mix. Also I started placing the comic is a Manila folder to see the different effects.
Watch out for going to hot without moisture. Pages looking burnt suck!
If you are adding moisture you have to remember to use something like a sponge foam overlay to let the humidity escape, paper sheets will trap it inside the book and may cause further damage
Use Teflon sheets not backer boards.. there are cheap and can be used 1000 times.
Do you have a link to the teflon sheets you use? Thanks!
http://www.reynoldskitchens.com/products/parchment-paper/parchment-paper-rolls/
This winter affected my comics badly what pity. Bought a dehumidifer, o from now on i will be ok but what a pity a lot of issues and some TPBs / HCs gained some wavy or moisture affected pages. So i think about starting to press my issues at least. I wanna do this just for my personal reading enjoyment to be better ( really hate my books be that way ), and do not have a plan as sending them to be graded or such. Fot more experienced guys out there, do you think pressing is the only way to remove that waves from books? The waves are mostly near to stable area of the books by the way, quite disturbing, not like those waves current modern issues have at top cause of the type of glossy paper used, which i got used to. Thanks…
Hey there, I just got a Technal 500. It works wonders on books, but I would like to find out if the fact that it heats from 220+ is a bad feature. I know that some of you say that pressing for longer at a low temperature yields better results. Is 220 too high?
I would also love to exchange pressing techniques with others who are experienced.
I found that with older books its better for me to spread the book open facing the opened side upwards and pressing for 20-30 min and then repressing it back closed for 60 seconds. With newer books I simply press it closed for a minute and that usually flattens it a lot quicker. But Im still having hard time with getting rid of spine stress marks (non color breaking marks of course). Does anyone here knows how to get rid of those?? Thanks for having this blog!!
Actually sorry I double checked. It starts at 180 degrees, I believe that is the correct heat pressure thats required for comics?
ive read from 165-180 is the best, i still get a wavy book… so the journey continues
How do you add moisture to a set up? I’m using a heat transfer press….
Has anyone used modern t-shirt heat transfer presses in lieu of dry-mount presses?
I actually just purchased a modern heat press. It will be here on 6/7 and I will let you know the results.
Hi there, any updates? Hi there, i am picking up a Seal Comm 210m today
I’ve just started to reply to some of the comments after taking some time off from pressing and getting back into it now. So, no update yet but i’m sure we will have more information soon as I get back into the swing of things.
I am new at this, but my best technique so far is as follows:
1) Preheat press to 170 degrees f. Set press for low pressure so as not to have staple indents. Will have to find perfect setting for your particular press.
2) 20 to 30 seconds in the “comic sauna”
3) Press for 3 minutes
4) Turn off press and let cool down in press for minimum 1 hour
This seems to work well for older books, modern books I am still trying to figure out, a rougher go with these.
Can you describe your “comic sauna” in more detail? Sounds really interesting.
1) 24″x12″x6″ plastic storage bin with lid, the kind you can pick up at your local Wal-Mart. 2) Baker’s cooling rack with legs, to place your comic on, while in the storage bin. 3) I have an electric water kettle that heats to a boil pretty quick. 4) Pour boiled water into bin, about 2 cups, place rack with comic in bin, cover bin with lid, leave in for 15-20 seconds depending on condition of comic, NO MORE THAN 30 SECONDS EVER! You will have a soaked book. Immediately start your timer upon placing rack with comic in the bin, after the 15-20 seconds, remove lid and remove rack and comic. I place the comic on the rack with the centerfold open, cover and back facing down to the bottom of the bin. Try this with a few reader copies 1st and feel your way thru it. This is just for older books, nothing shiny and modern, I haven’t figured these out with or without moisture. I have also discovered that only heavily creased books will benefit from moisture, books with tiny or minor creasing usually do just fine with heat and pressing only.
I use this:
http://www.bestbuy.com/site/conair-extremesteam-professional-handheld-garment-steamer-white-blue/6627506.p?id=1218763369275&skuId=6627506&ref=212&loc=1&ksid=71742bc6-ee70-4237-b270-0865282de03a&ksprof_id=13&ksaffcode=pg52466&ksdevice=c
Use the absolute lowest temperature on your Seal210M. I cant remember of the top if on the Seal 210M its 120 or 150, but 170 is too hot.
1. steam the comic for 1 minute thoroughly with a garment steamer or similar
2. I use backing boards. Center, front and back. The thicknes of the board prevents access heat to warp the book
3. Heat the plates for about 2-3 minutes then turn the switch off
4. insert book into the the 210M and leave overnight
If you have an additional press than you can take the book off the hot press after a good 10 minutes and cold press it for an hour on the other, but if you cant afford two than use the technique above.
I’m having a really tough time finding a parchment paper, or any other type on non stick paper, that doesn’t leave a faint textured impression. What brand are you using?
I’ve been using the Reynolds brand that you can find at your local grocery store. I don’t notice a texture imprint.
I found that parchment paper from the grocery store leaves a yellow stain on the books when initially used, I guess from the “wax” that is coated on them. I run 2 or 3 beater copies thru the press to pull the wax from the paper, after these initial trials the staining is gone from the following books. Just a heads up, in my experience.
You know, this might make sense. I use the same paper over and over until it gets dirty… that’s why I might not notice it.
try this:
I have pressed some books with a steamer and have blotted the cover and back with a light damp sponge and then pressed at 180f for about 3 min and get good results.
You have to let cool with pressure on them between oversized books or tiles for a couple of hours. This is just as important as the heat pressing.
I completely agree with the cool down time. My first run through I didn’t let it cool under pressure and the pages ended up curling. Now after I remove them from the press I have a 5lb flat metal weight which pulls the heat out of the book pretty quickly (15 minutes or less).
You can make a home made humidity chamber by getting a big plastic storage tub and a small plastic storage tub. Fill the bit tub with warm water a couple of inches. Then place the small tub upside down inside the big one. Then place a bakers cookie rack on the small tub and place the book open faced with the cover side down on the rack. Cover with a lid but leave a small gap for steam to let out. Do this for about 5-10min and then place the book in the press and proceed to press and cool down.
Big difference in my books.
Any max temperature recommendations for pressing modern/recent comics? I’ve tried 180, 170, 160 all seem to produce bricks with welded pages.
I had the same problem, ended up being humidity. Do you store your books in a climate controlled environment? AC? Low humidity?
You need to add rice paper or tissue paper in between each of the pages to protect them and only press them for about 1-2 minutes at a time at about 170-175f and check your results.
Too much heat and time will fuse the pages together.
Not sure if the STAPE INDENTIONS were answered but you can use something like a comic shop news folded and put in the middle of the comic book to take the pressure of the press and the staples.
I use a comic backing board between the cover and splash page to prevent spine crush. I then make sure that I have parchment paper before and after the backing board. If not, it WILL stick to the paper and become fused. Ask me how I know. 🙂 This process works well for me.
Hi Guys,
I am starting to get back into pressing more frequently and thought I would share some quick research with you. During the pressing process we can control a few things.
Press Pressure
Press Duration
Temperature
As for temperature, paper yellows at about 300F. In past scientific testing applying 212F to paper for 72 hours is consistent with aging the paper for about 25 years (minus pollution and inconstant humidity). That being said, even for pressing time of under 30 minutes we are going to want to stay away from temperatures this high. Our target range is somewhere between 160F and 180F. You can go towards the high side of that number with more modern books and the low side with older books. This is assuming the paper is in good shape from the start. Paper teetering on brittle or that doesn’t pass the fold test after about 20 times should be reconsidered when thinking about applying heat. A long room temperature press would be safer for the preservation of the book.
question has anyone figured out the issue with cover overhang, where the pressing leaves a crease where the pages meet the cover?
See my post above regarding adding a backing board.
Hi. I have question about pressing, though it’s not exactly about comics. I collect video games and I noticed a lot of the game inserts (the covers) will have indents from the cases or just small dents from standard wear. Nothing major, but I think it ruins the quality. Do you think pressing them would fix that? I just want to know before I waste money on a press that won’t do me any good. Thanks.
Hi Derek,
The answer is yes, it will help. I mostly press comic books, but I also press my sons Lego instructions that come in the box folder. Occasionally my sons artwork from school will come home crinkled up a bit and he asks if I can put it in my press. It always yields great results.
It would seem that I need to get myself a press then. Thanks.
Is there any specifics I should look for when picking a heat press to buy for my needs?
hi guys I have a SEAL commercial 200 press and having issues pressing comics. I follow many of the techniques here and I am getting not much difference.
I use a comic backboard on top of base sponge. Then I place a comic on top of board then place a sheet of parchment paper. Close it at 220F for about 25 mins then flip it over and repeat. Any recommendations you guys think
Sounds like you are not getting enough pressure. Put something on the pad, below the backing board, to raise the book closer to the ceiling of the press. I’ve used polycarbonate cutting boards in the past.
percy does pressing at 200 do all right for you ? seems high – 180 degrees for me and the book becomes a brick try lowering the heat
Hi, I think your using way too much heat for too long.
I use about 180F for not longer than 3min on my older books and about 160 for about 30 seconds to 1min on current books and check them or they will fuse together.
Less heat and less time but make sure you are putting them between something like oversized books or tiles to cool for several hours before removing…..this is very important.
plus you need to put some heavy weight on those books to press the heat out and keep them flat.
Hi All. Thanks for posting all the great suggestions. I’ve recently acquired a Seal 160M and it’s working great. Can someone tell me how to get rid of non-color-breaking spine ticks?
Thanks guys for all the help and every since I lifted the soft bottom I have seen some improvement but small. I was thinking to put a metal base on top of the soft bottom so it can be a hard base for the comic since the heat plate is on top. Thanks for any help guys this is a tough hobby to get into I’m noticing lol
Thanks for posting your information here. I have found that not using a backing board yeilds the best results. Question as to whether or not it’s possible the book can come out “too” flat after a pressing?
Also, I feel this example would be complete if you resent that same comic to CGC. PGX tends to have inflated graded so it’s hard to tell how the flattening truly affected the grade with the same baseline grading company.
Thanks in advance. If anyone would like to get a fb private group going or anything like that, email me at sdarr11 atsymbol yahoo.com
I’m very serious at perfecting this process.
Some quick tips.
Save money on materials.
1. Reynolds parchment paper works best and no indentation of logo or anything.
2. Most local dollar stores have white poster board. Buy this and cut to desired length of dry mount press over spongy billiard table material shiny side up.
3. Tissue paper from dollar store for gift wrapping is perfect to interweave for moderns. Place inside in between every page. It takes forever but is needed.
4. Don’t mess around with t-shirt presses. Get a seal jumbo 150 or 160 and be done. I have a 150 and get great results and its smaller then the 160. I think lowest temp is 150 but not sure.
5. Don’t use garment steamers, use humidity chamber. Less aggressive and does more evenly. I suspend comic in plastic basket in tupperware, not fully sealed for a day or two. Make sure to distill water by 2 minute rolling boil or so. This removes elements that may stain comic. I’ll be improving my chamber with spun polyester moisture barrier later.
5. Heat up machine and wait for green light to turn off (seal 150). Then put comic inside and press. Around lowest temp but not more than where the 180 line meets 225. At least thats where I’m at now. 2 minutes for modern, lower temp or as indicated above, right at line for bronze or older for 5 minutes. Shut off machine and LEAVE IT THERE CLOSED FOR AT LEAST AN HOUR.
Thats it for now guys, but again, if somone can help me with my concern if a comic can be too flat after pressing, please let me know. I dont want to mess with adjusting bolts on my seal as it’s seems pretty even and consistent.
If anyone wants to start a private group hit me up. I’ll create one and invite anyone interested. To stay in group just be active and contribute to conversion.
Happy pressing!
UPDATE: Placing two E. Gerber 700HB in the centerfold is the money zone to prevent comic from appearing too flat.
I’m not finding significant differences placing a golden age standard BCW backing board within covers as far as removing creases is concerned. Still finding it a nuisance and if the backing board within covers shifts, it creates a huge crease lengthwise. Please note you should always put a piece of tissue paper within front and back cover. The shiny coating of cover and backing board make them first to stick. Although 700HBs don’t have shiny coating, they leave a texture pattern on covers and is thus not ideal for cover but perfect for centerfold.
A question I would appreciate some assistance is with Teflon sheets vs Parchment paper. The Reynolds paper I use is great, but will warp an indentation with waves of an outline of where the comic is. I’m considering using Teflon, but am concerned the coating may transfer to comic causing a chemical restoration label. Any insight on this would be greatly appreciated.
@GBH – I have the same problem from time to time with the crease length wise. I have been wrapping magazine boards in silicon release paper for inside back and front cover, I have been using Wiltons silicon parchment paper, available at Michaels arts and crafts if you are in the US.
Thanks for chiming in. I emailed you.
Thanks for the input. If anyone is interested I created a secret invite only Facebook group to help us perfect our craft. I have lots of data to share and have videos of indepent tests such as tissue paper, vs various brands parchment paper and laser paper on the cover, etc…
I no longer use backing boards on the inside and outside cover because it seems nearly impossible to avoid a double spine crease. I also find a thin Golden Age board may still be too thick to not create vertical creases near the spine in the centerfold.
I have some other experiments on the way.
Email me at sdarr11 at yahoo.com and I’ll add you to my group.
So with a Seal 150…..lay down a backing board, parchment paper, the comic itself with tissue paper and between cover and first page and and again between last page and back cover, backing board in center of book, parchment on top of book, and one more backing board on top of all.
Lowest Seal 150 temp for 5 minutes. Turn off Press. Leave for at least an hour.
Sound right?
Thanks to everyone for the great advice. Just ordered a Seal 160 and cant wait to start experimenting.
I have a problem where I keep getting a crease on the back cover near the spine. Can someone shoot me some tips. fixing a length wise crease caused by pressing(looks like the rear board may be slipping) and maybe some help with where to place the boards. I have been using wrapped boards(srp) in front and rear cover with one board in the middle. then srp then board between cover/heat plate front and rear/cusion. Any help/tips greatly appreciated. Otherwise the books I am doing are nicer than when they started. Found the sweet spot in my press to be 165 at 1min 30 seconds. Flip then do other side. Thank you in advance.
And thank you all for giving me a good start.
Gbh , you got mail . Thanks
So I spent about 40.00 today on making one of these , It is a do it yourself book press seems to be good for cooling the book off and keeping it flat. It also may be used without heat and flatten a book. Sea Lemon on youtube gets all the credit for this one .
I used these cutting boards from Bed bath and beyond and four bolts instead of 2 and 8 inch 5/16 bolts.
https://www.bedbathandbeyond.com/store/product/architec-reg-gripperwood-trade-11-inch-x-14-inch-wood-cutting-board/1012909926?Keyword=cutting+boards
I removed the rubber feet from the cutting boards and used the holes that were about 2 1/2 inches in , the holes made a pilot hole for the drill. The wood does burn , so if you decide to build one dont be surprised . They are made of some tough wood. Also grab some binder clips as you can use them to hold the press open as you place a book in. Same rules apply for silicon release paper and boards at top and bottom. Clamp closed and wait , the longer the better. But an hour or two should do it.
I made this for my daughter who wrights her on books and made a cover for it and pressed it down for the glue to hold…. pretty cool.
As for pressing comics I would stick to oversized books and a lot of weight for the cool down 5-8hrs. I have good results with this.
Question, pressing modern Marvel comics the digital sticker inside keeps coming through on the back of the issue. I have not used a backing board inside as I think that would leave a big crease near the spine. Anyone have any tips?
Hi, I have been putting comic shop news paper in the middle of the books where the staples are to create the perfect buffer but still allows the head to go thru. I also use them in the front cover to remove ticks and creases on modern. I also put parchment paper in the first couple of pages – front and back for modern to keep them from fusing print and keep it on 160 temp for about 90 seconds. Good results.
I ordered 2 sheets of SRP ( silicon release paper) from amazon for about $5 for a 16×16 sheet and put the books in between when pressing so don’t stick in my press. Great results.
I put the books between magazine size back boards and in a manila folder for cooling and put them between oversized books and a lot of weight on them to cool down for about 5-8 hrs with nice shiney cover results.
Your great information and kindness with enjoying with the bits seemed to be very beneficial. I don’t determine what I’d personally have done if i hadn’t came across a really move this way.